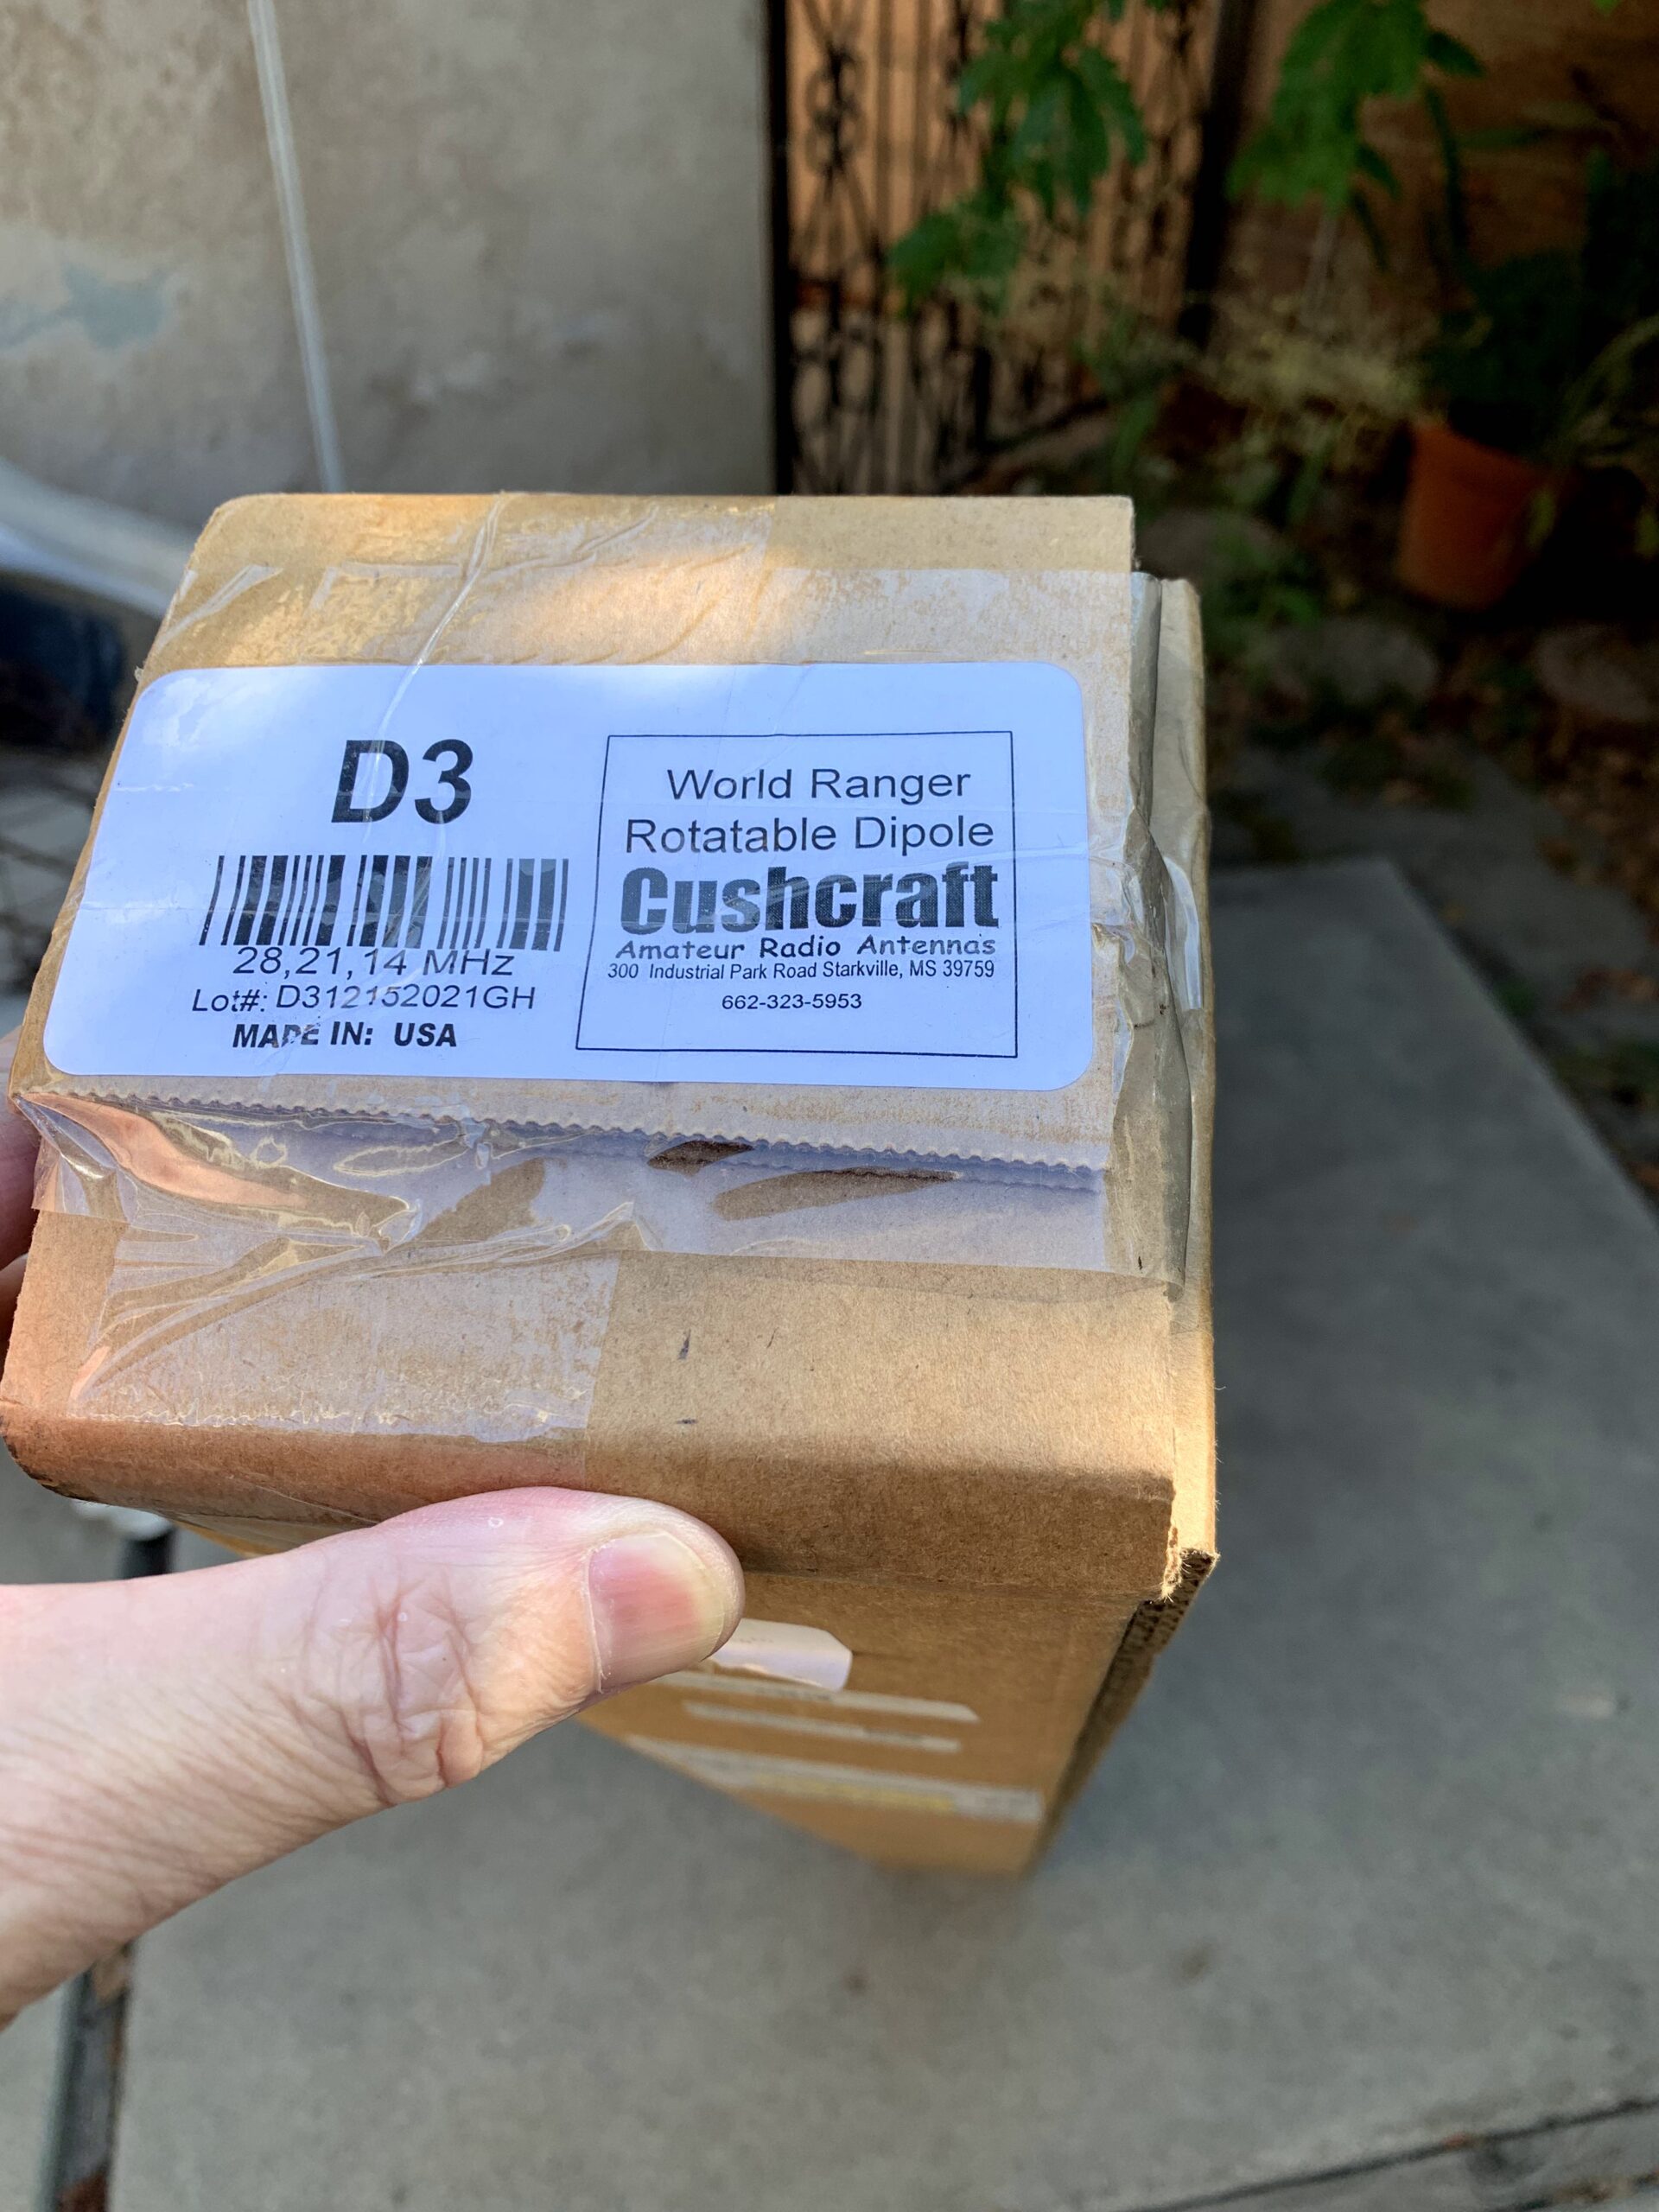
My existing Yagi for 10/15/20 meters has high SWR due to at least one damaged trap (operator error, but that is another story). Until I can either replace or repair the beam, decided to put up a Cushcraft D3 Rotatable dipole. There are a couple of options for where to put it, but first, it needed to be assembled. the following is my experience in putting it together, told in pictures.
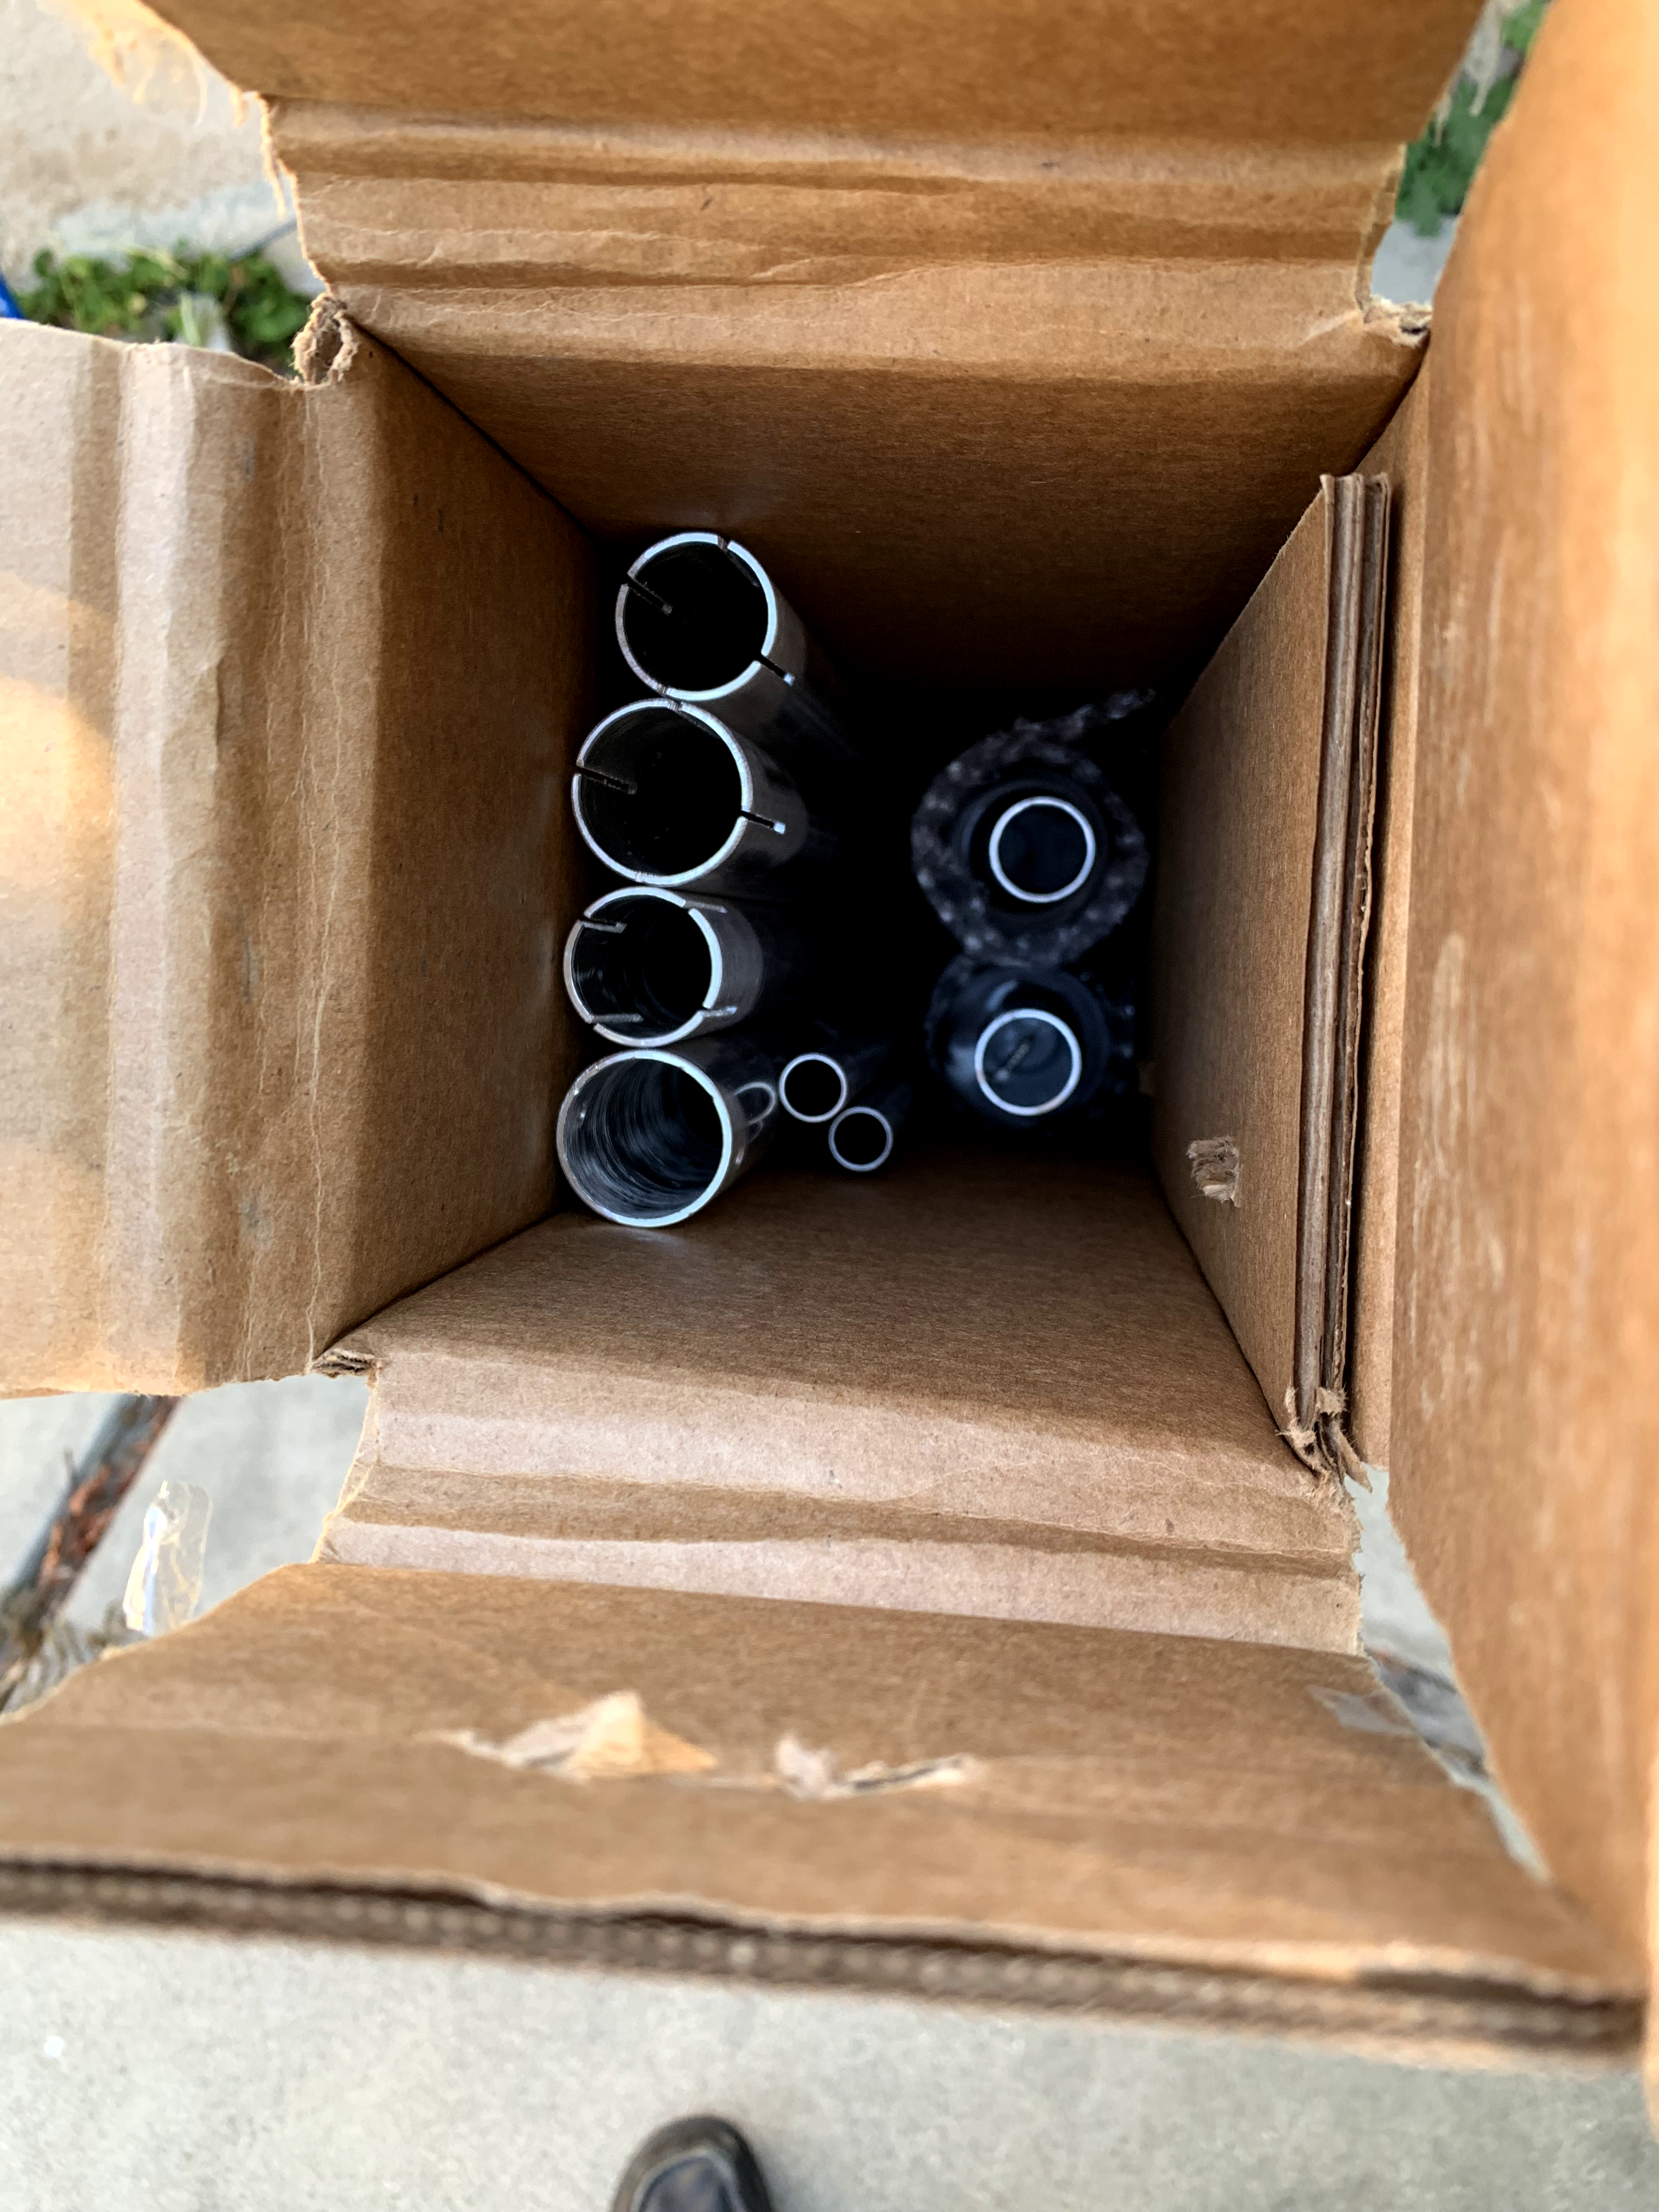
Started with the unopened box.
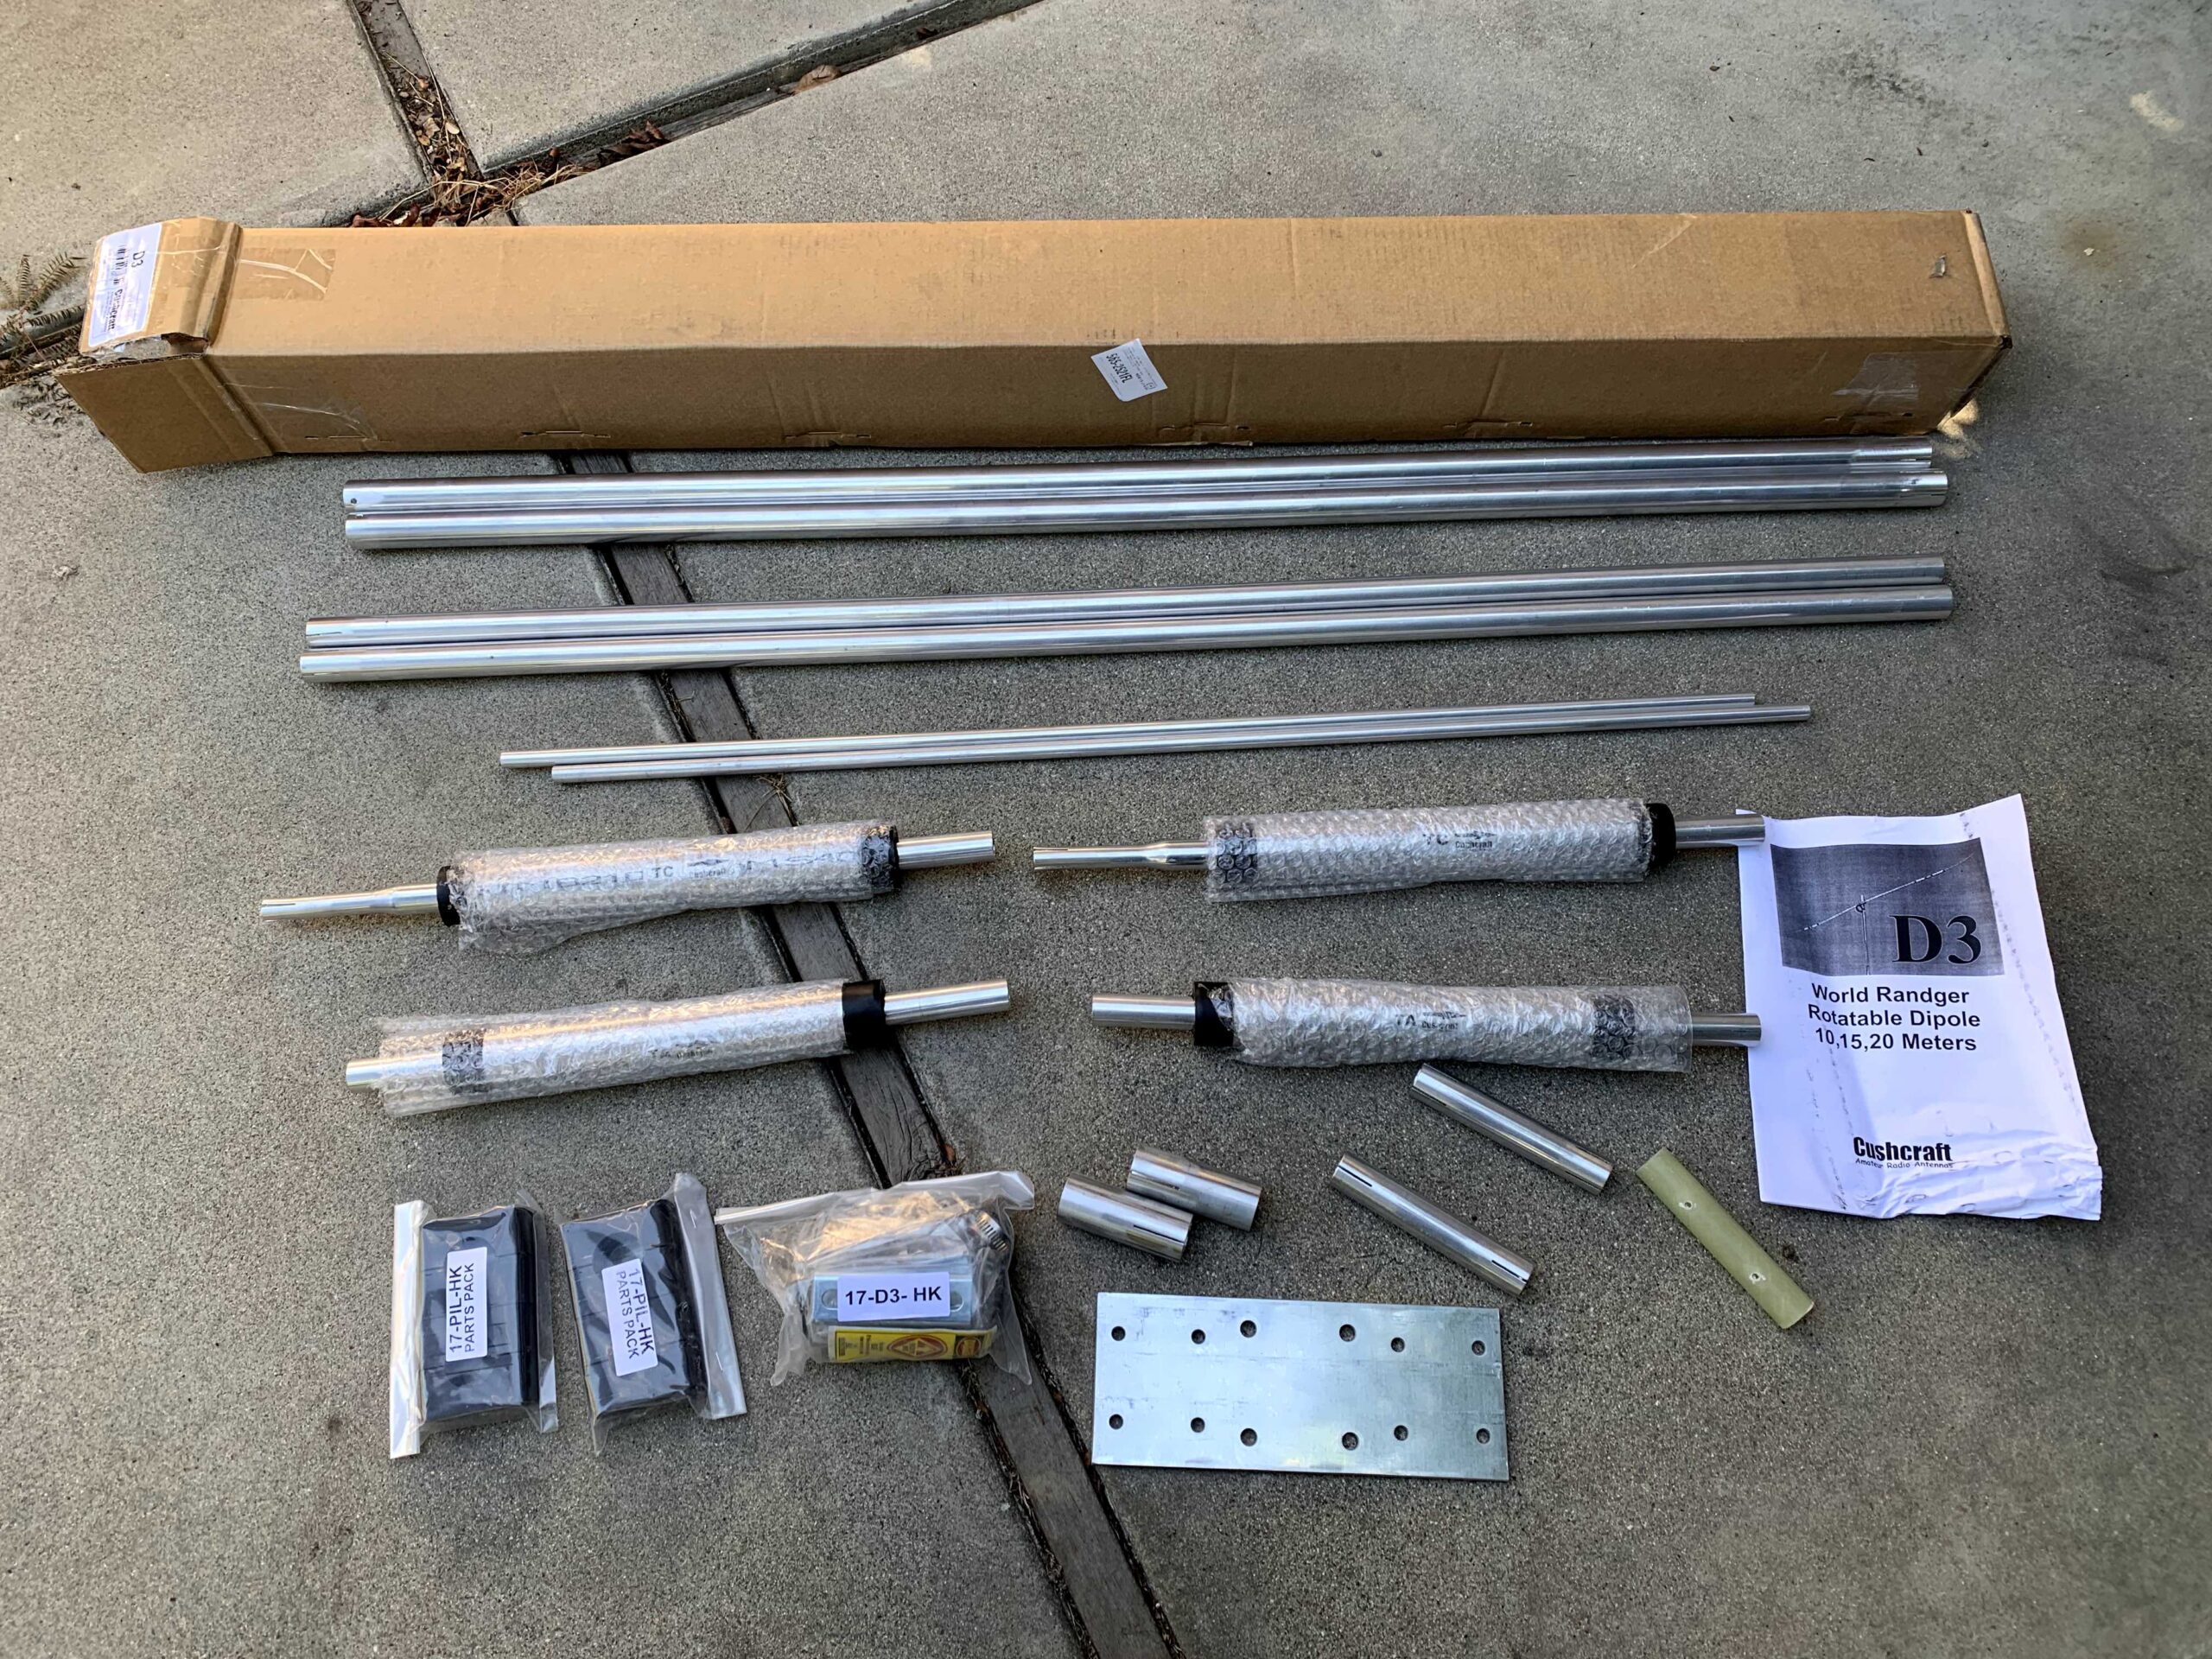
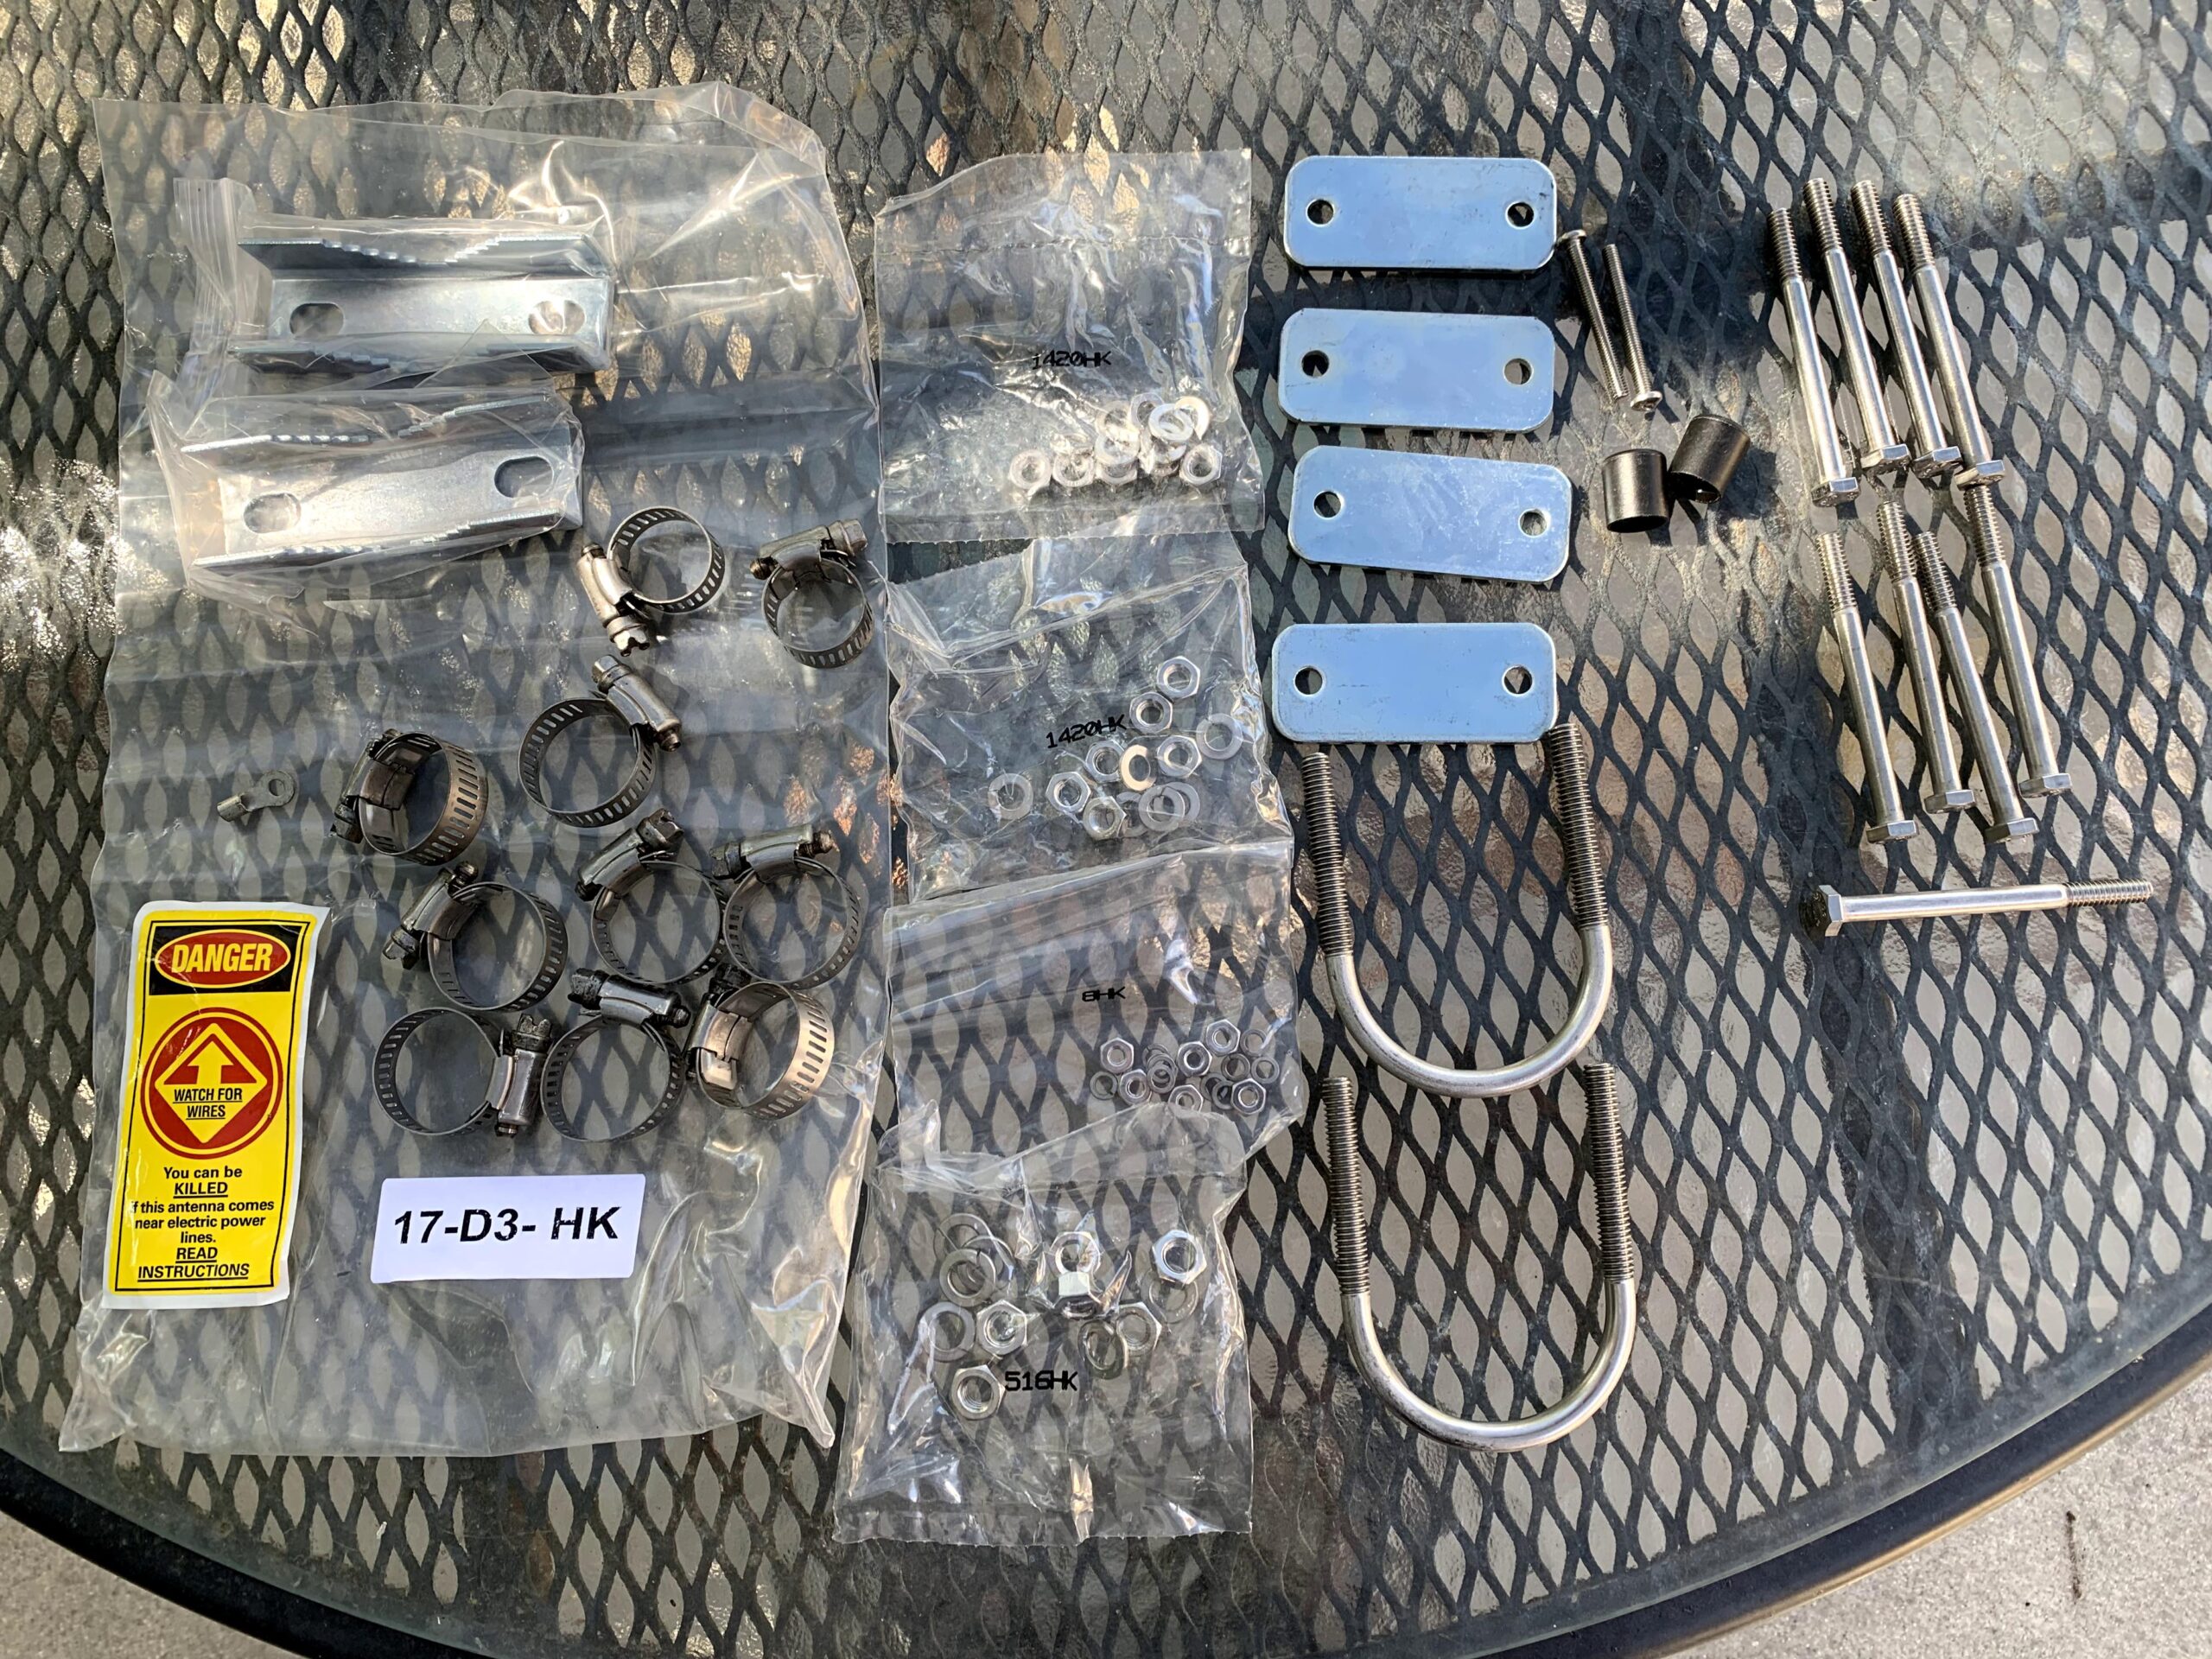
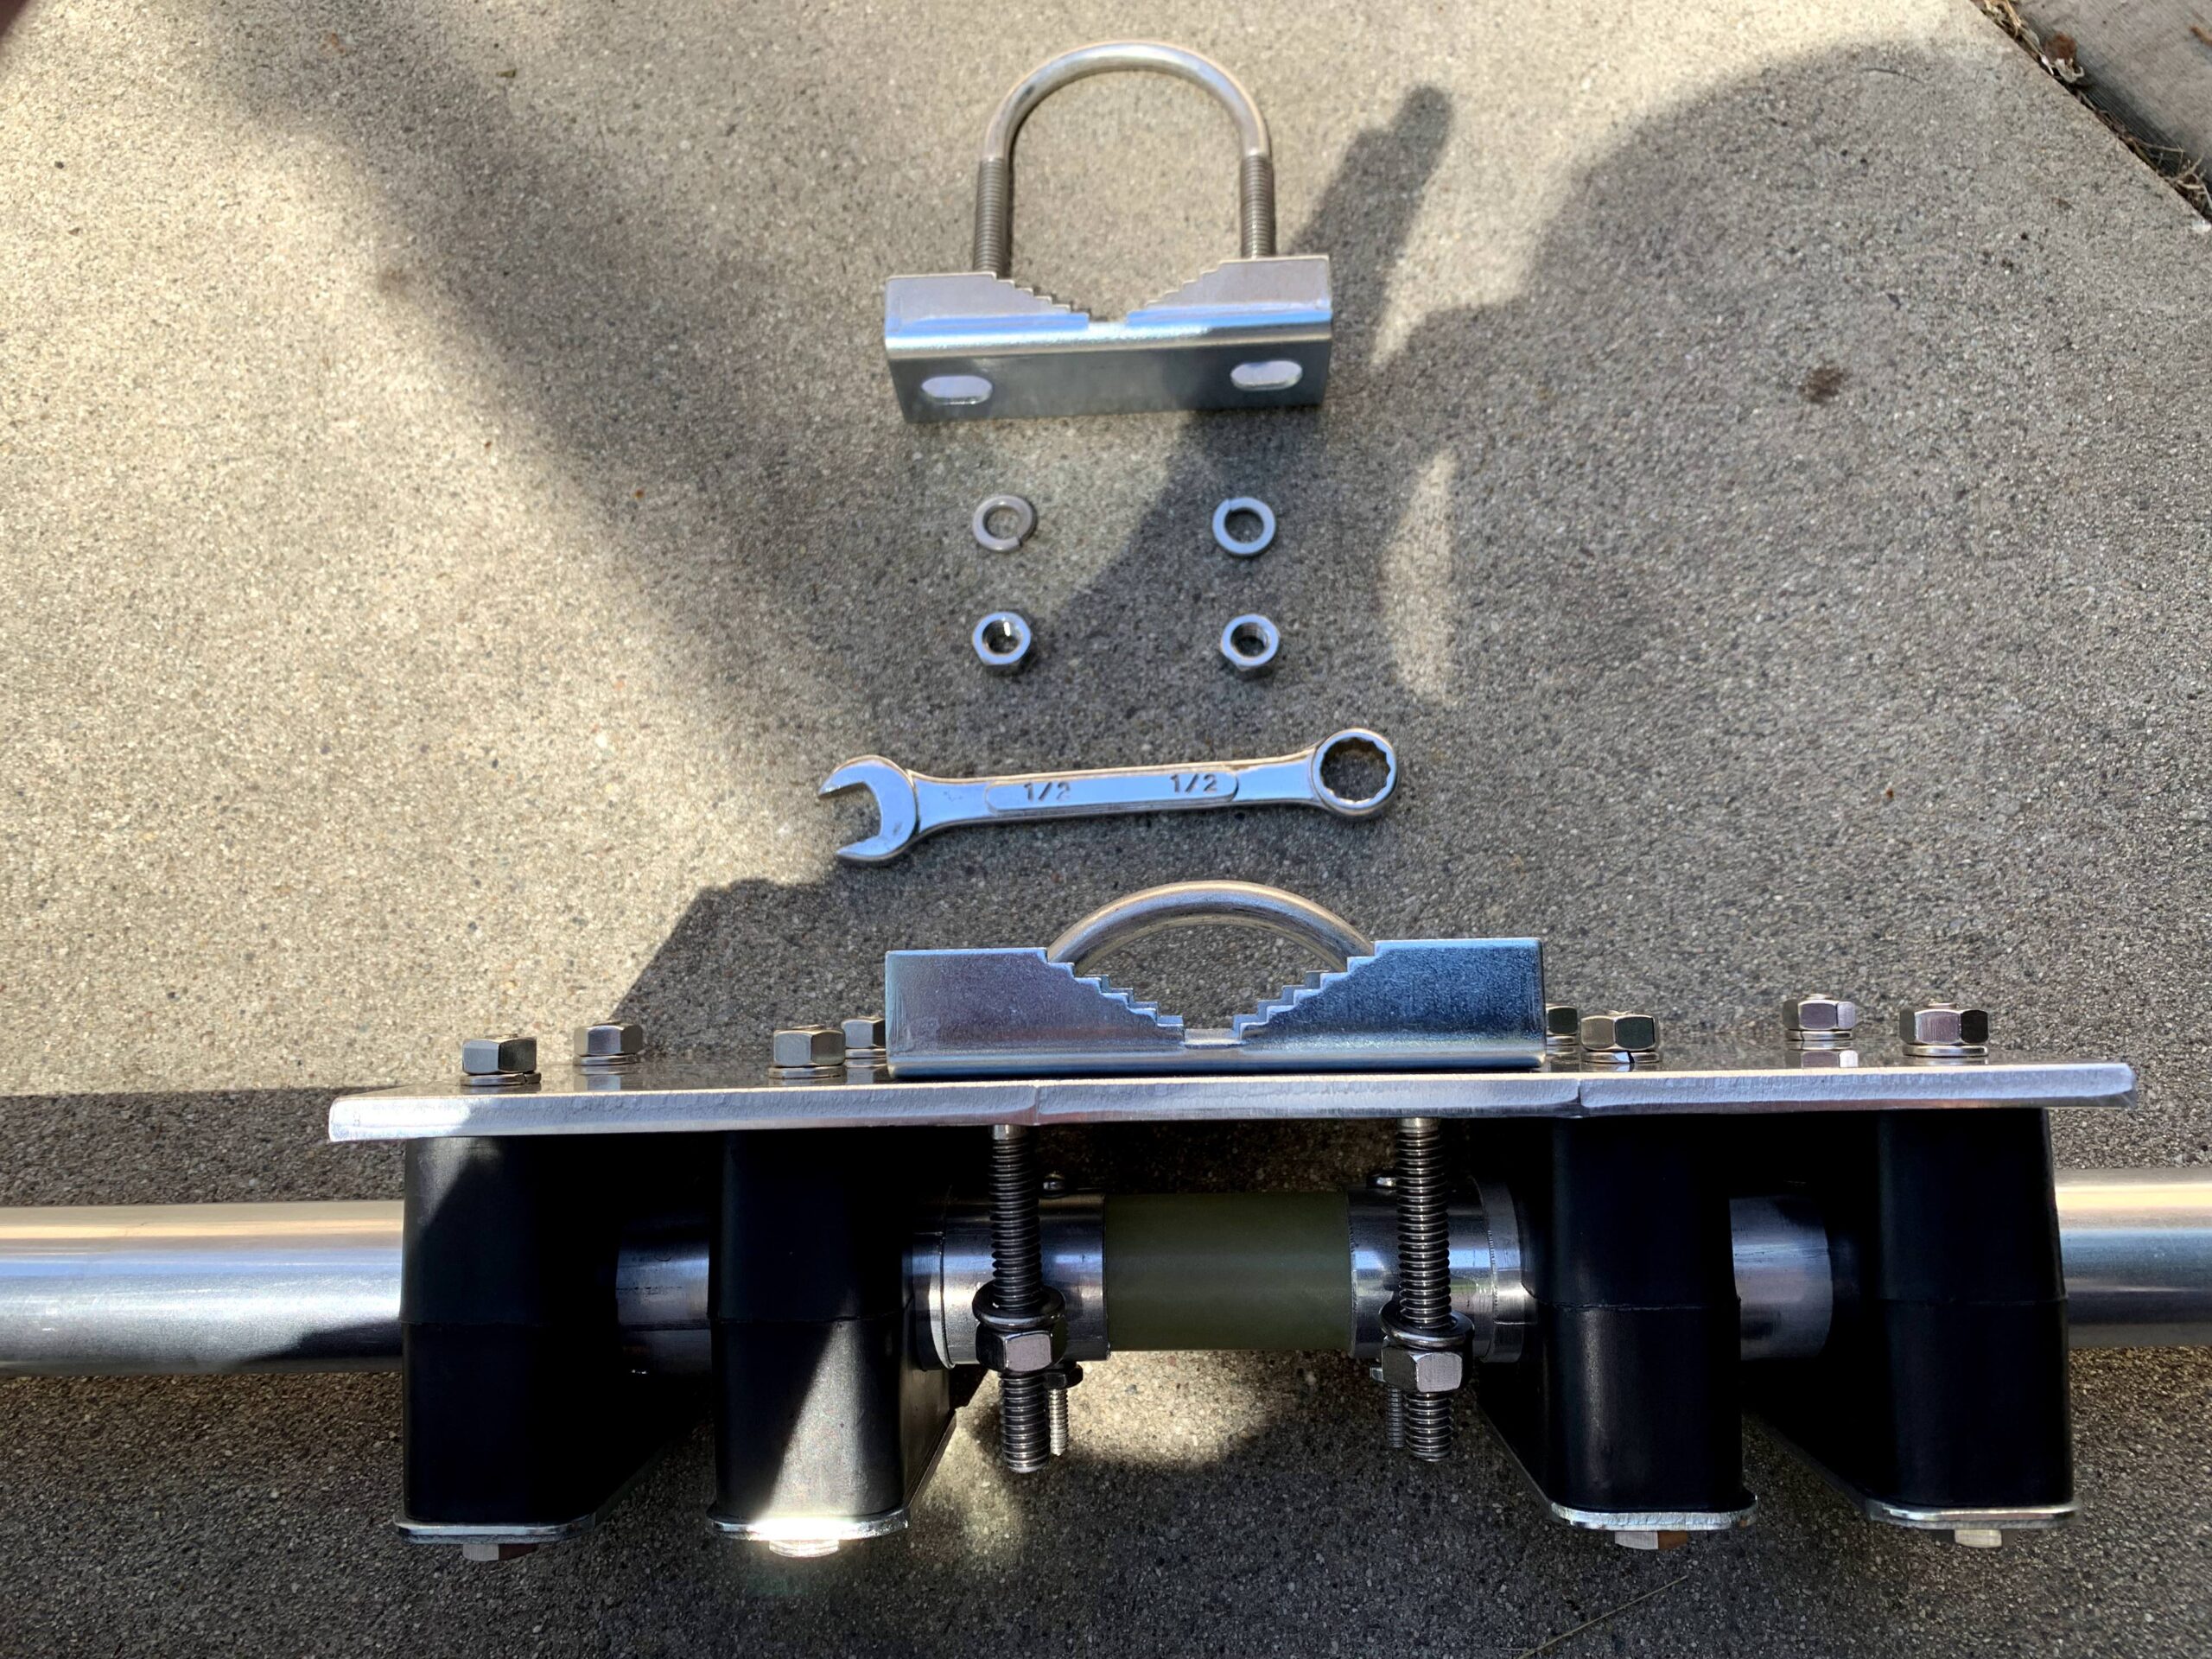
Set out all the parts received.
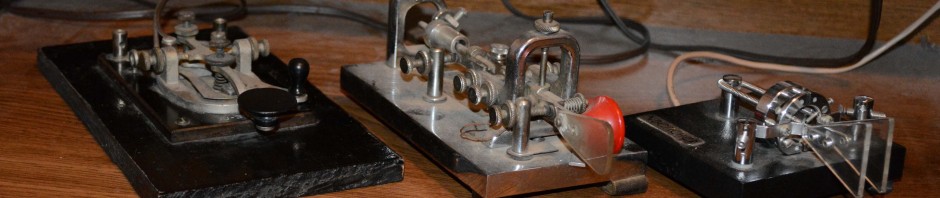
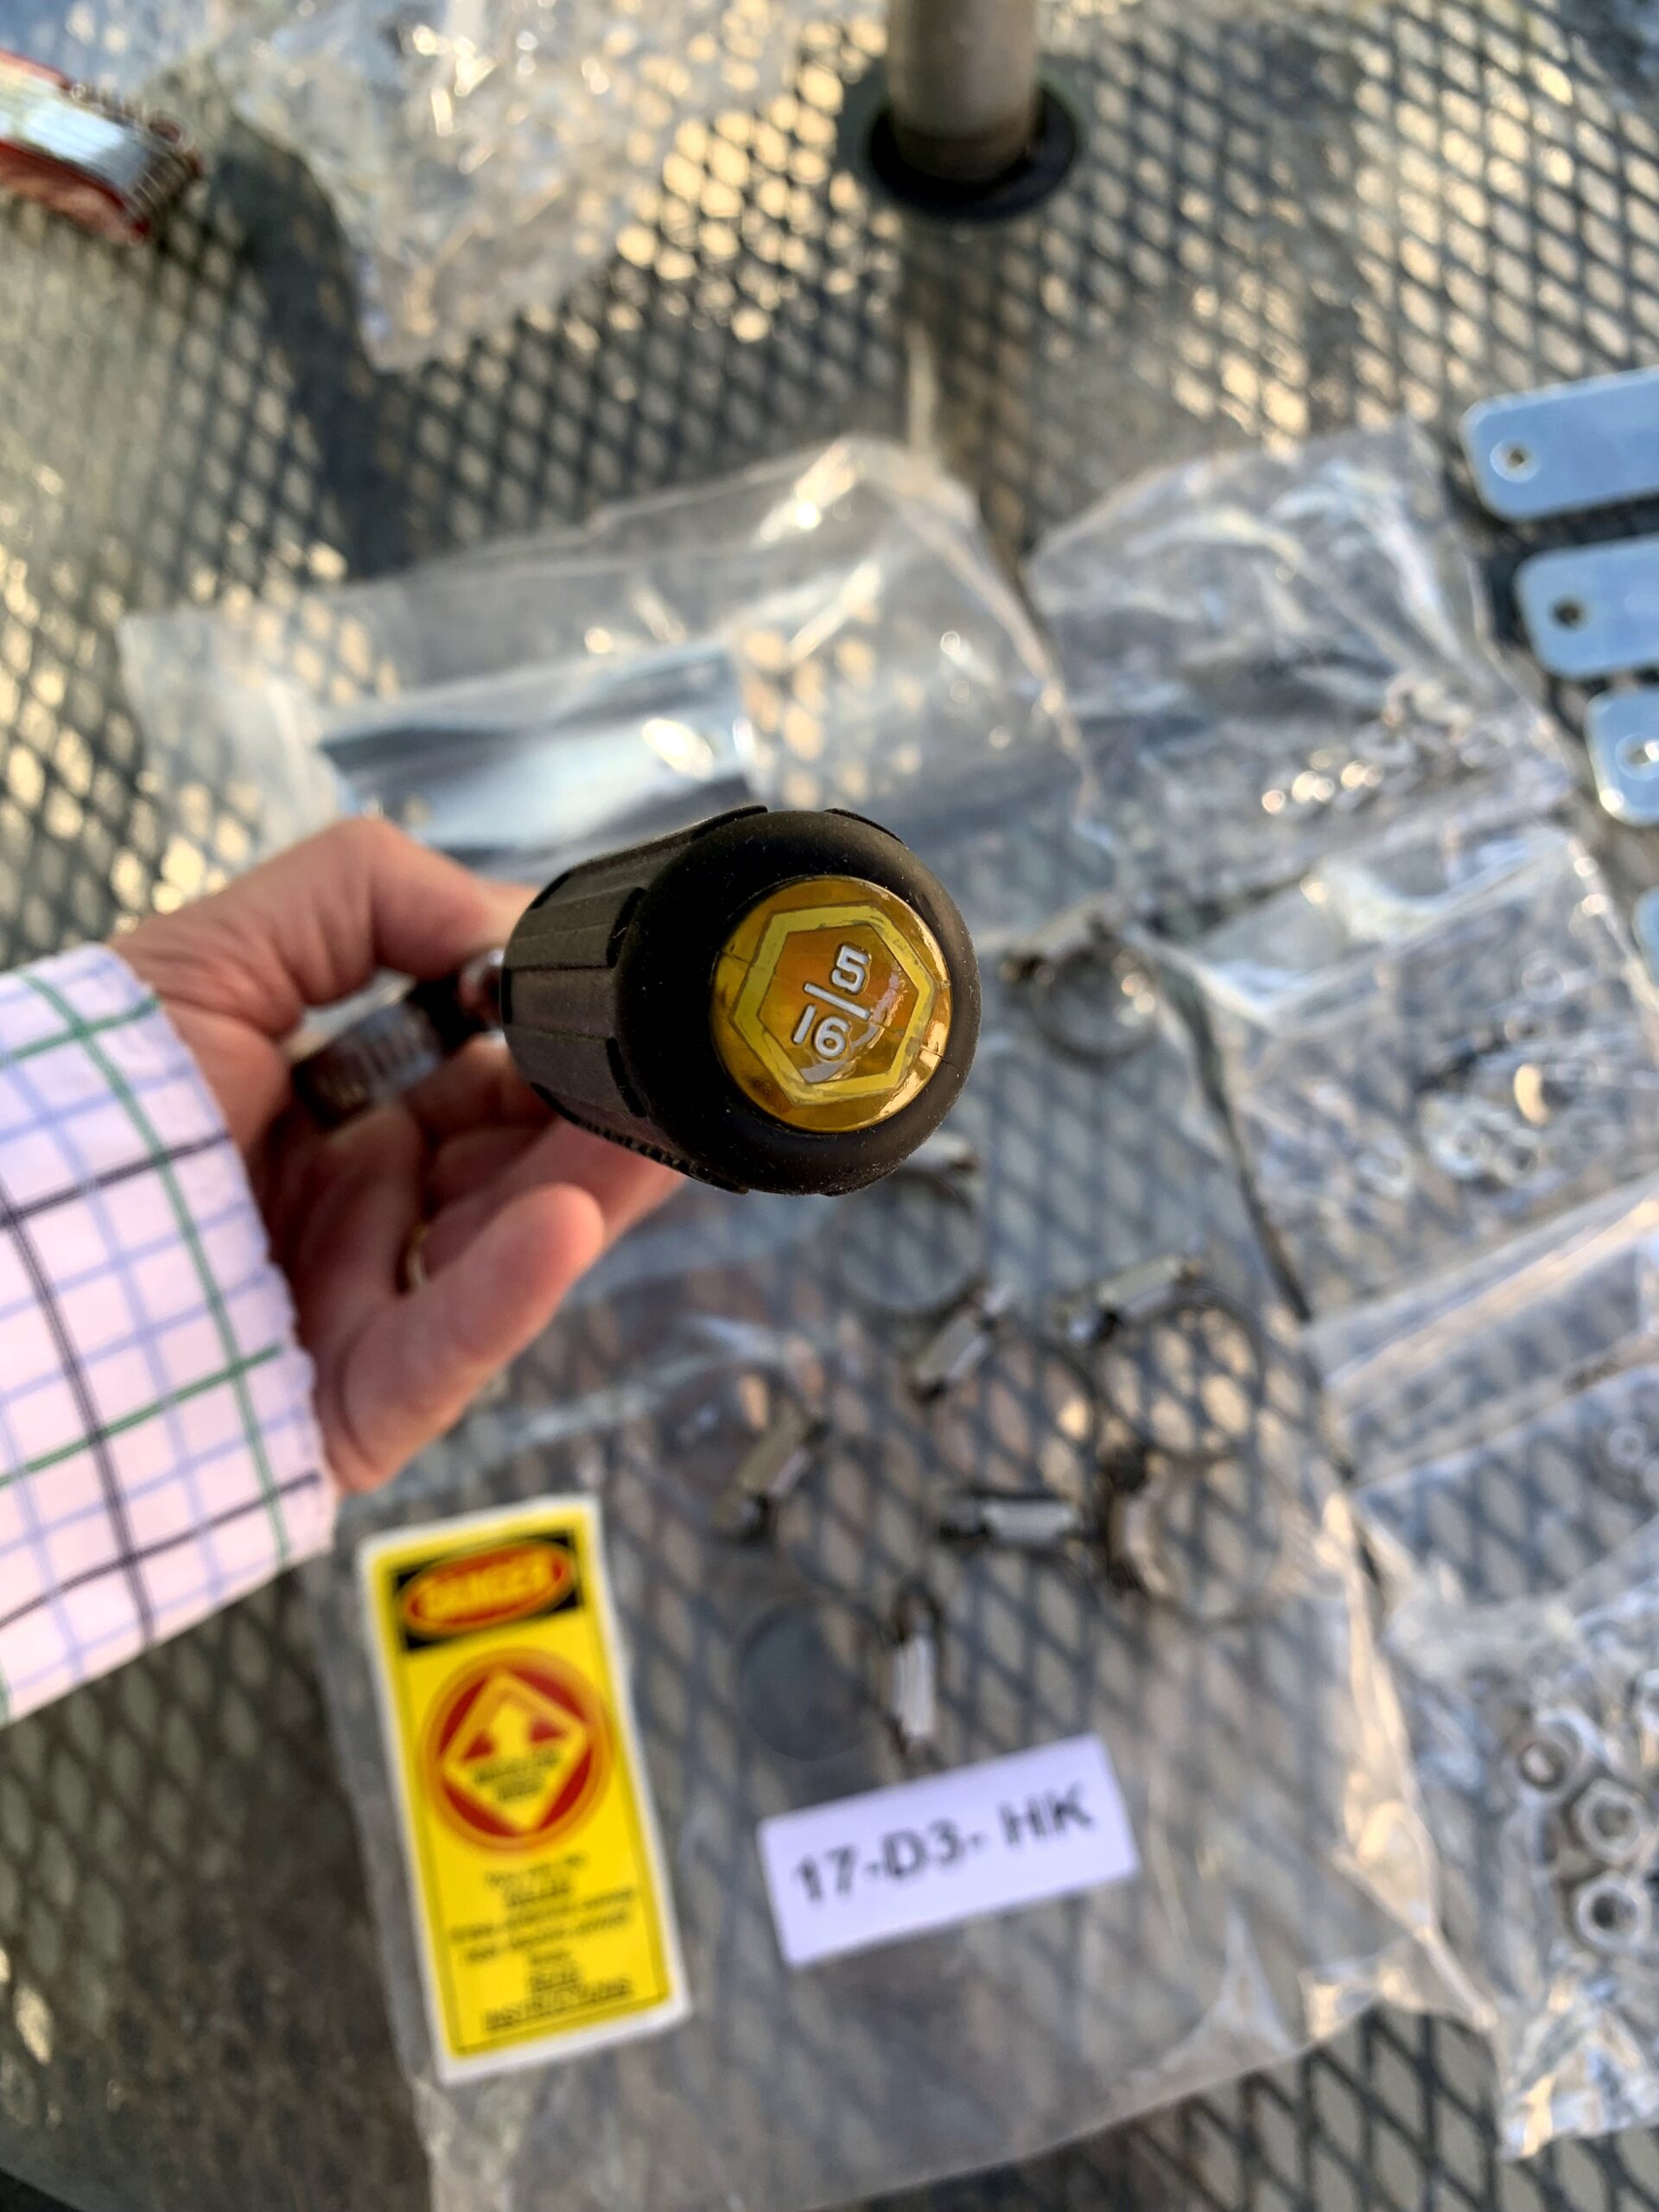
Screw clamps will use a 5/16 inch nut driver. Common tools were all that were needed for assembly. All tools shown are my tools, and were not included with the D3 (as expected).
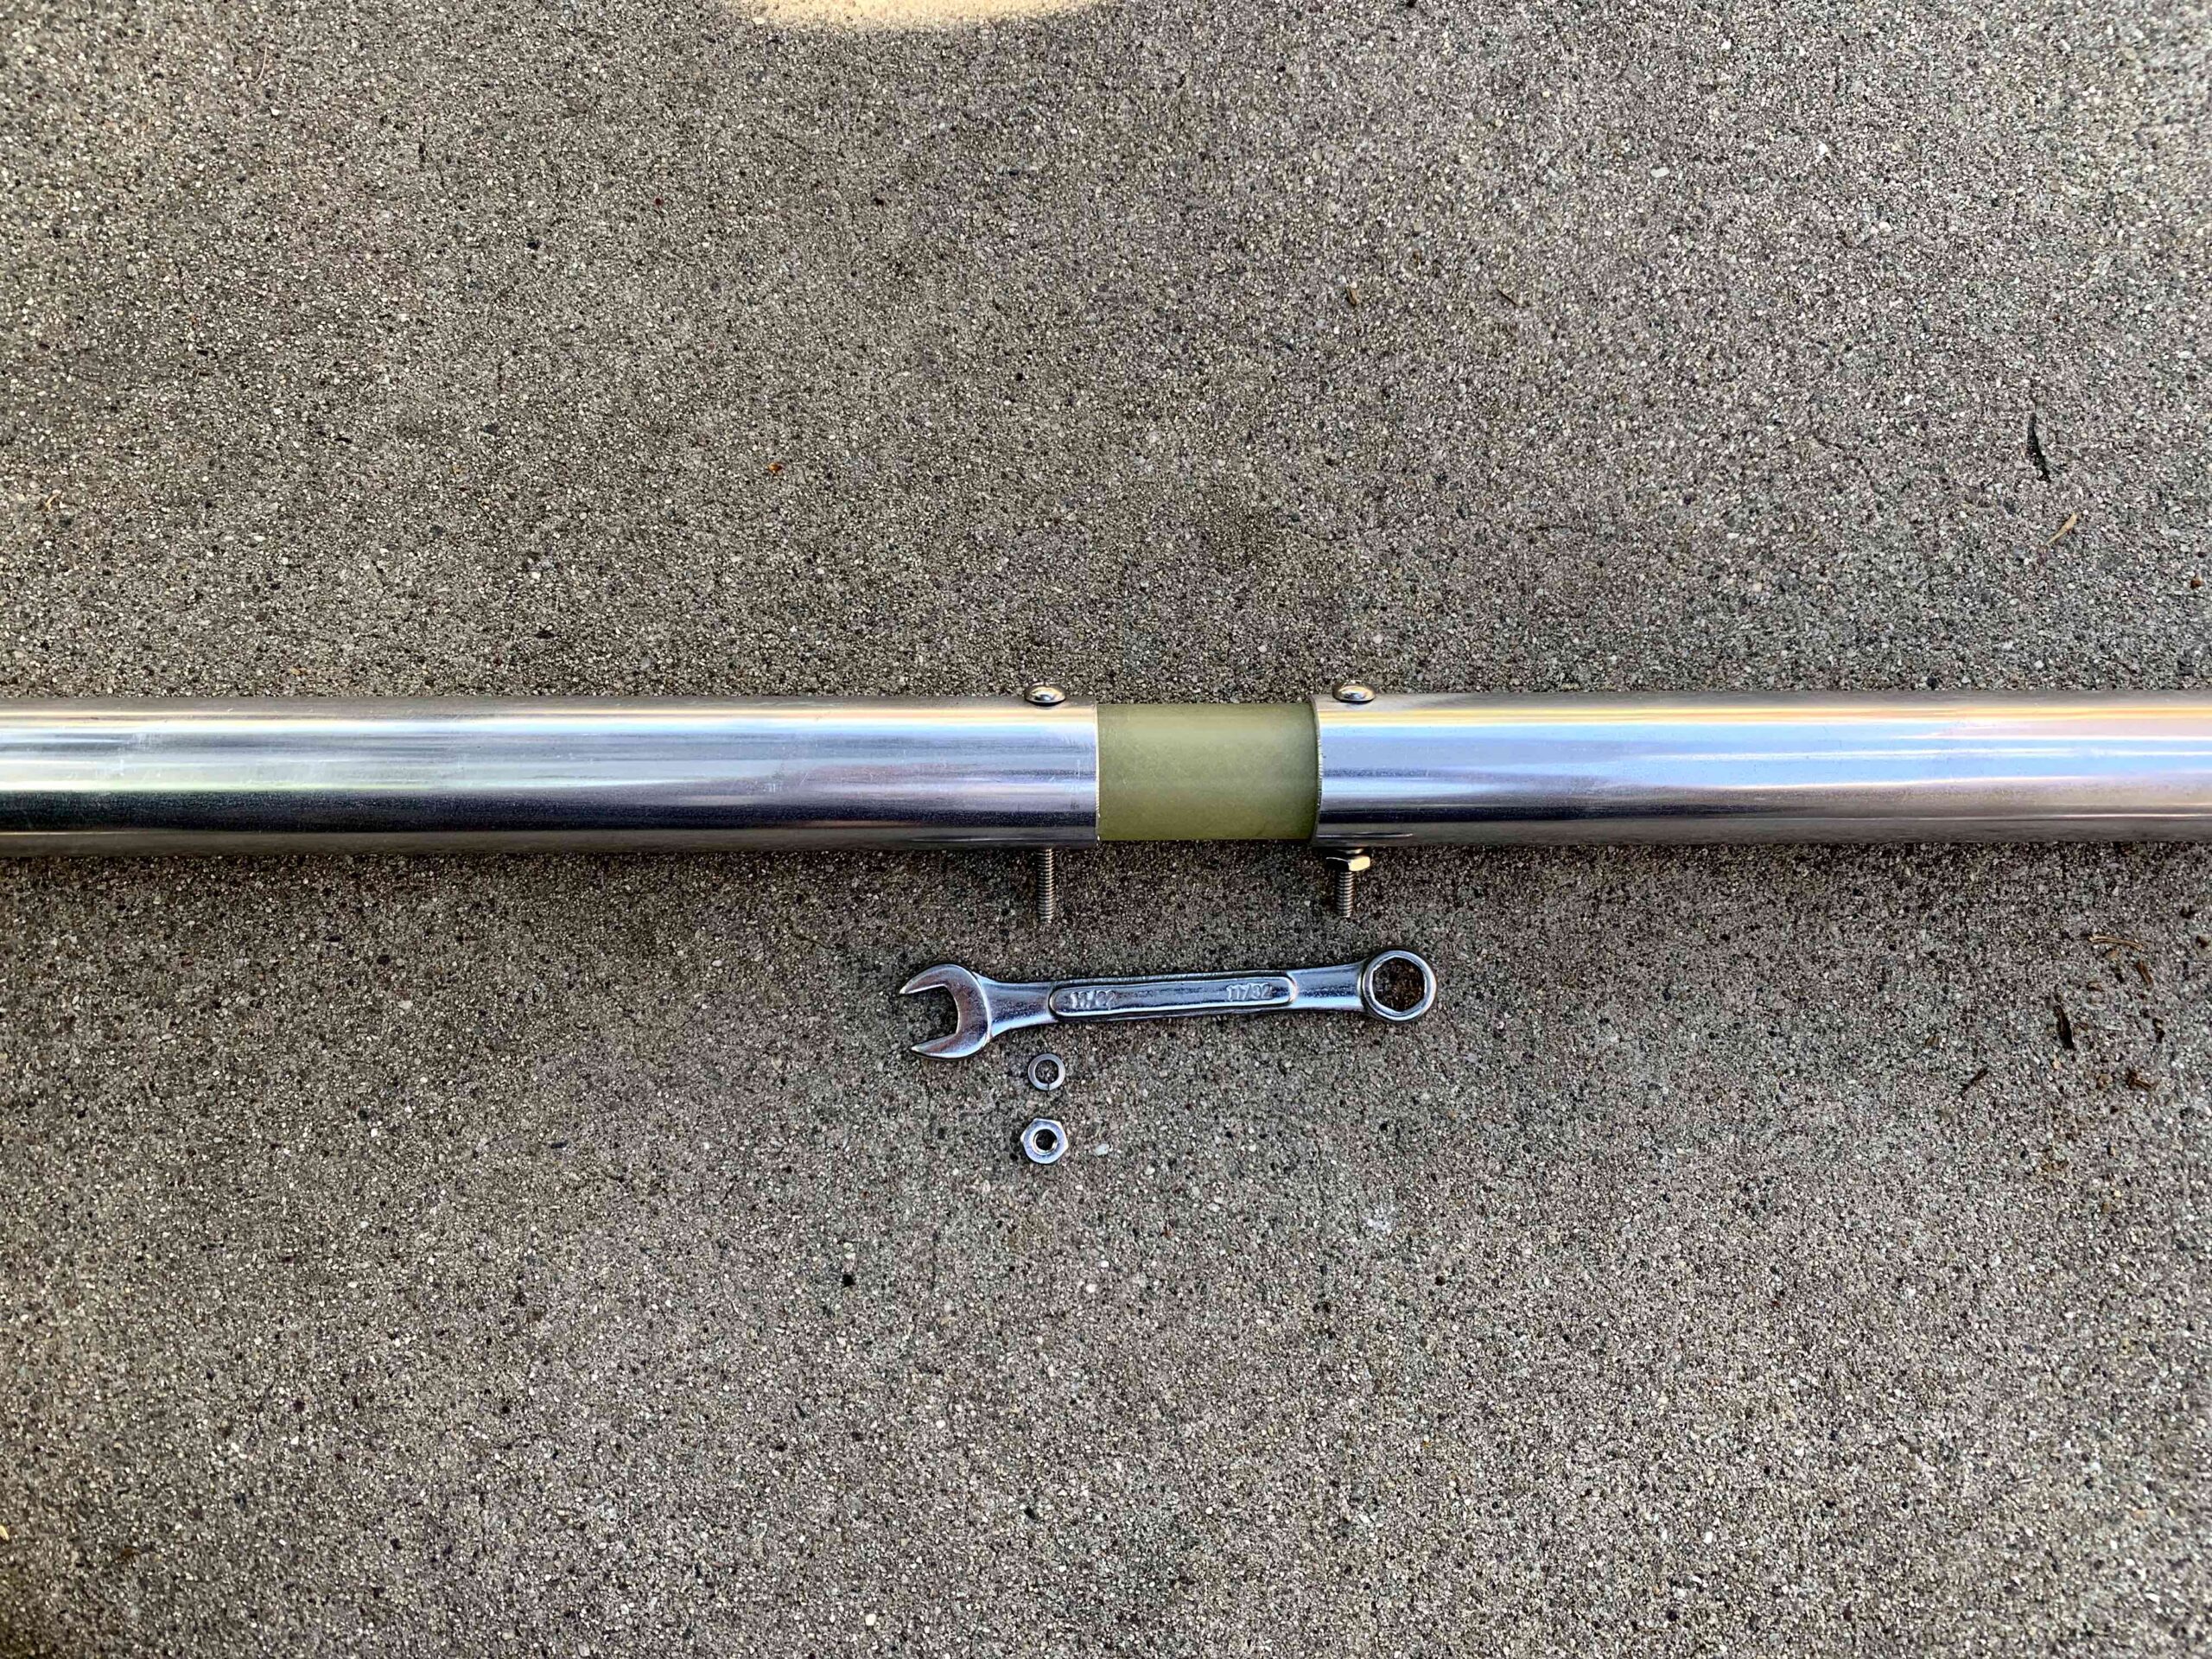
Begin Assembly by attaching the fiberglass center piece to the larger aluminum element part.
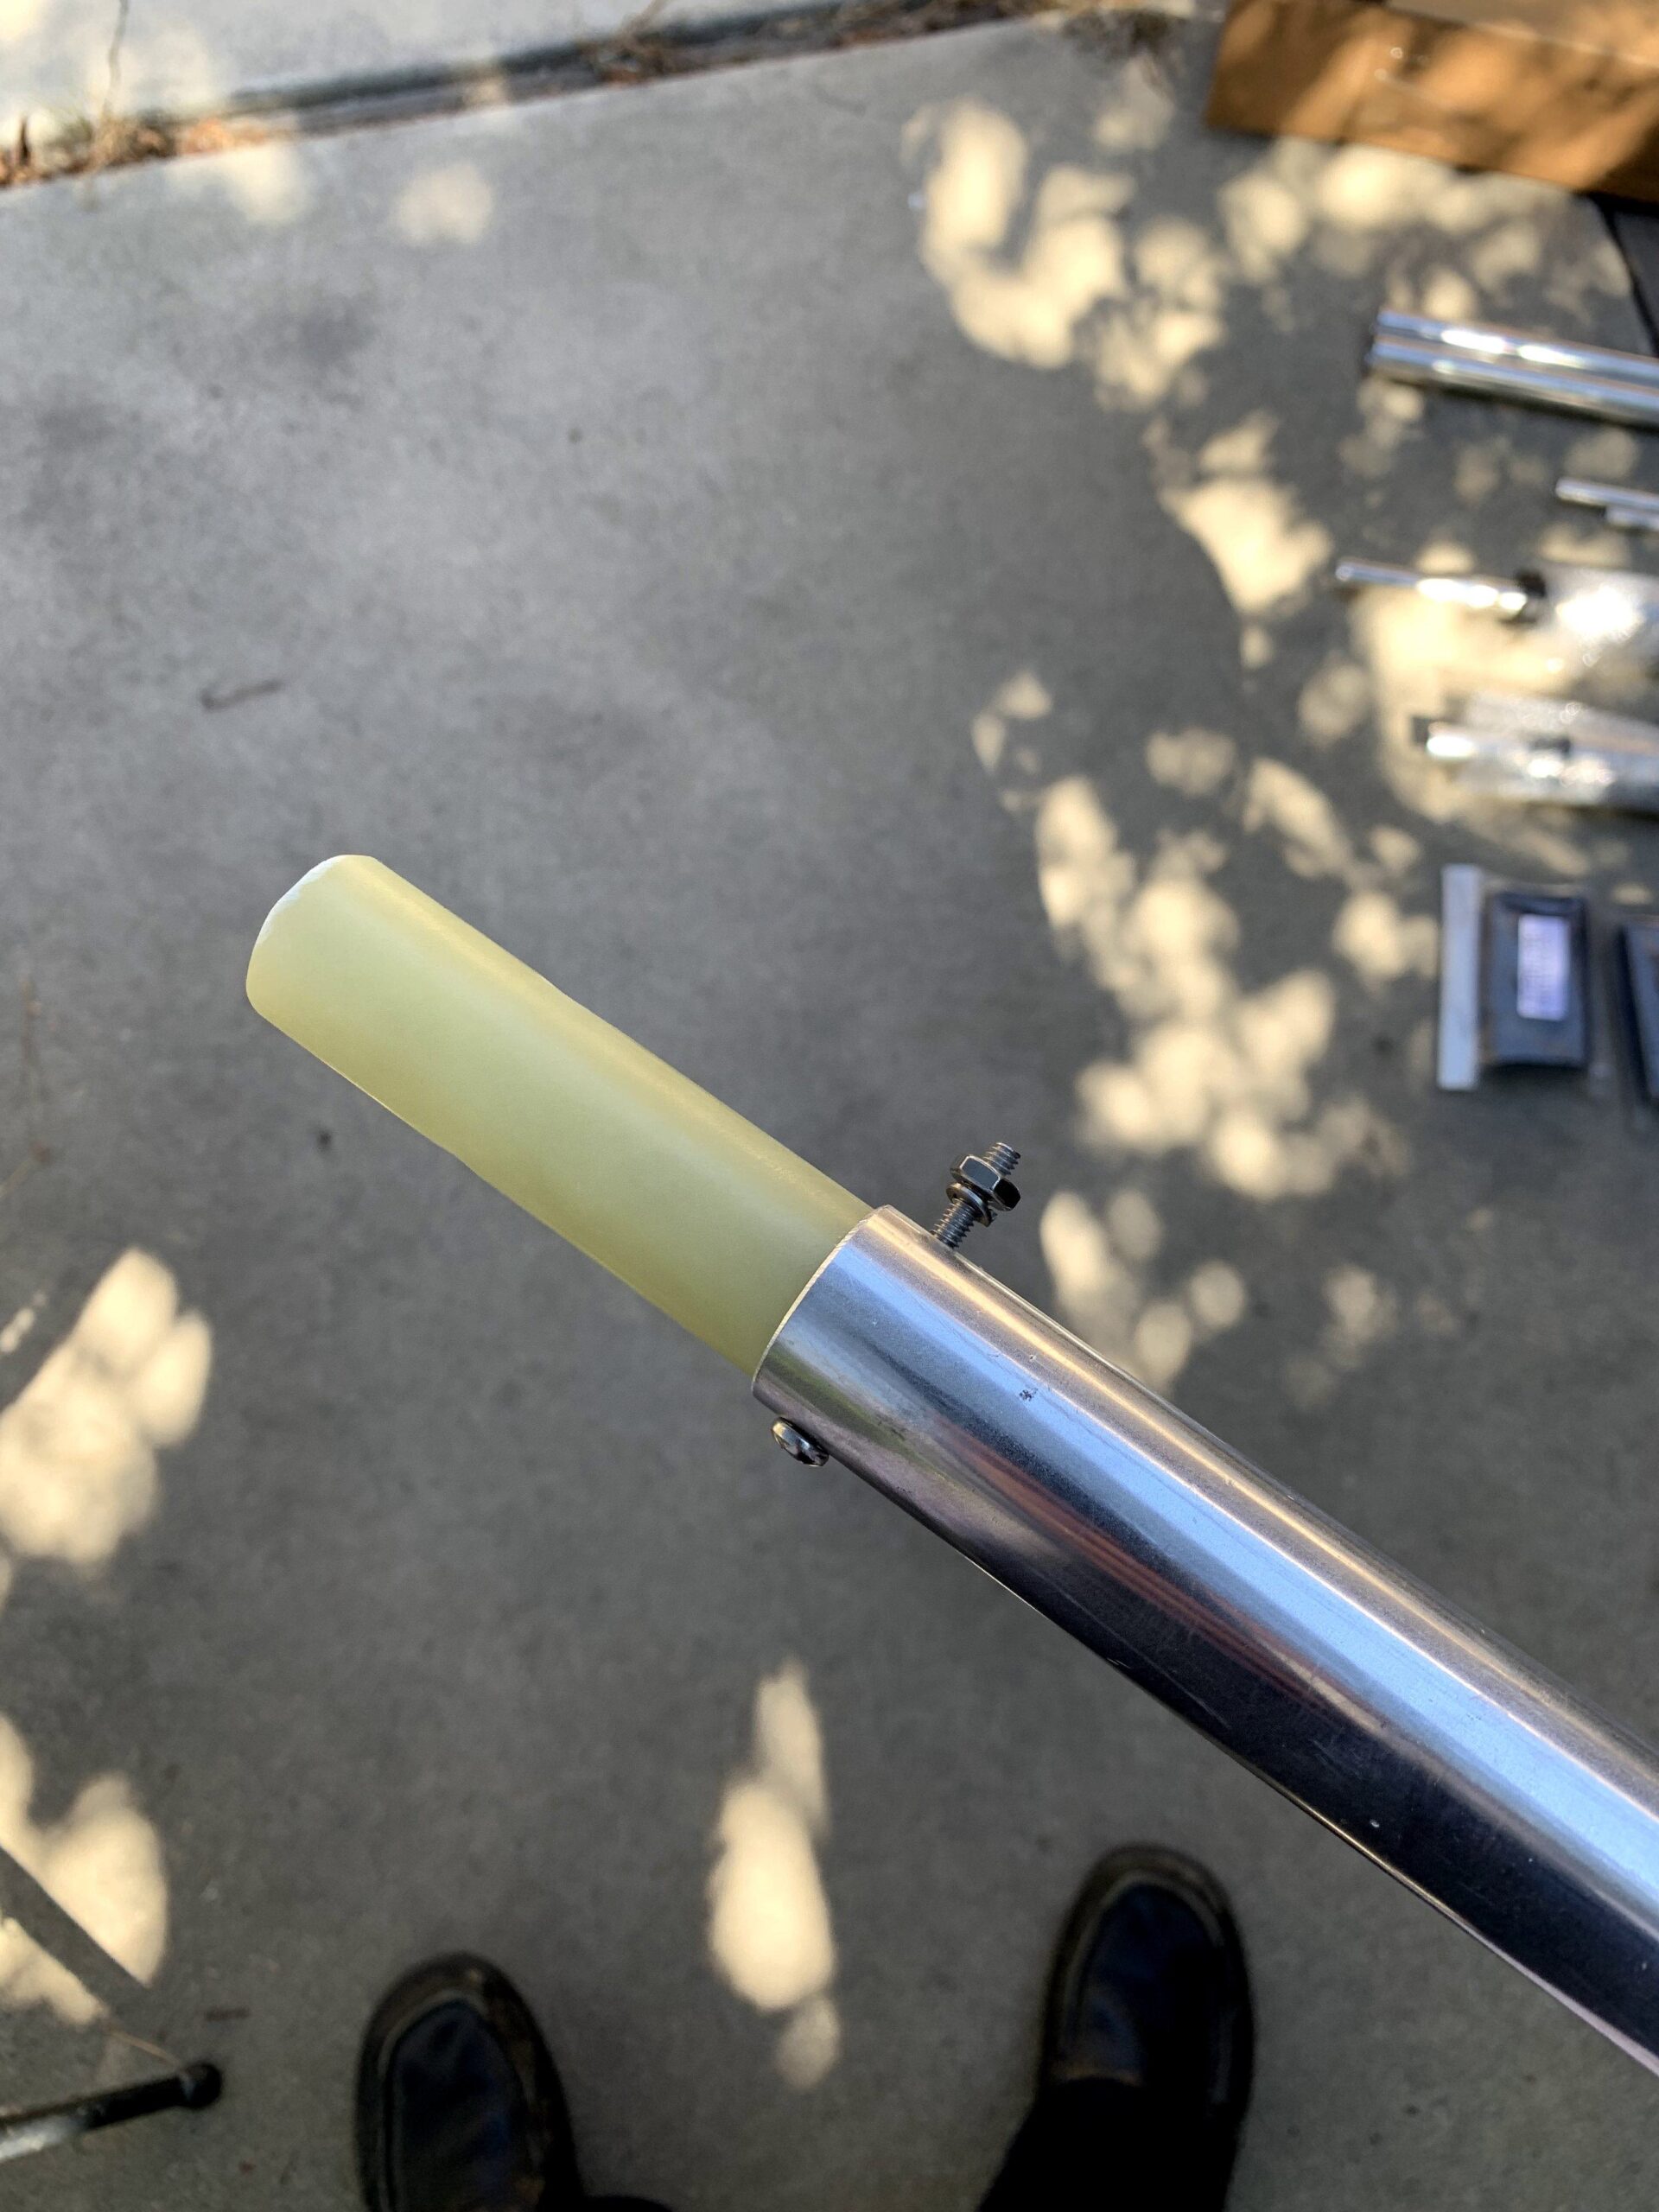
The center piece takes an 11/32 inch wrench. Note, later the coax will connect to these same screws.
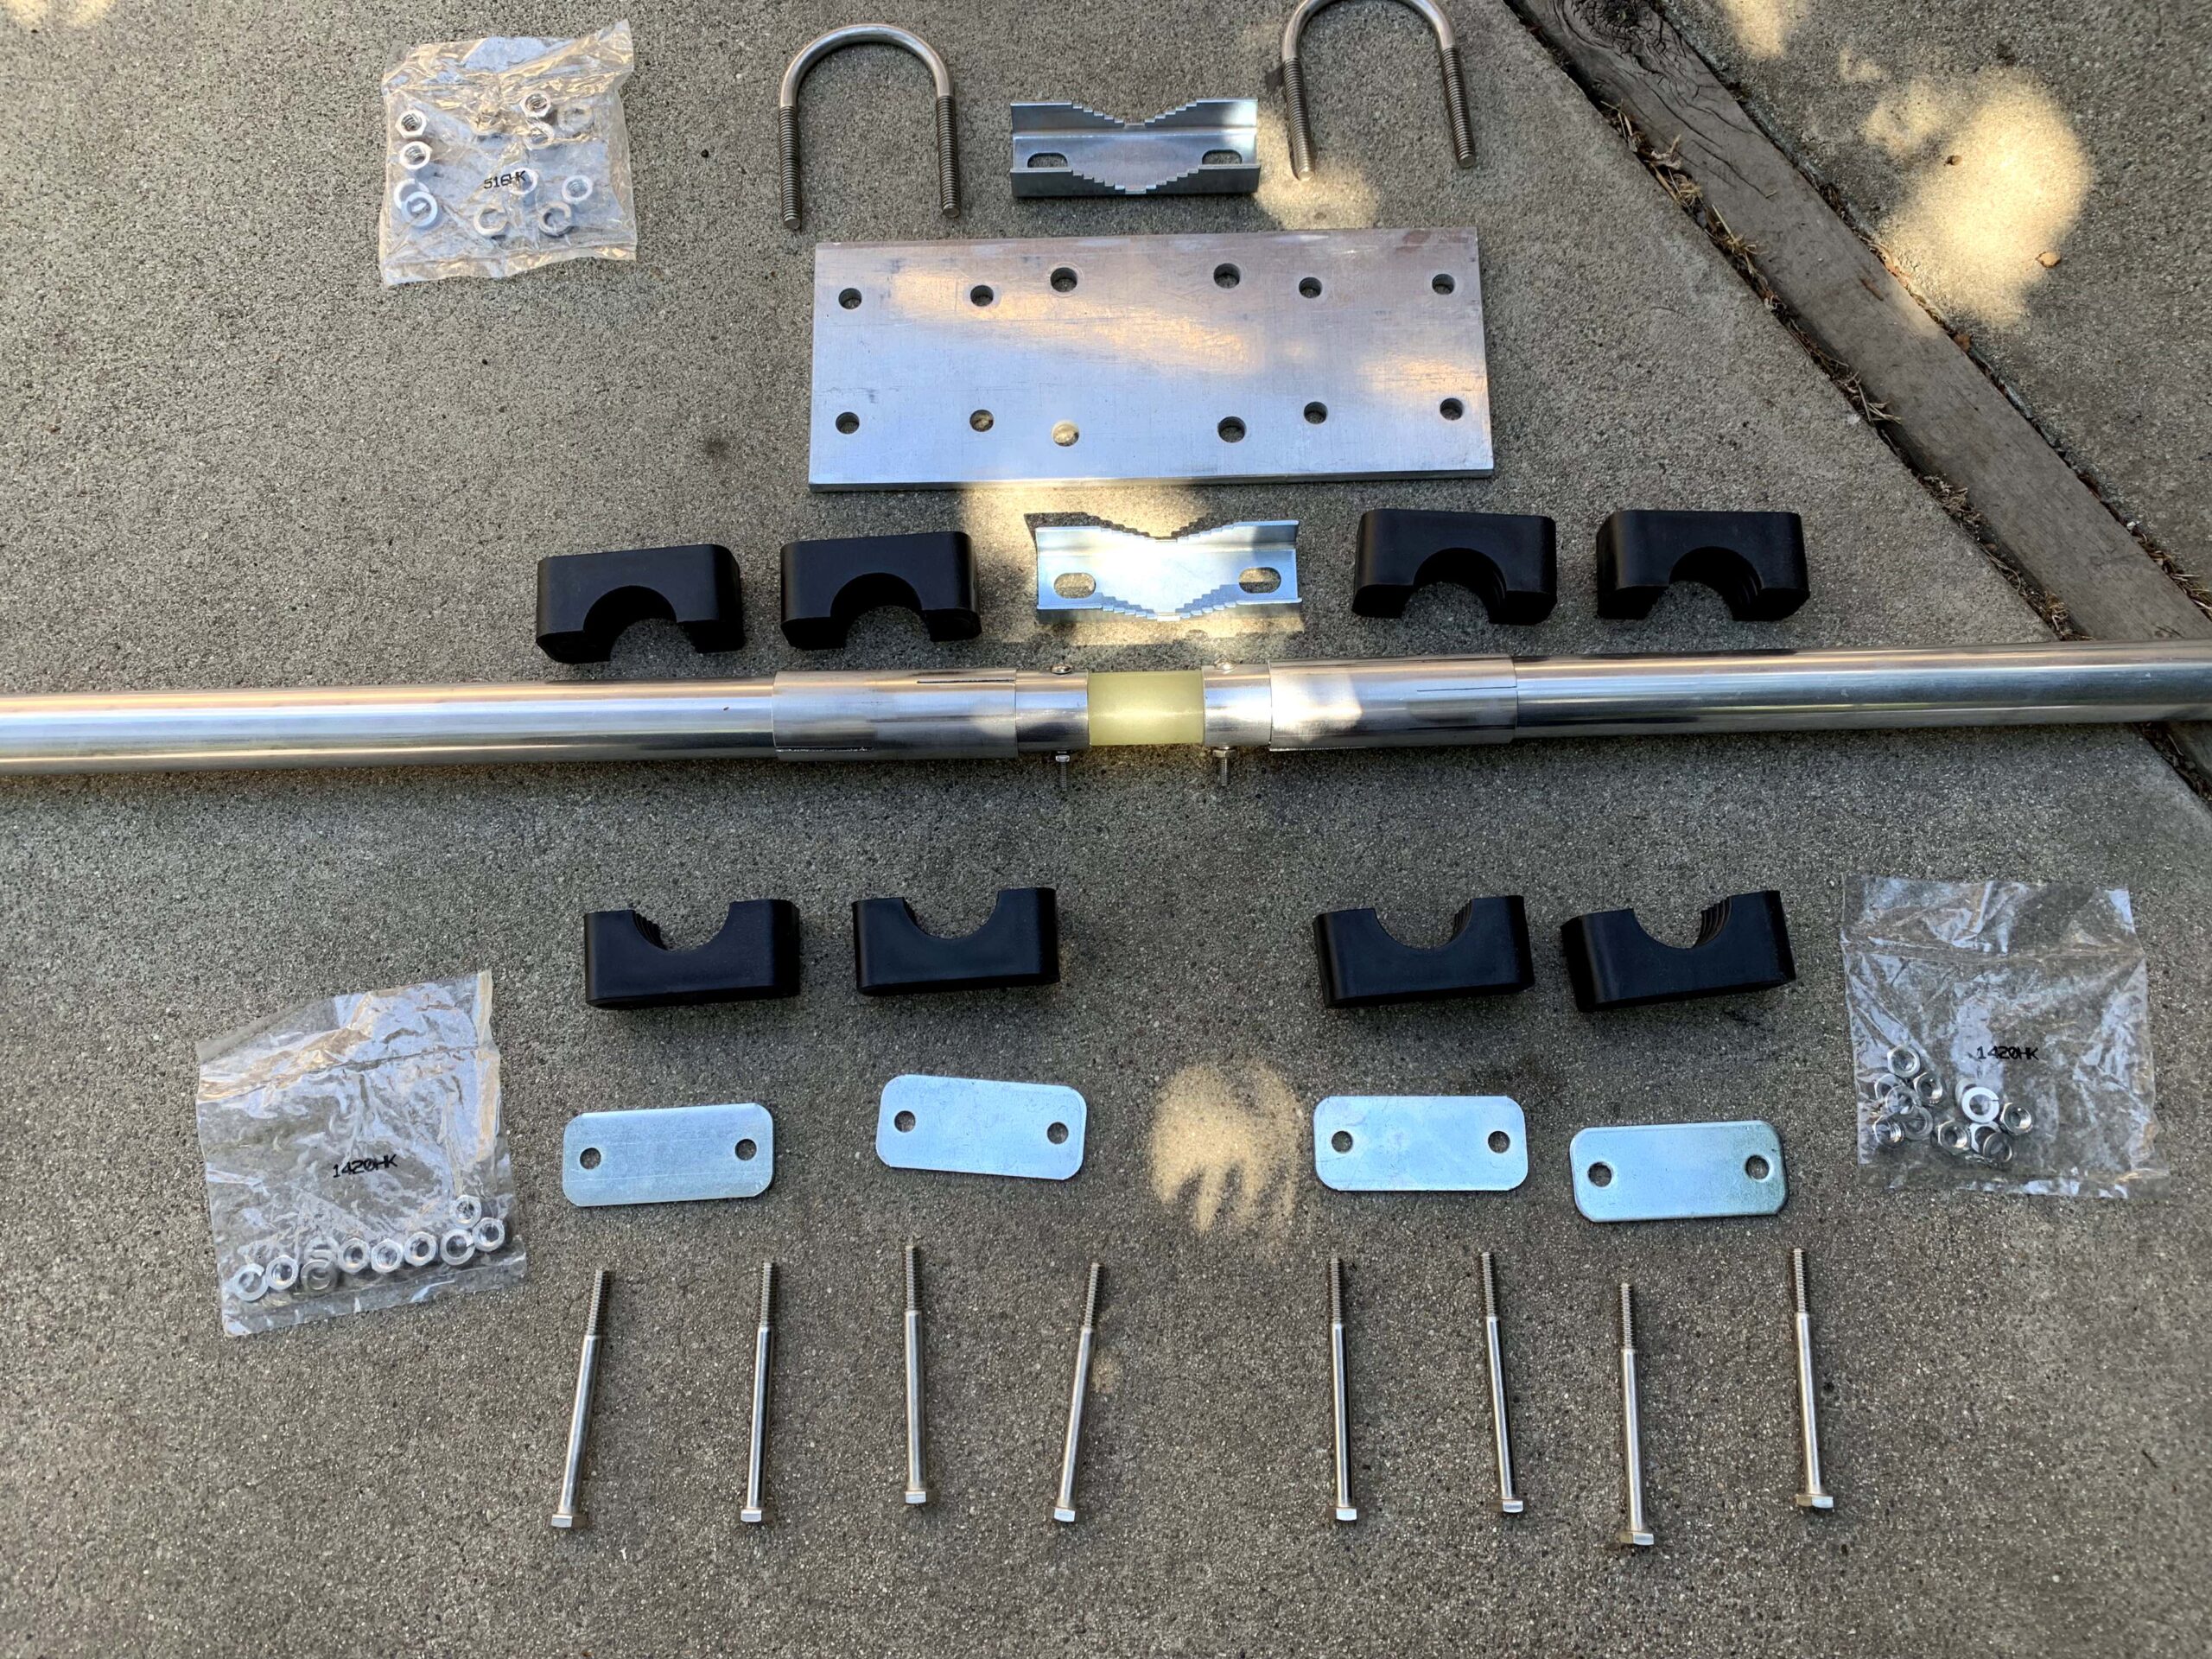
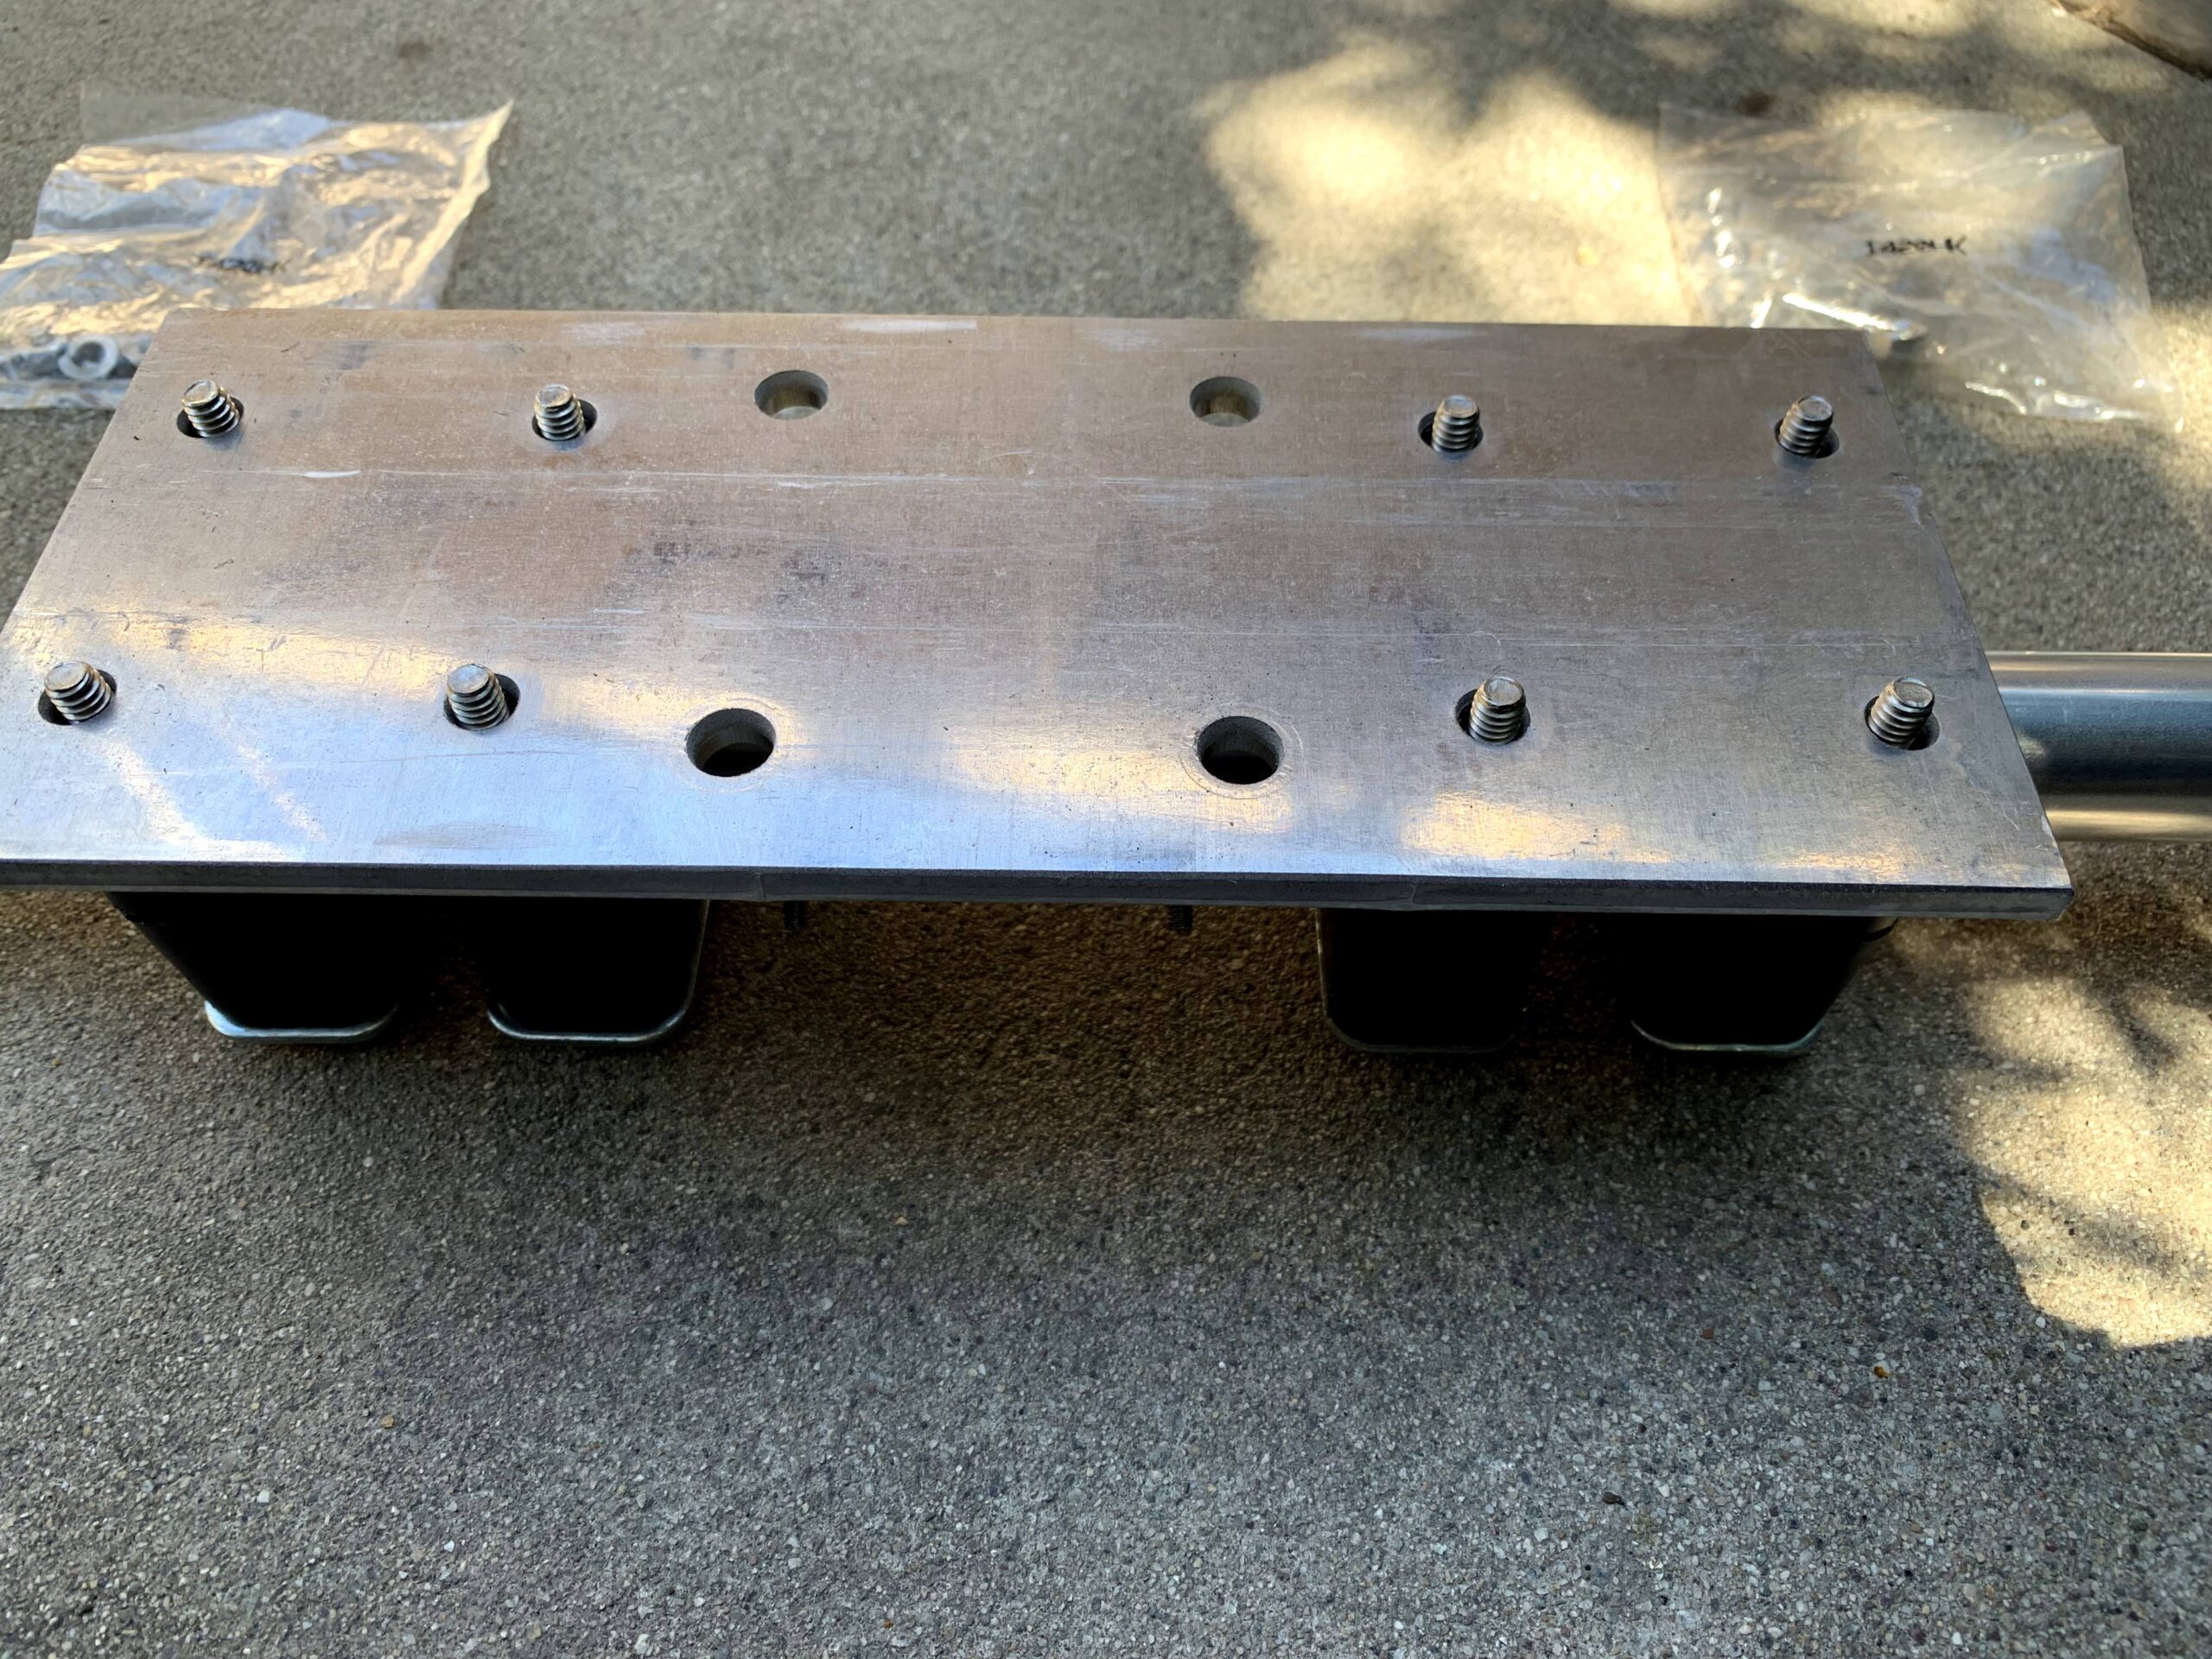
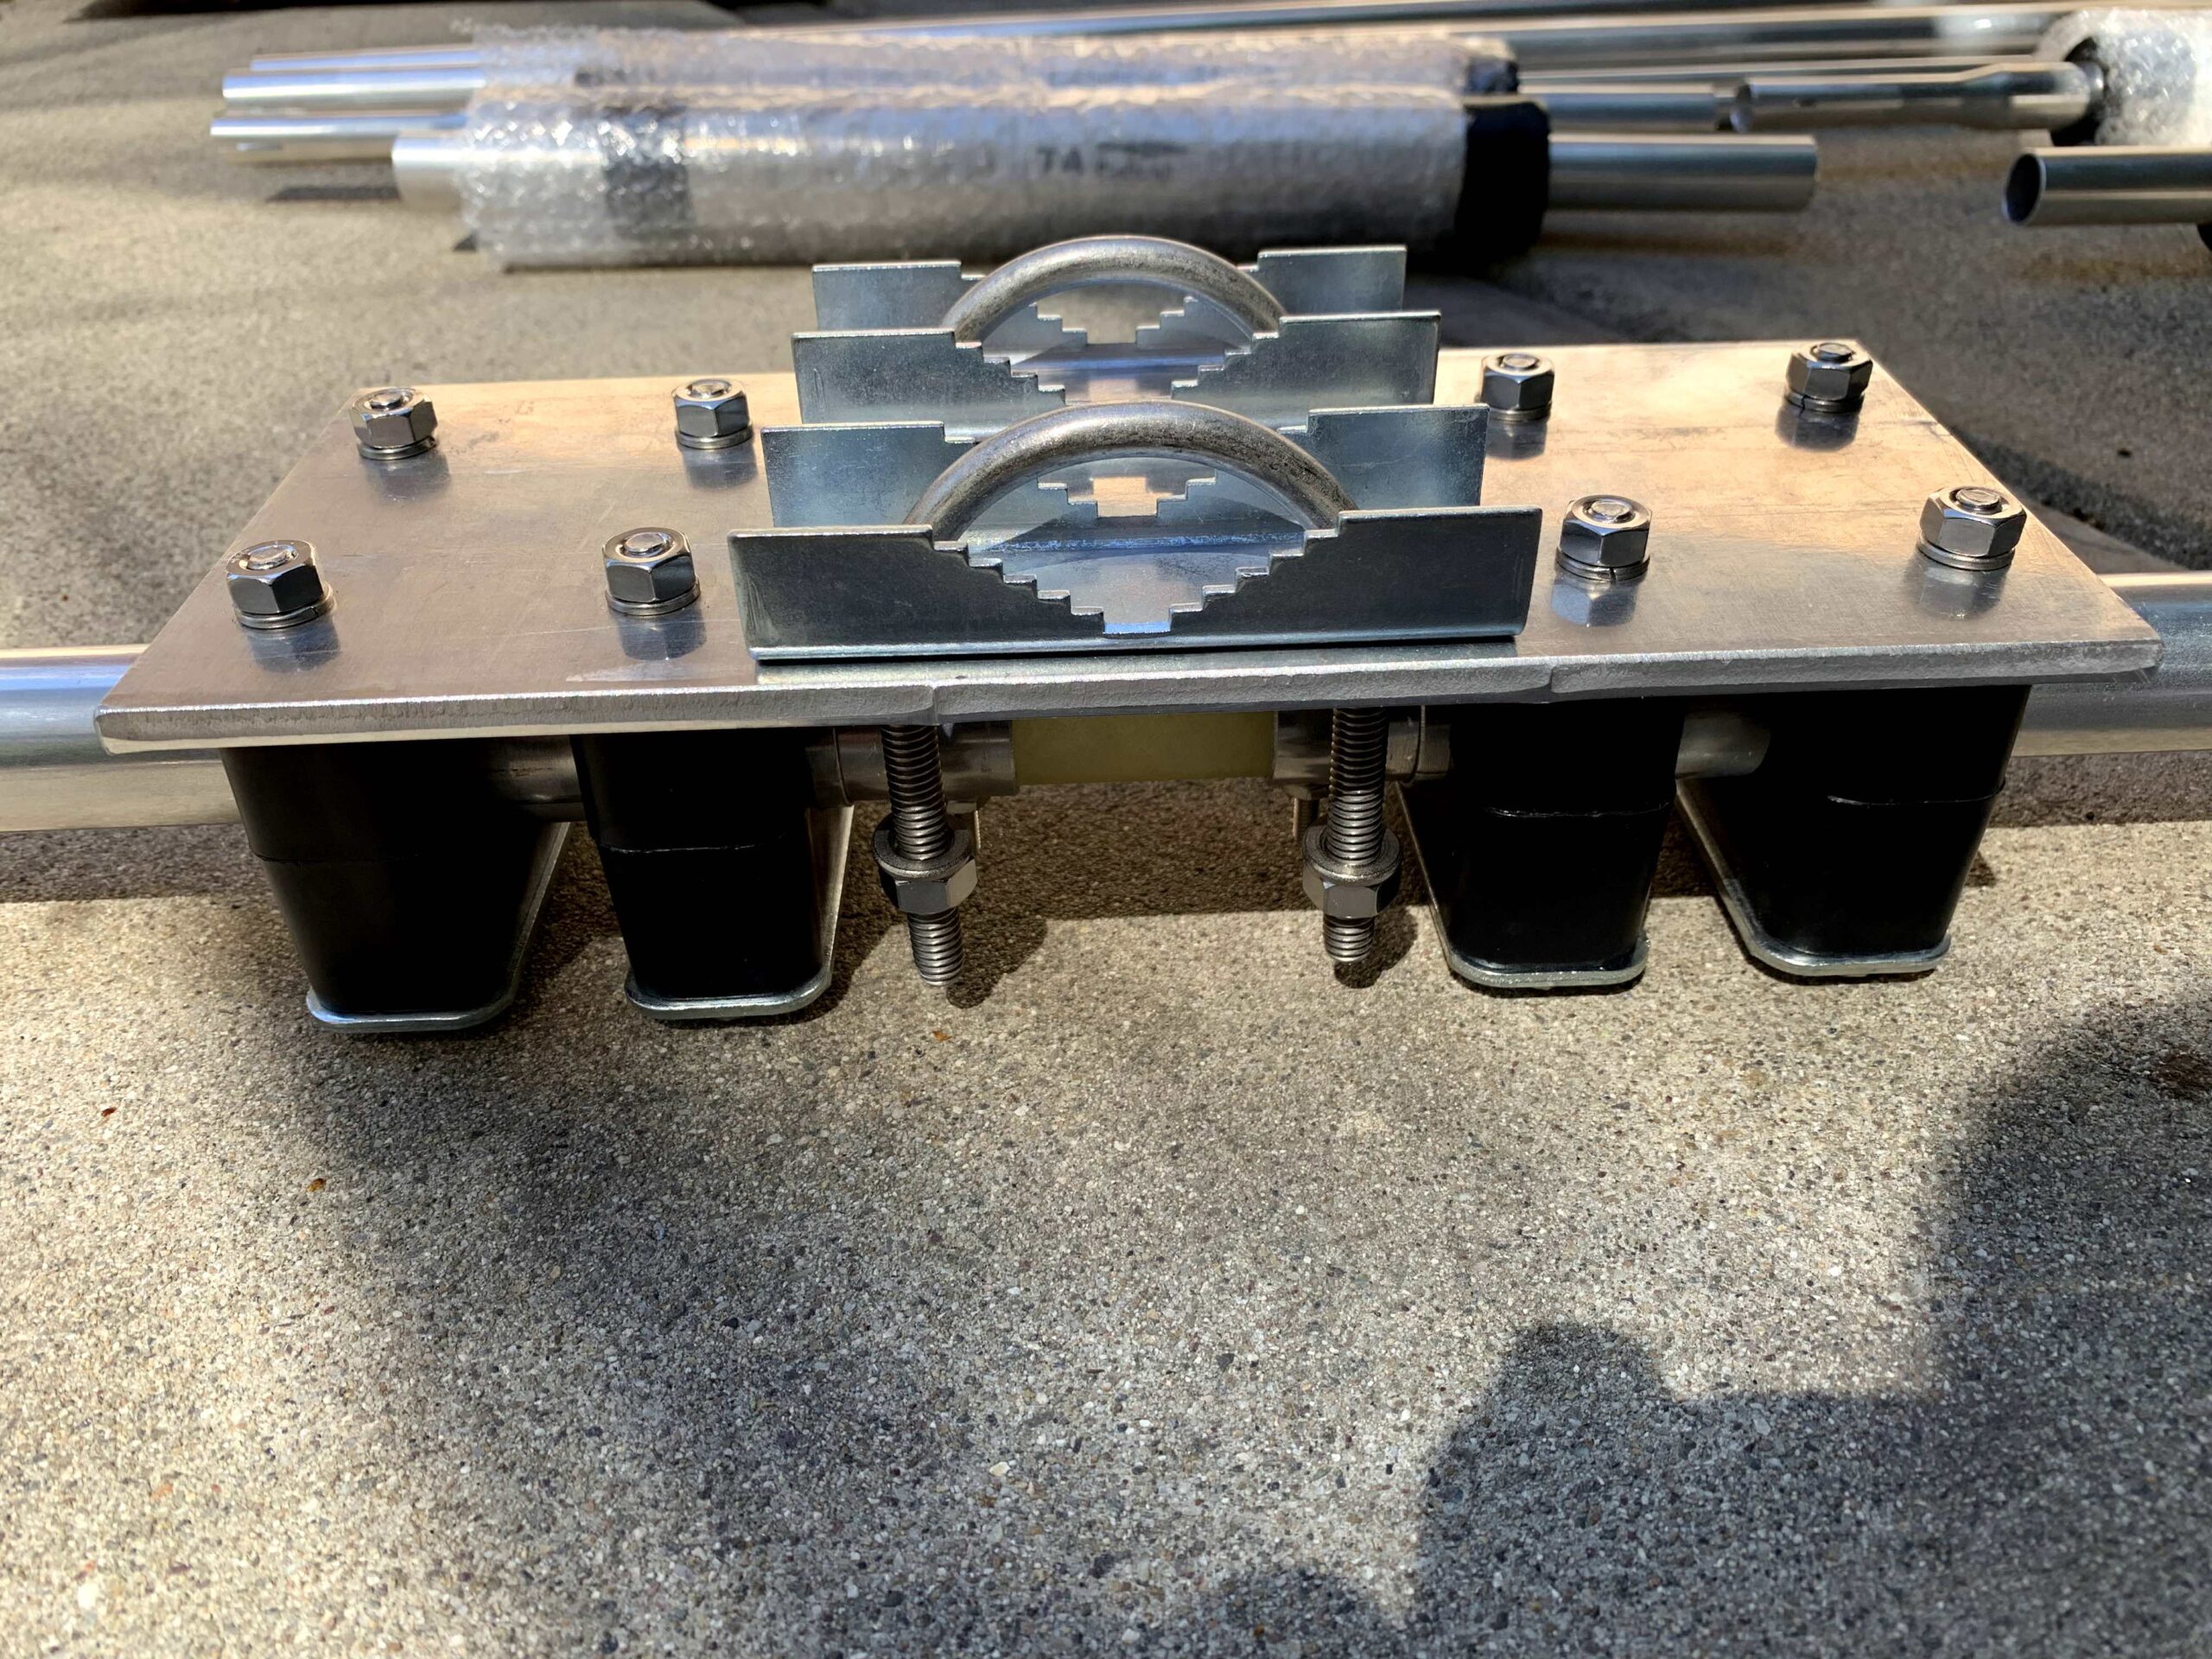
Ready to put together the base plate assembly. The black pieces will insulate antenna from the base plate.
![]()
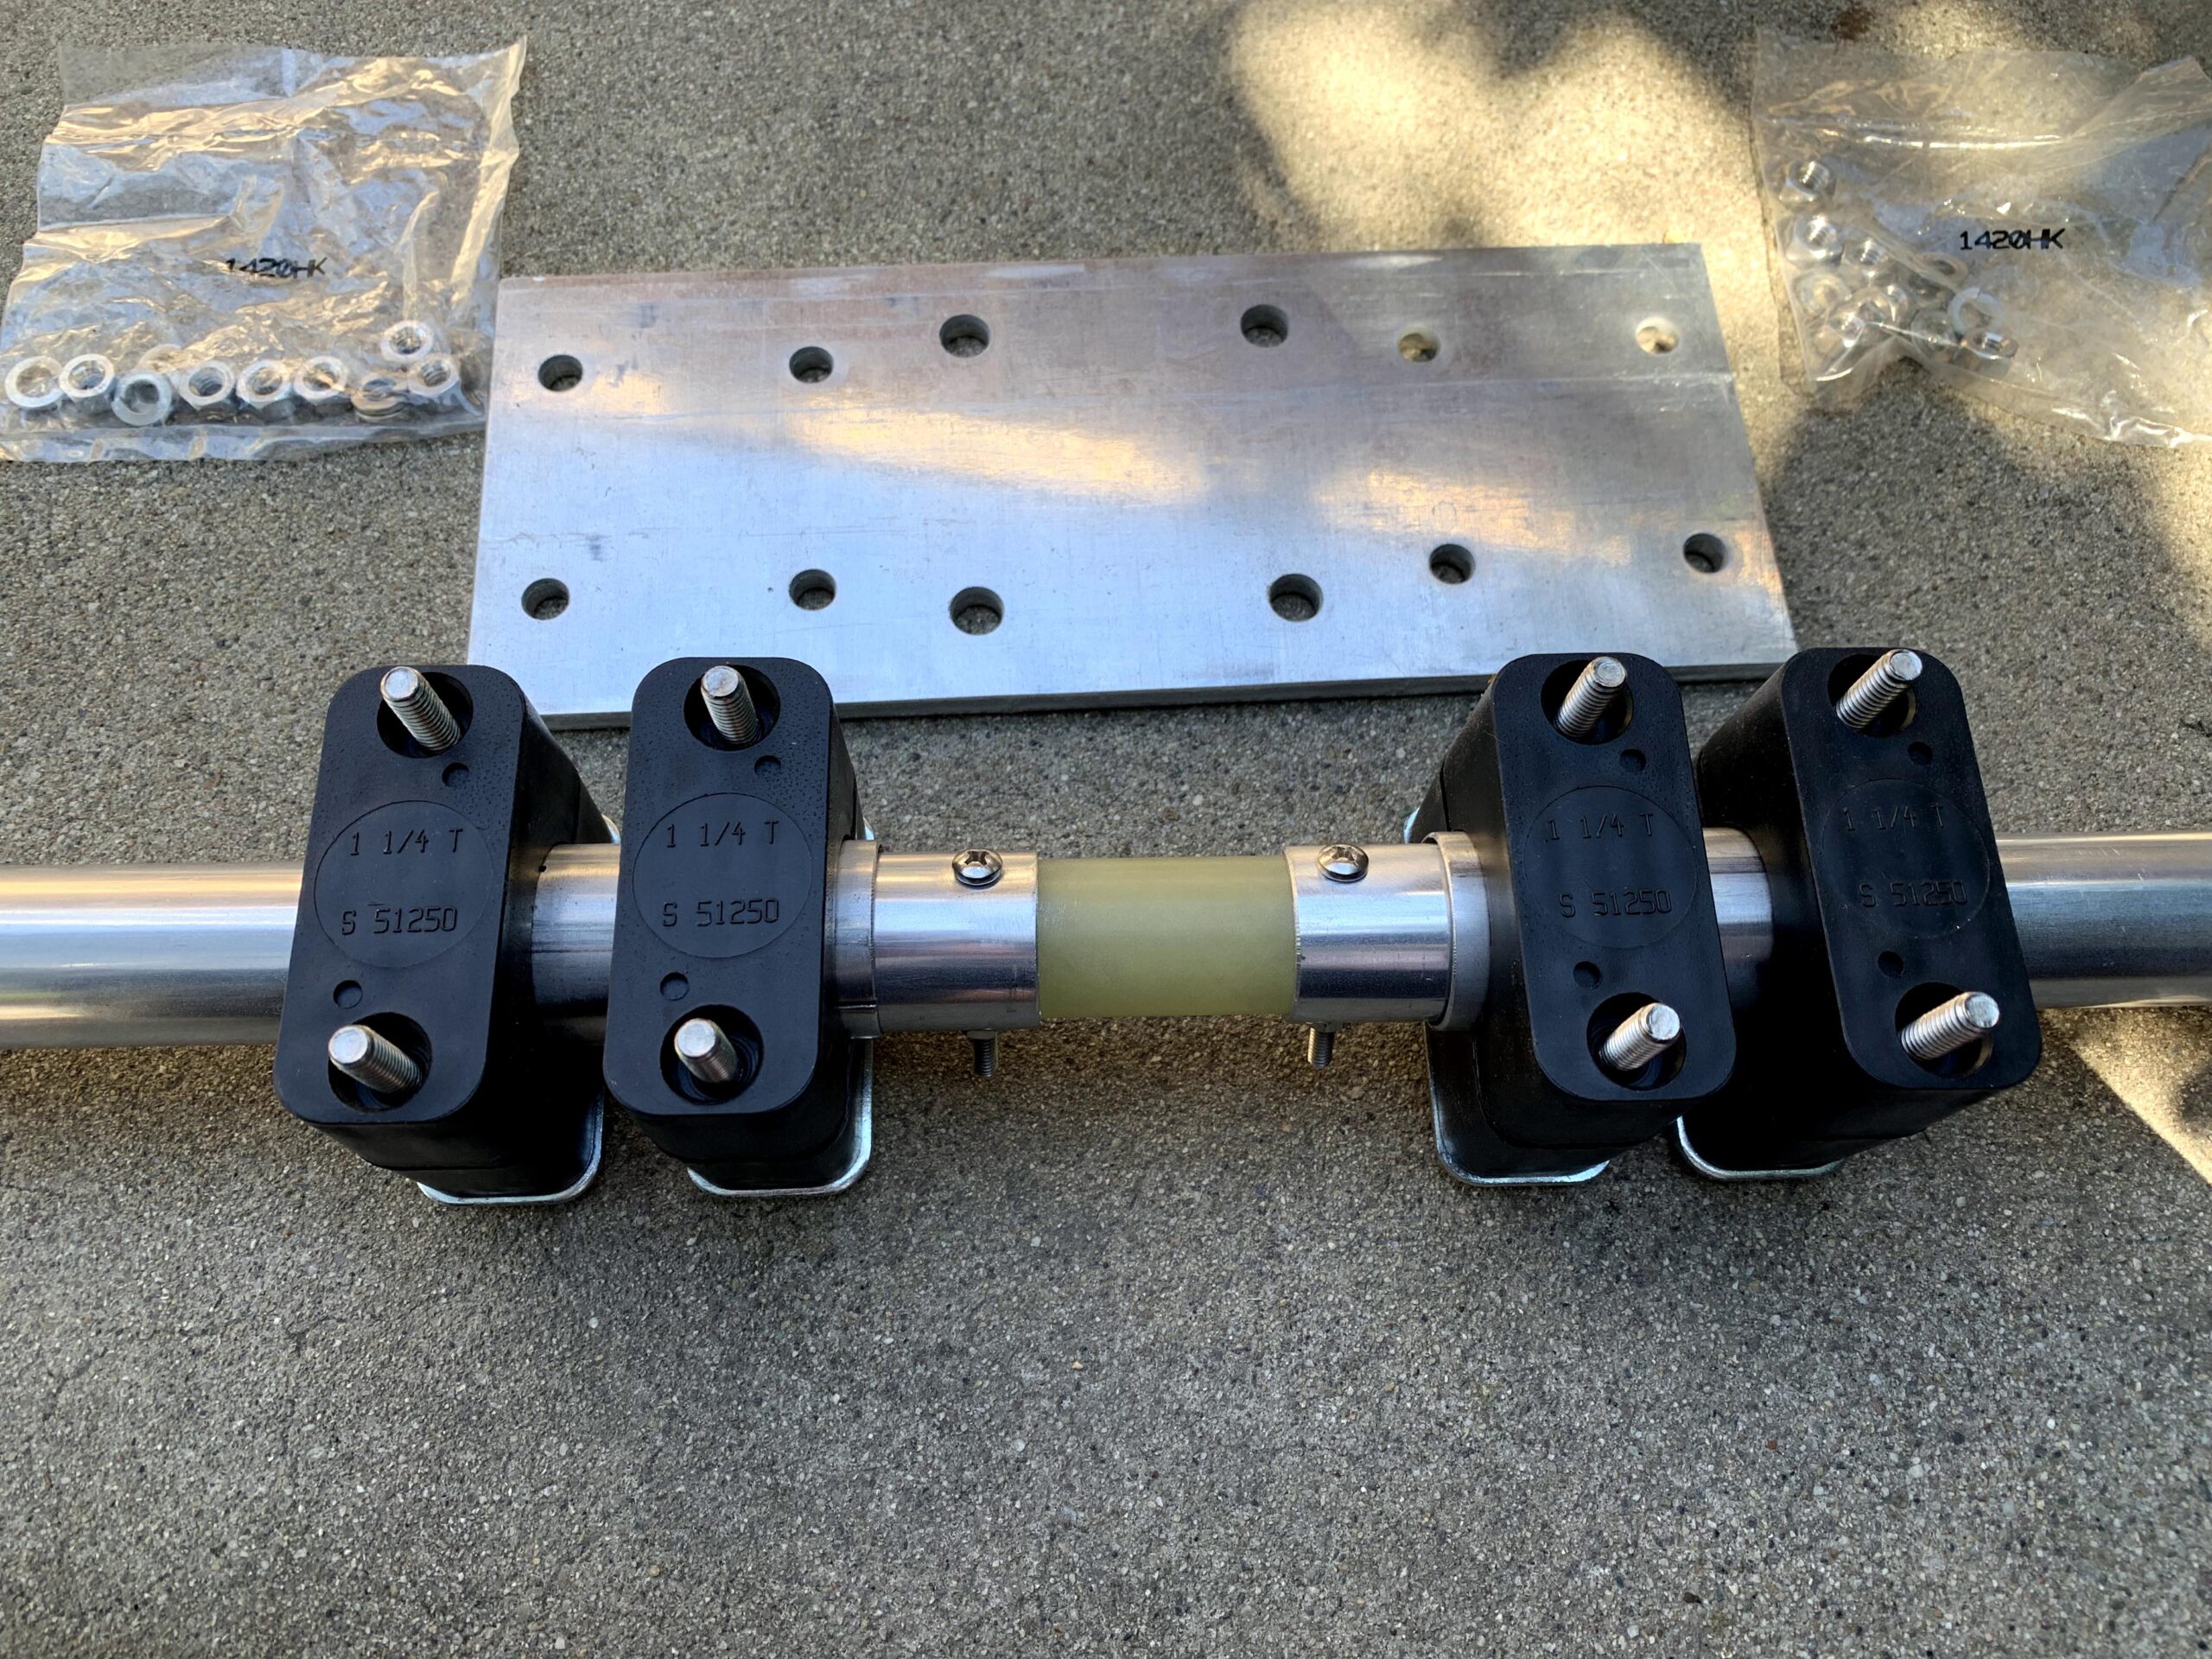
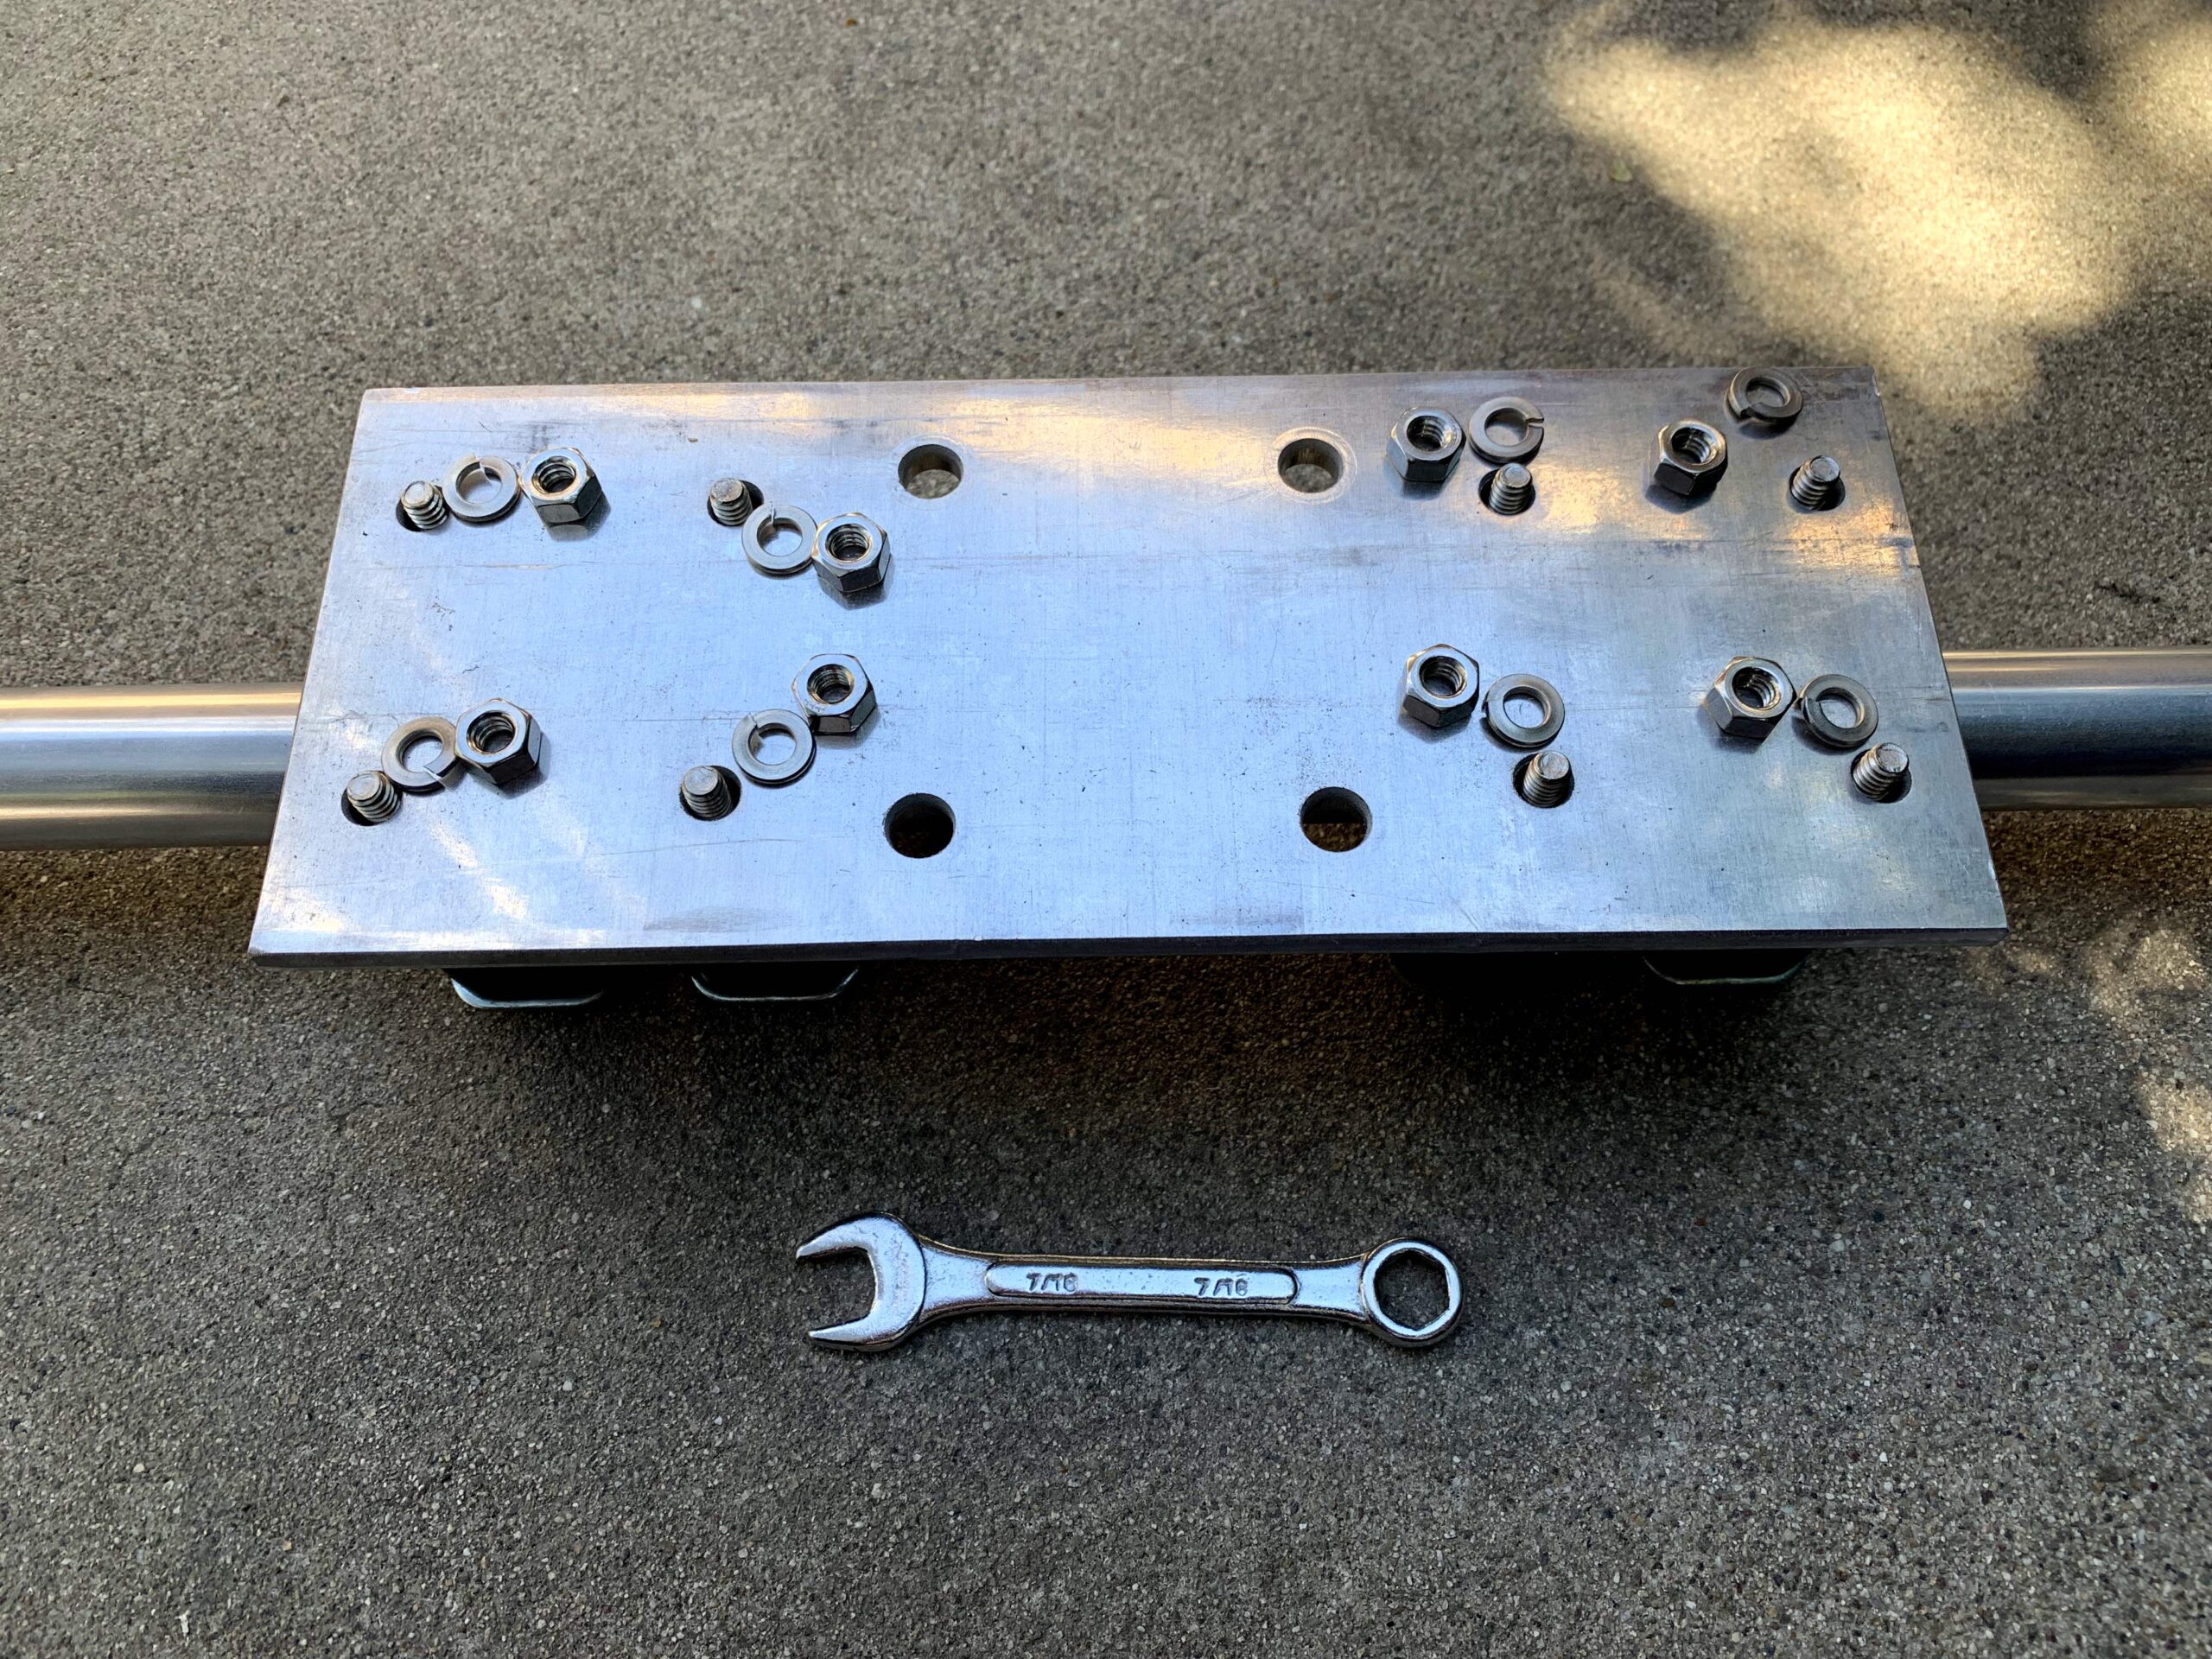
These nuts required a 7/16 inch wrench.
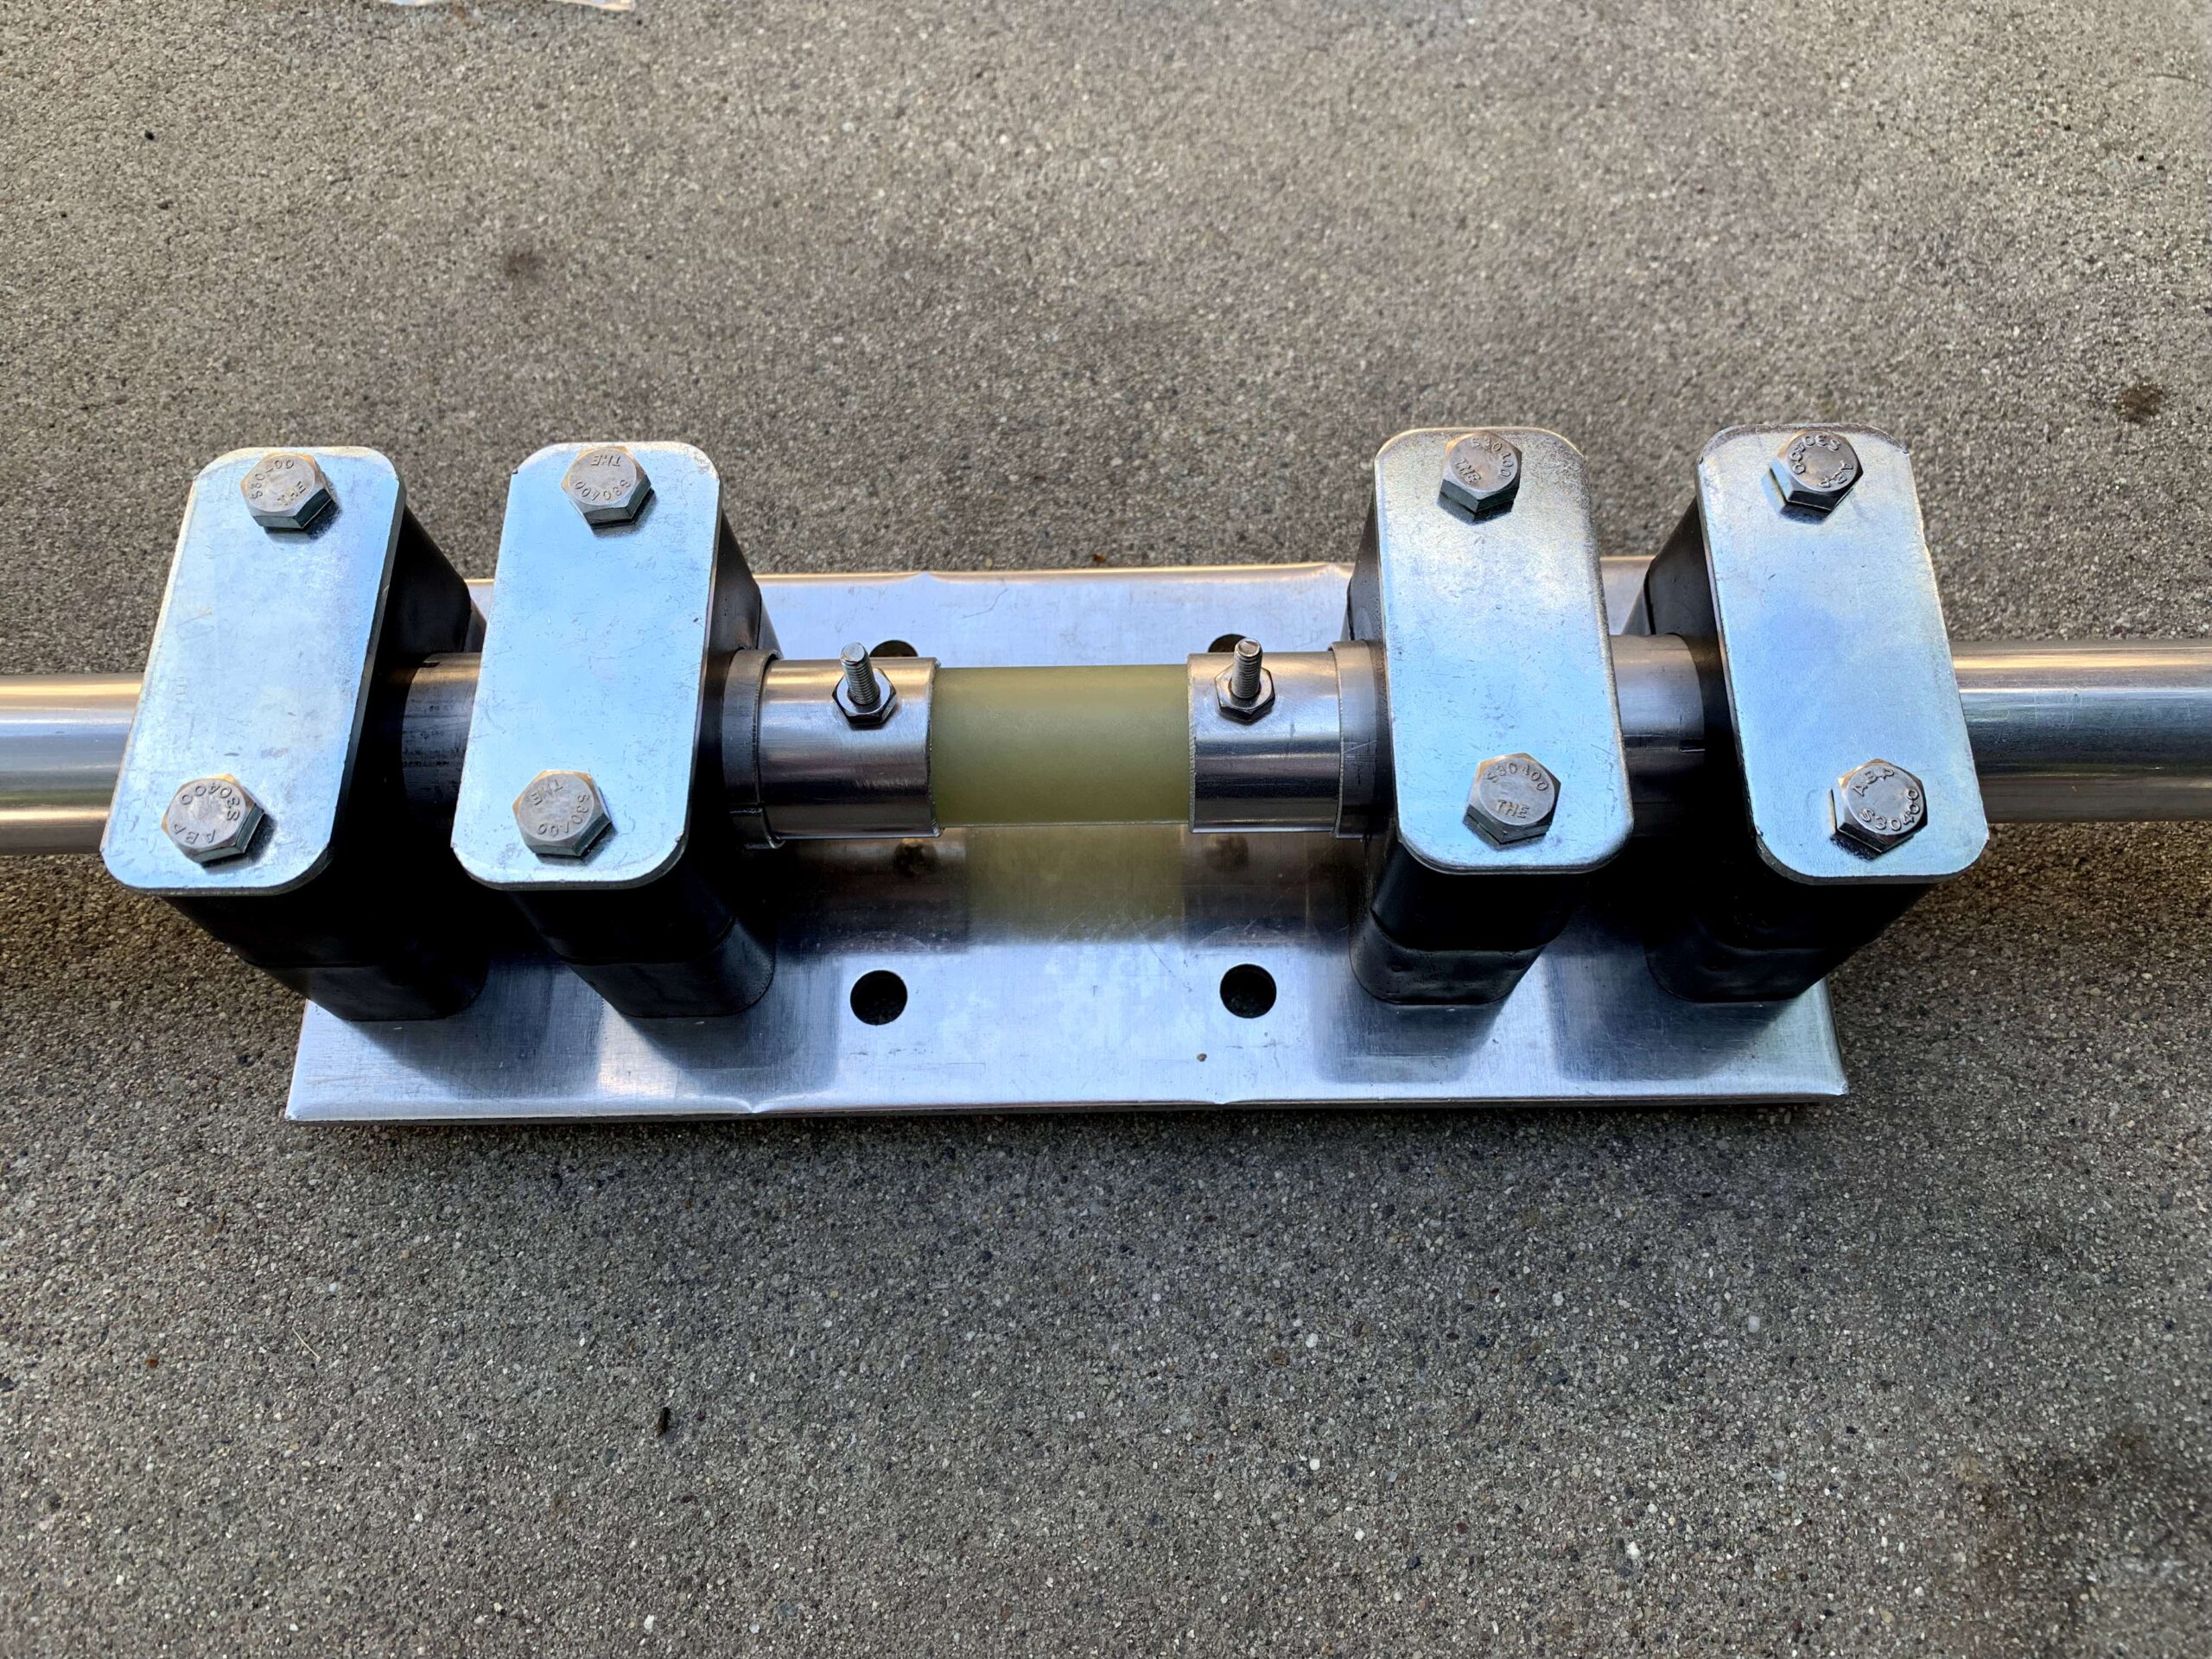
Attached the U-bolts that will later connect to the mast.
![]()
U-bolt nuts use a 1/2 inch wrench.
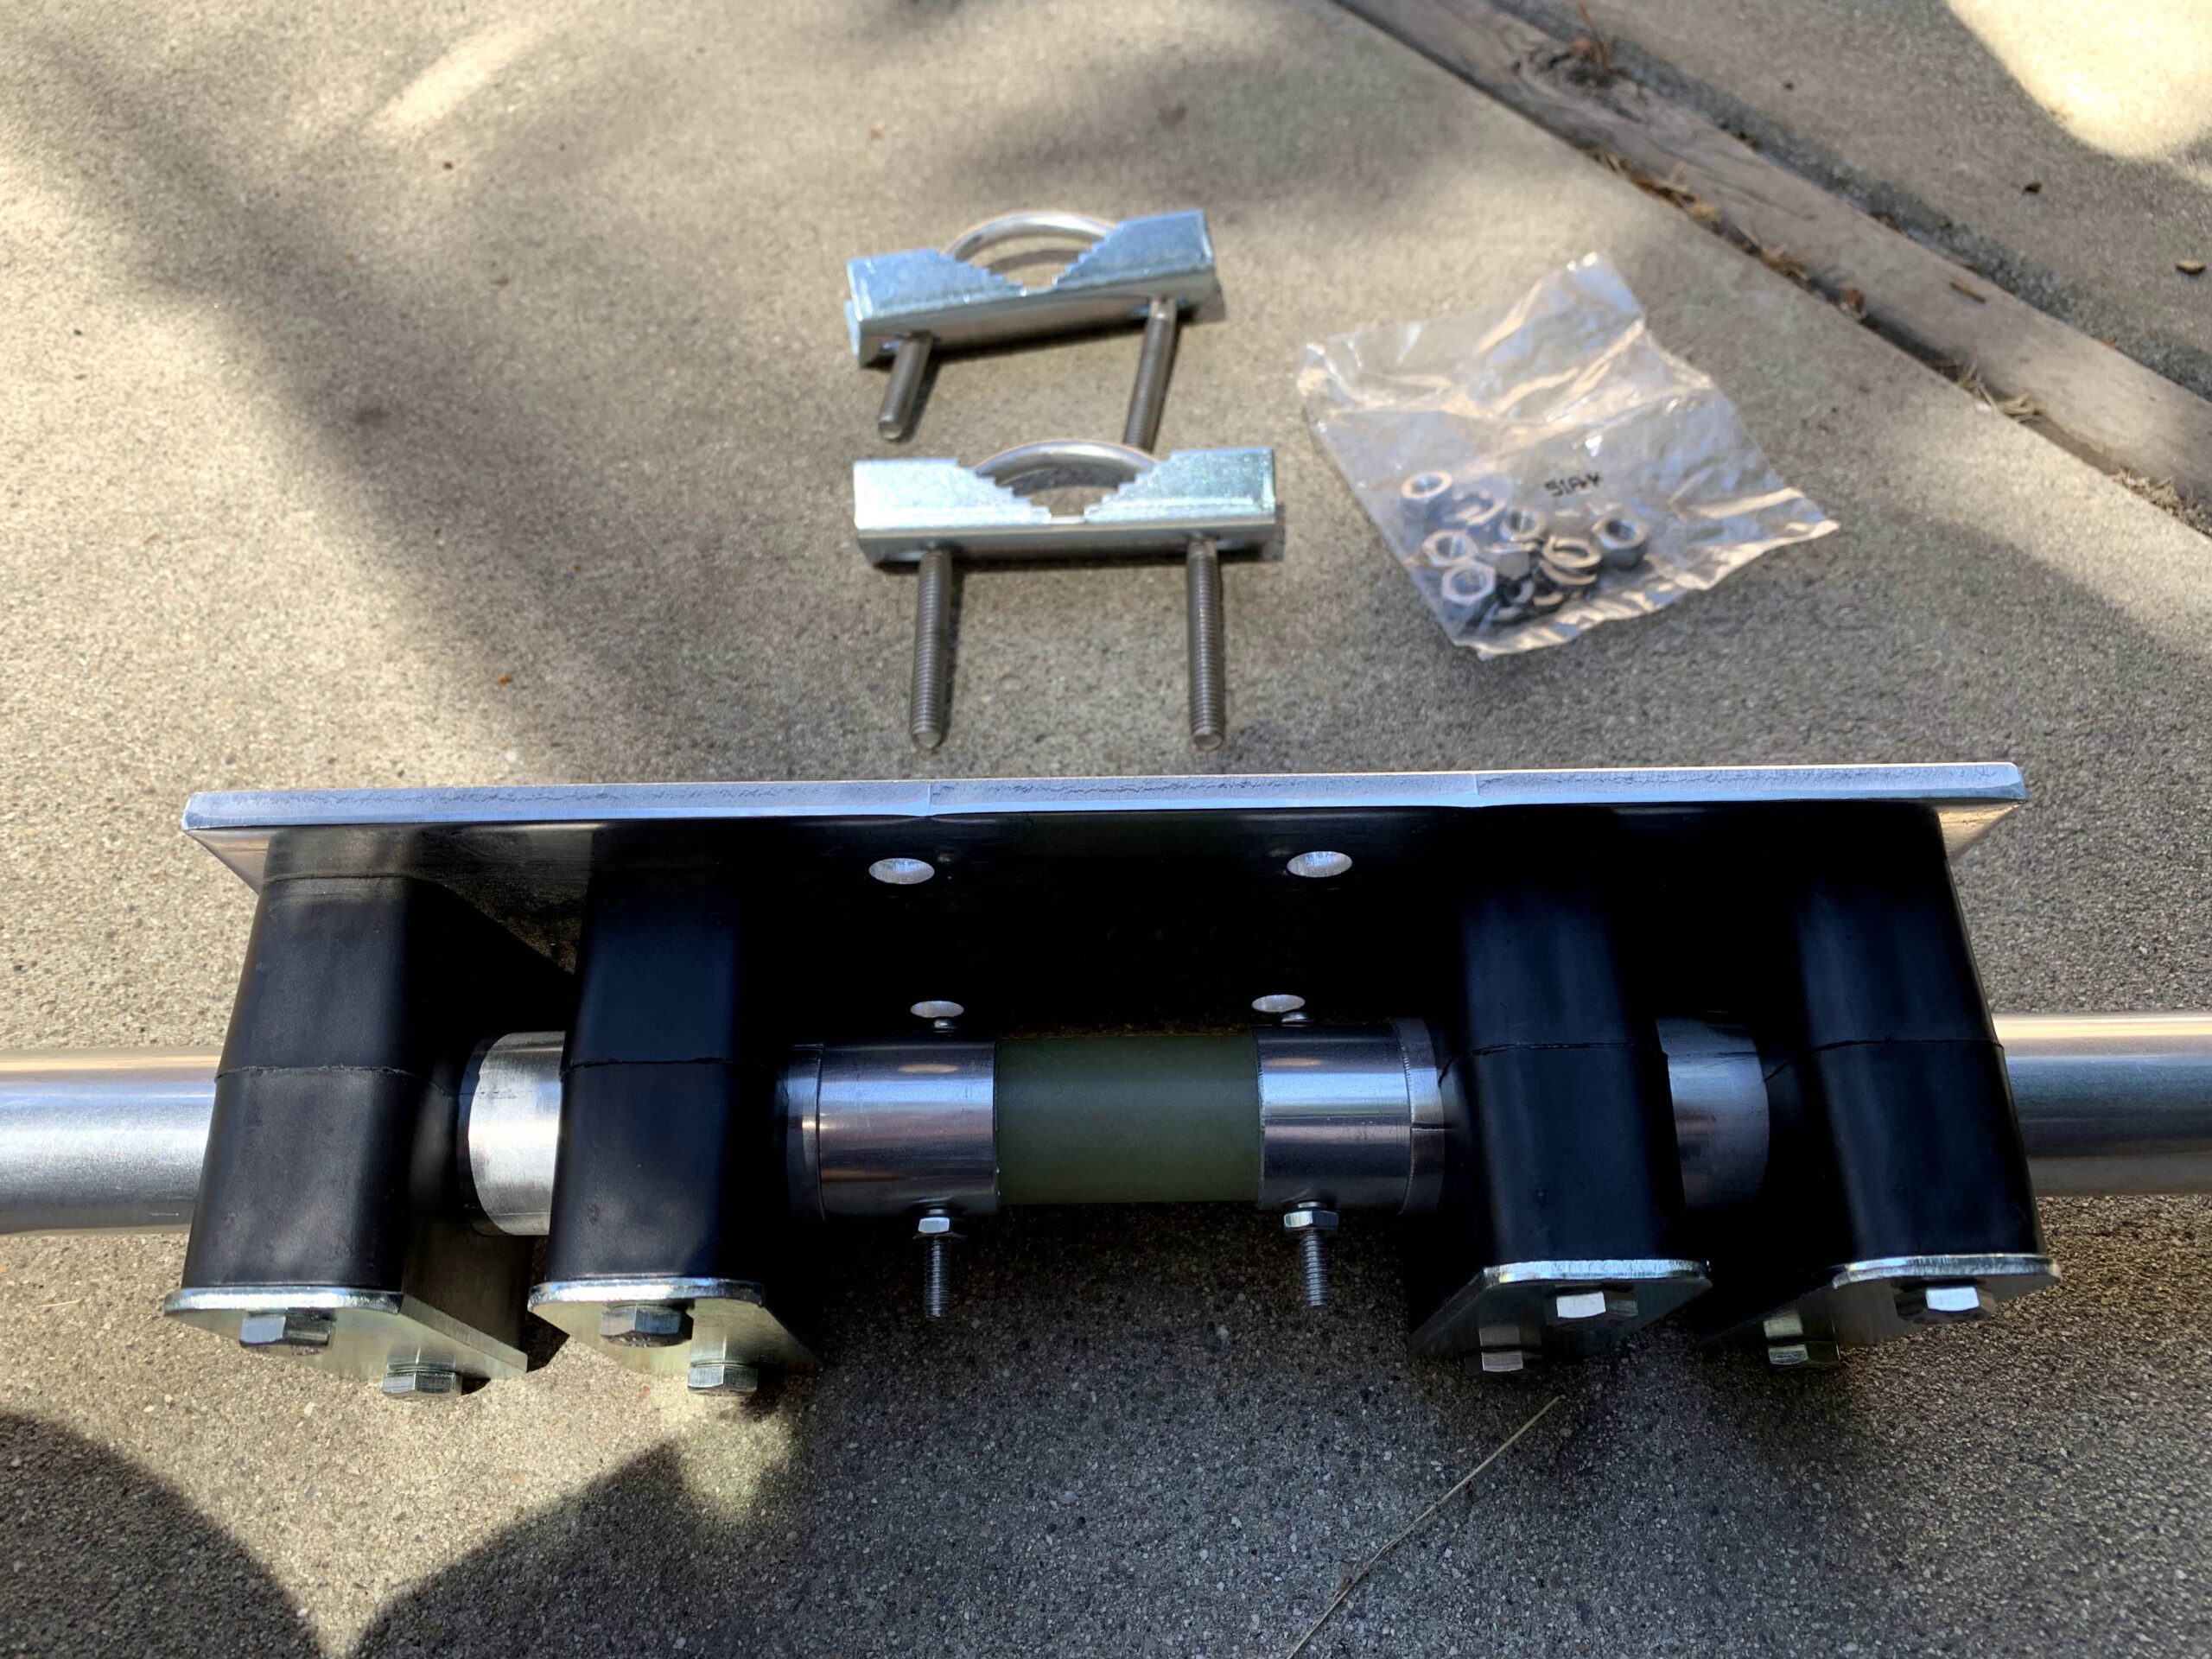
Base plate assembly is now complete, ready for the coax & mast.
The aluminum tubing and traps were set out and put together using the screw clamps. The traps have arrows that need to point to the center. Also, the traps have holes that will need to be pointed downward to allow moisture to drain out from them.
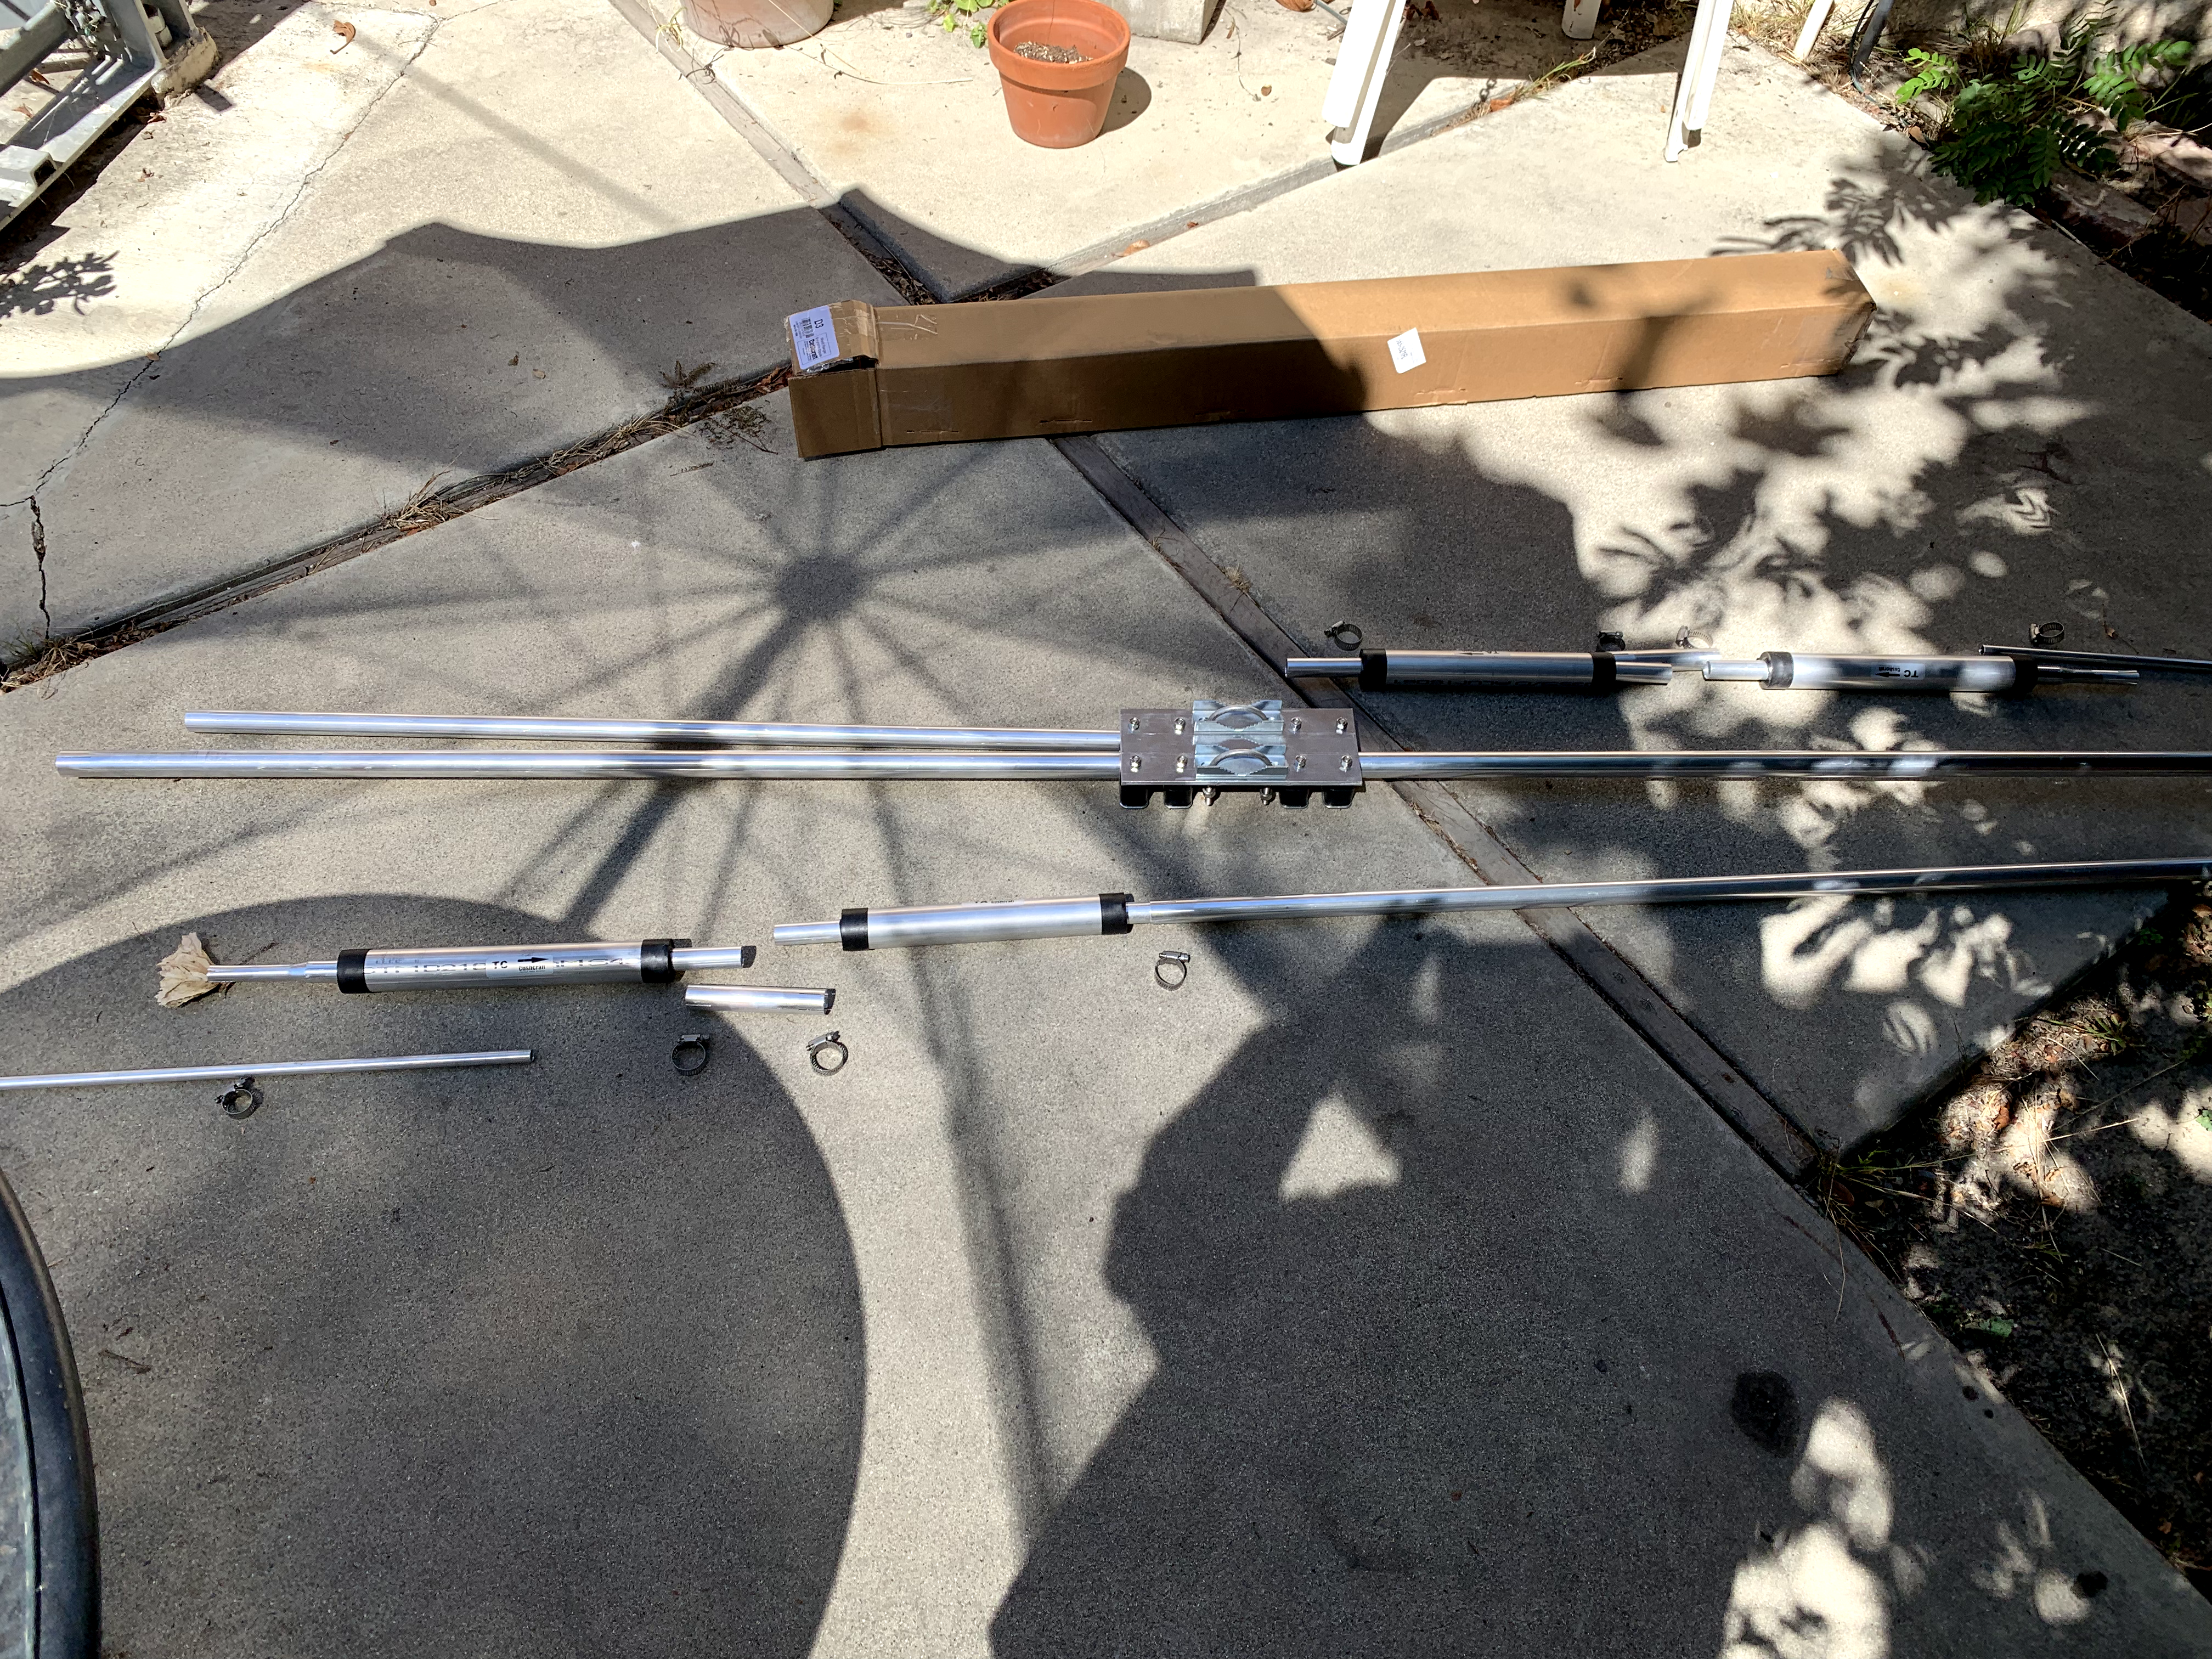
From the center connector, the first trap is the TA trap that will isolate 10 meters. The second trap is the TC trap that will isolate 15 meters. And 20 meters will use the entire length of the antenna.
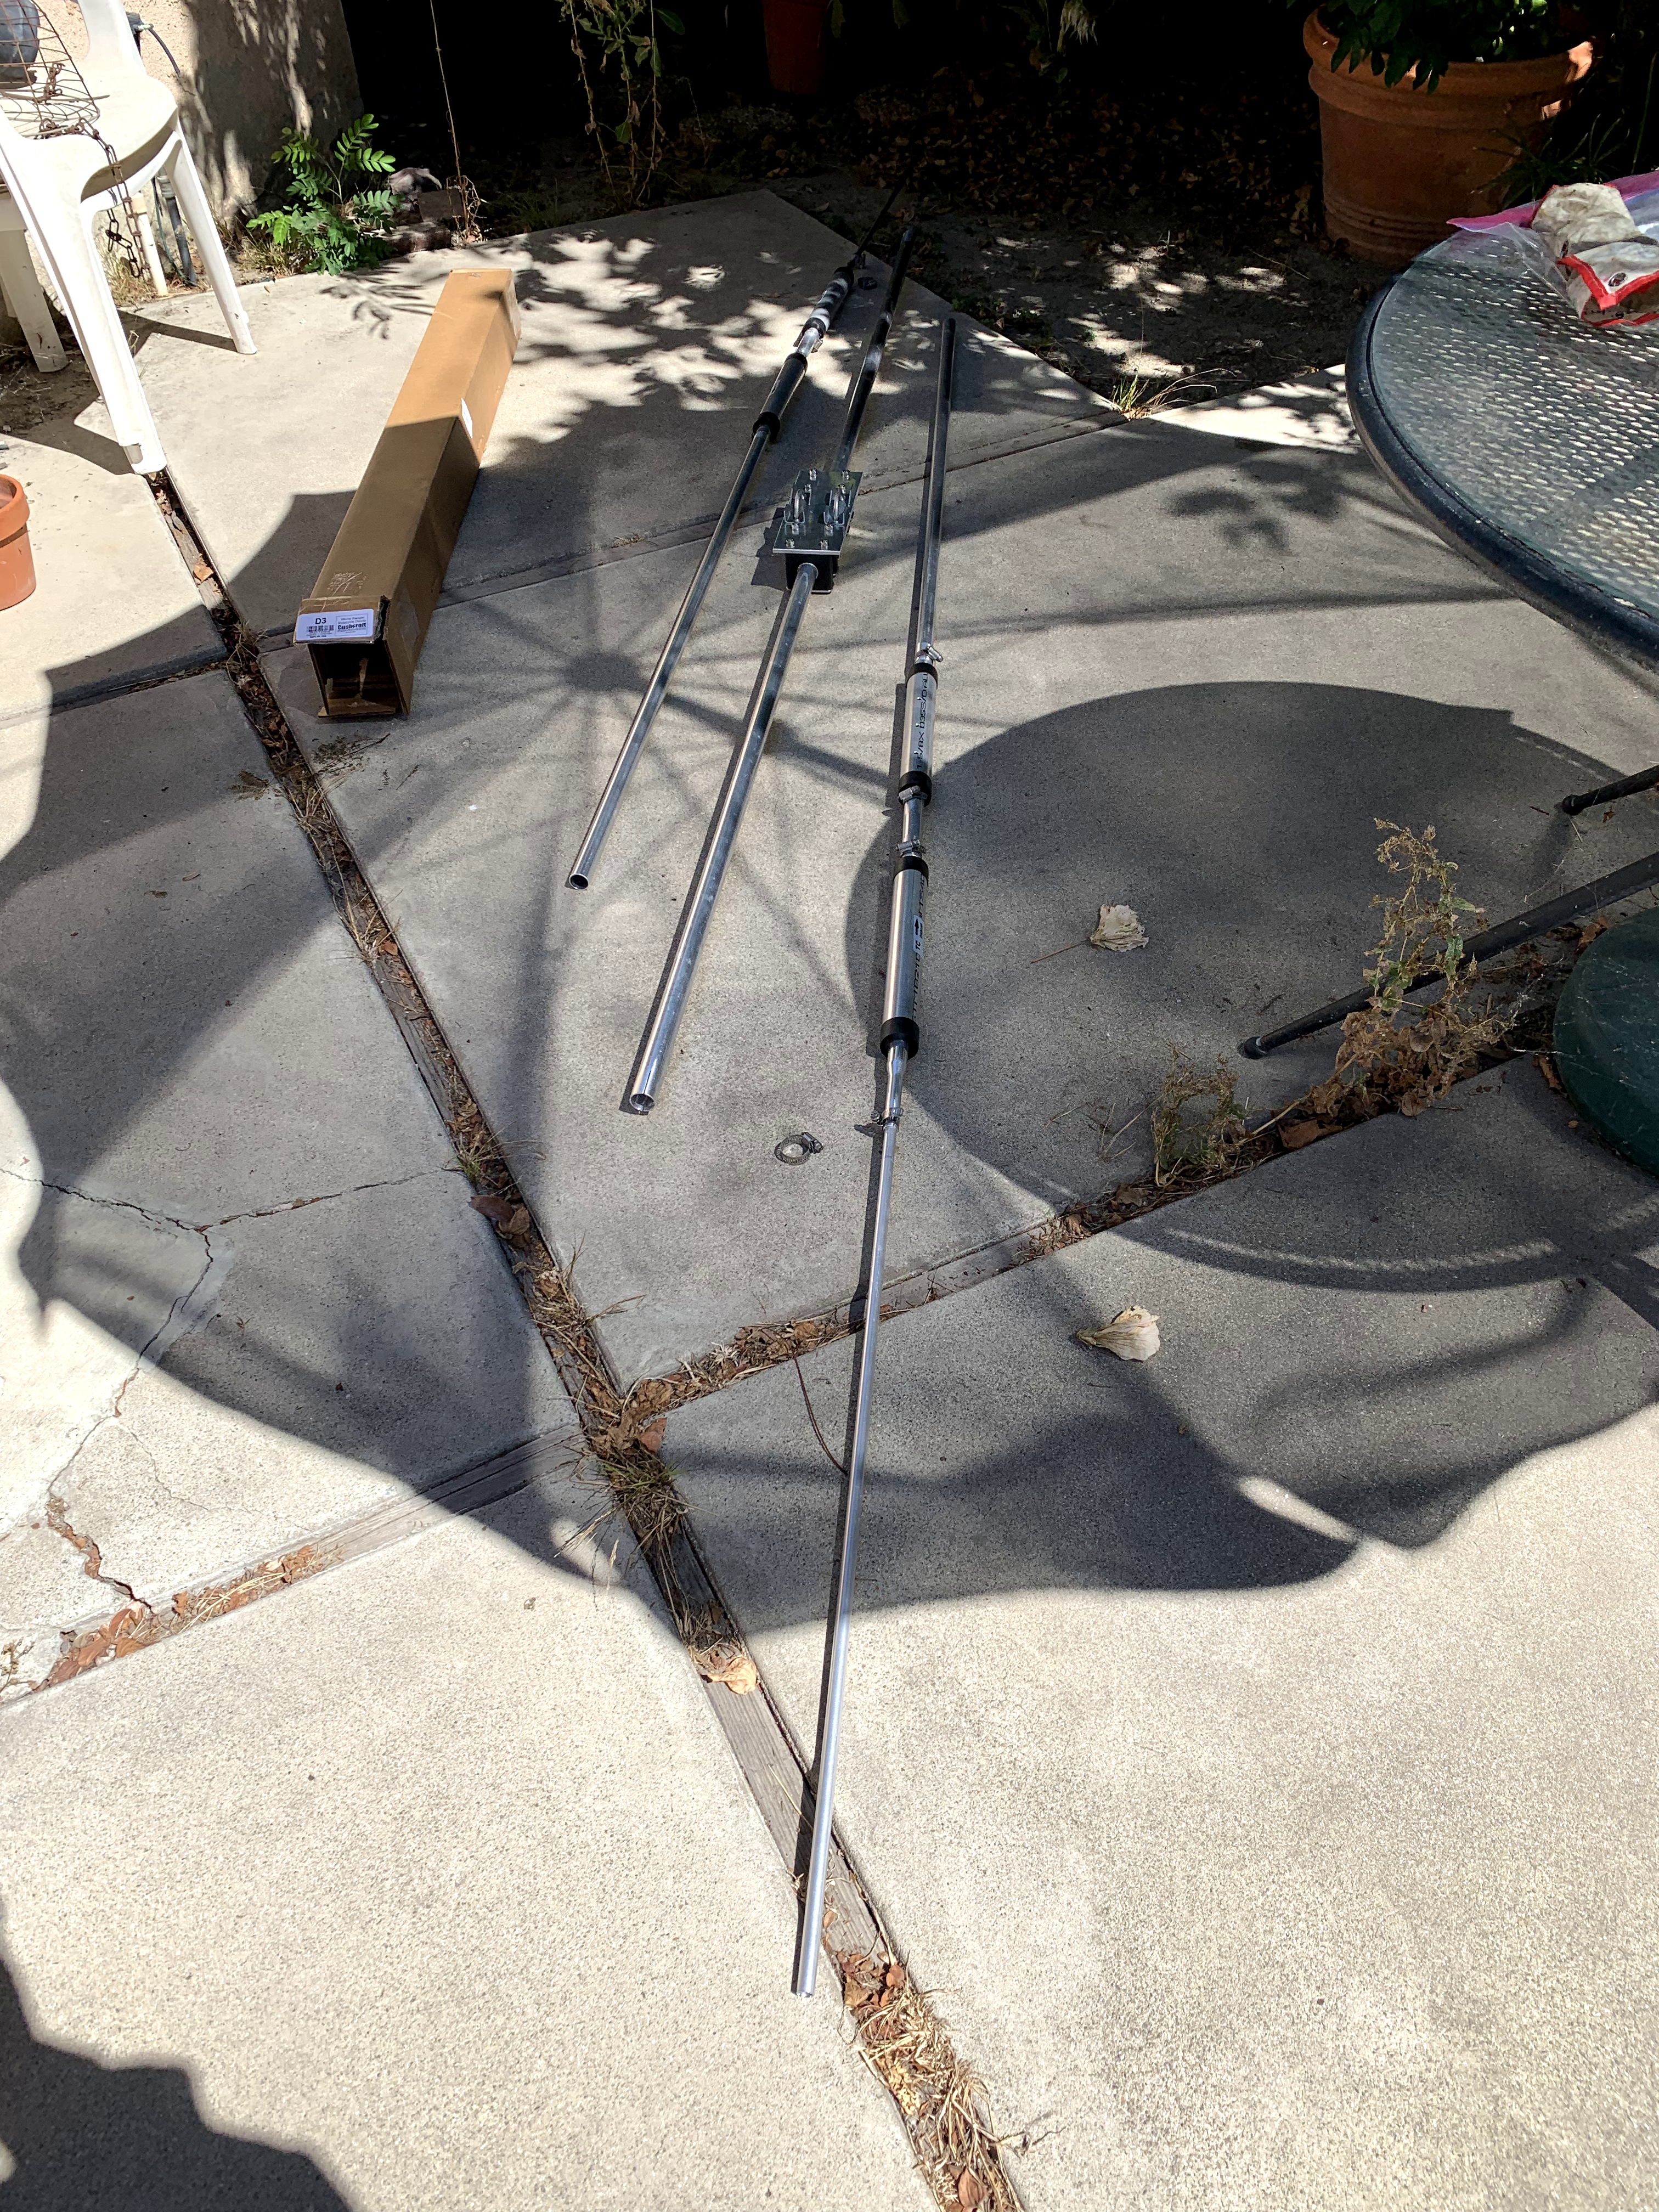
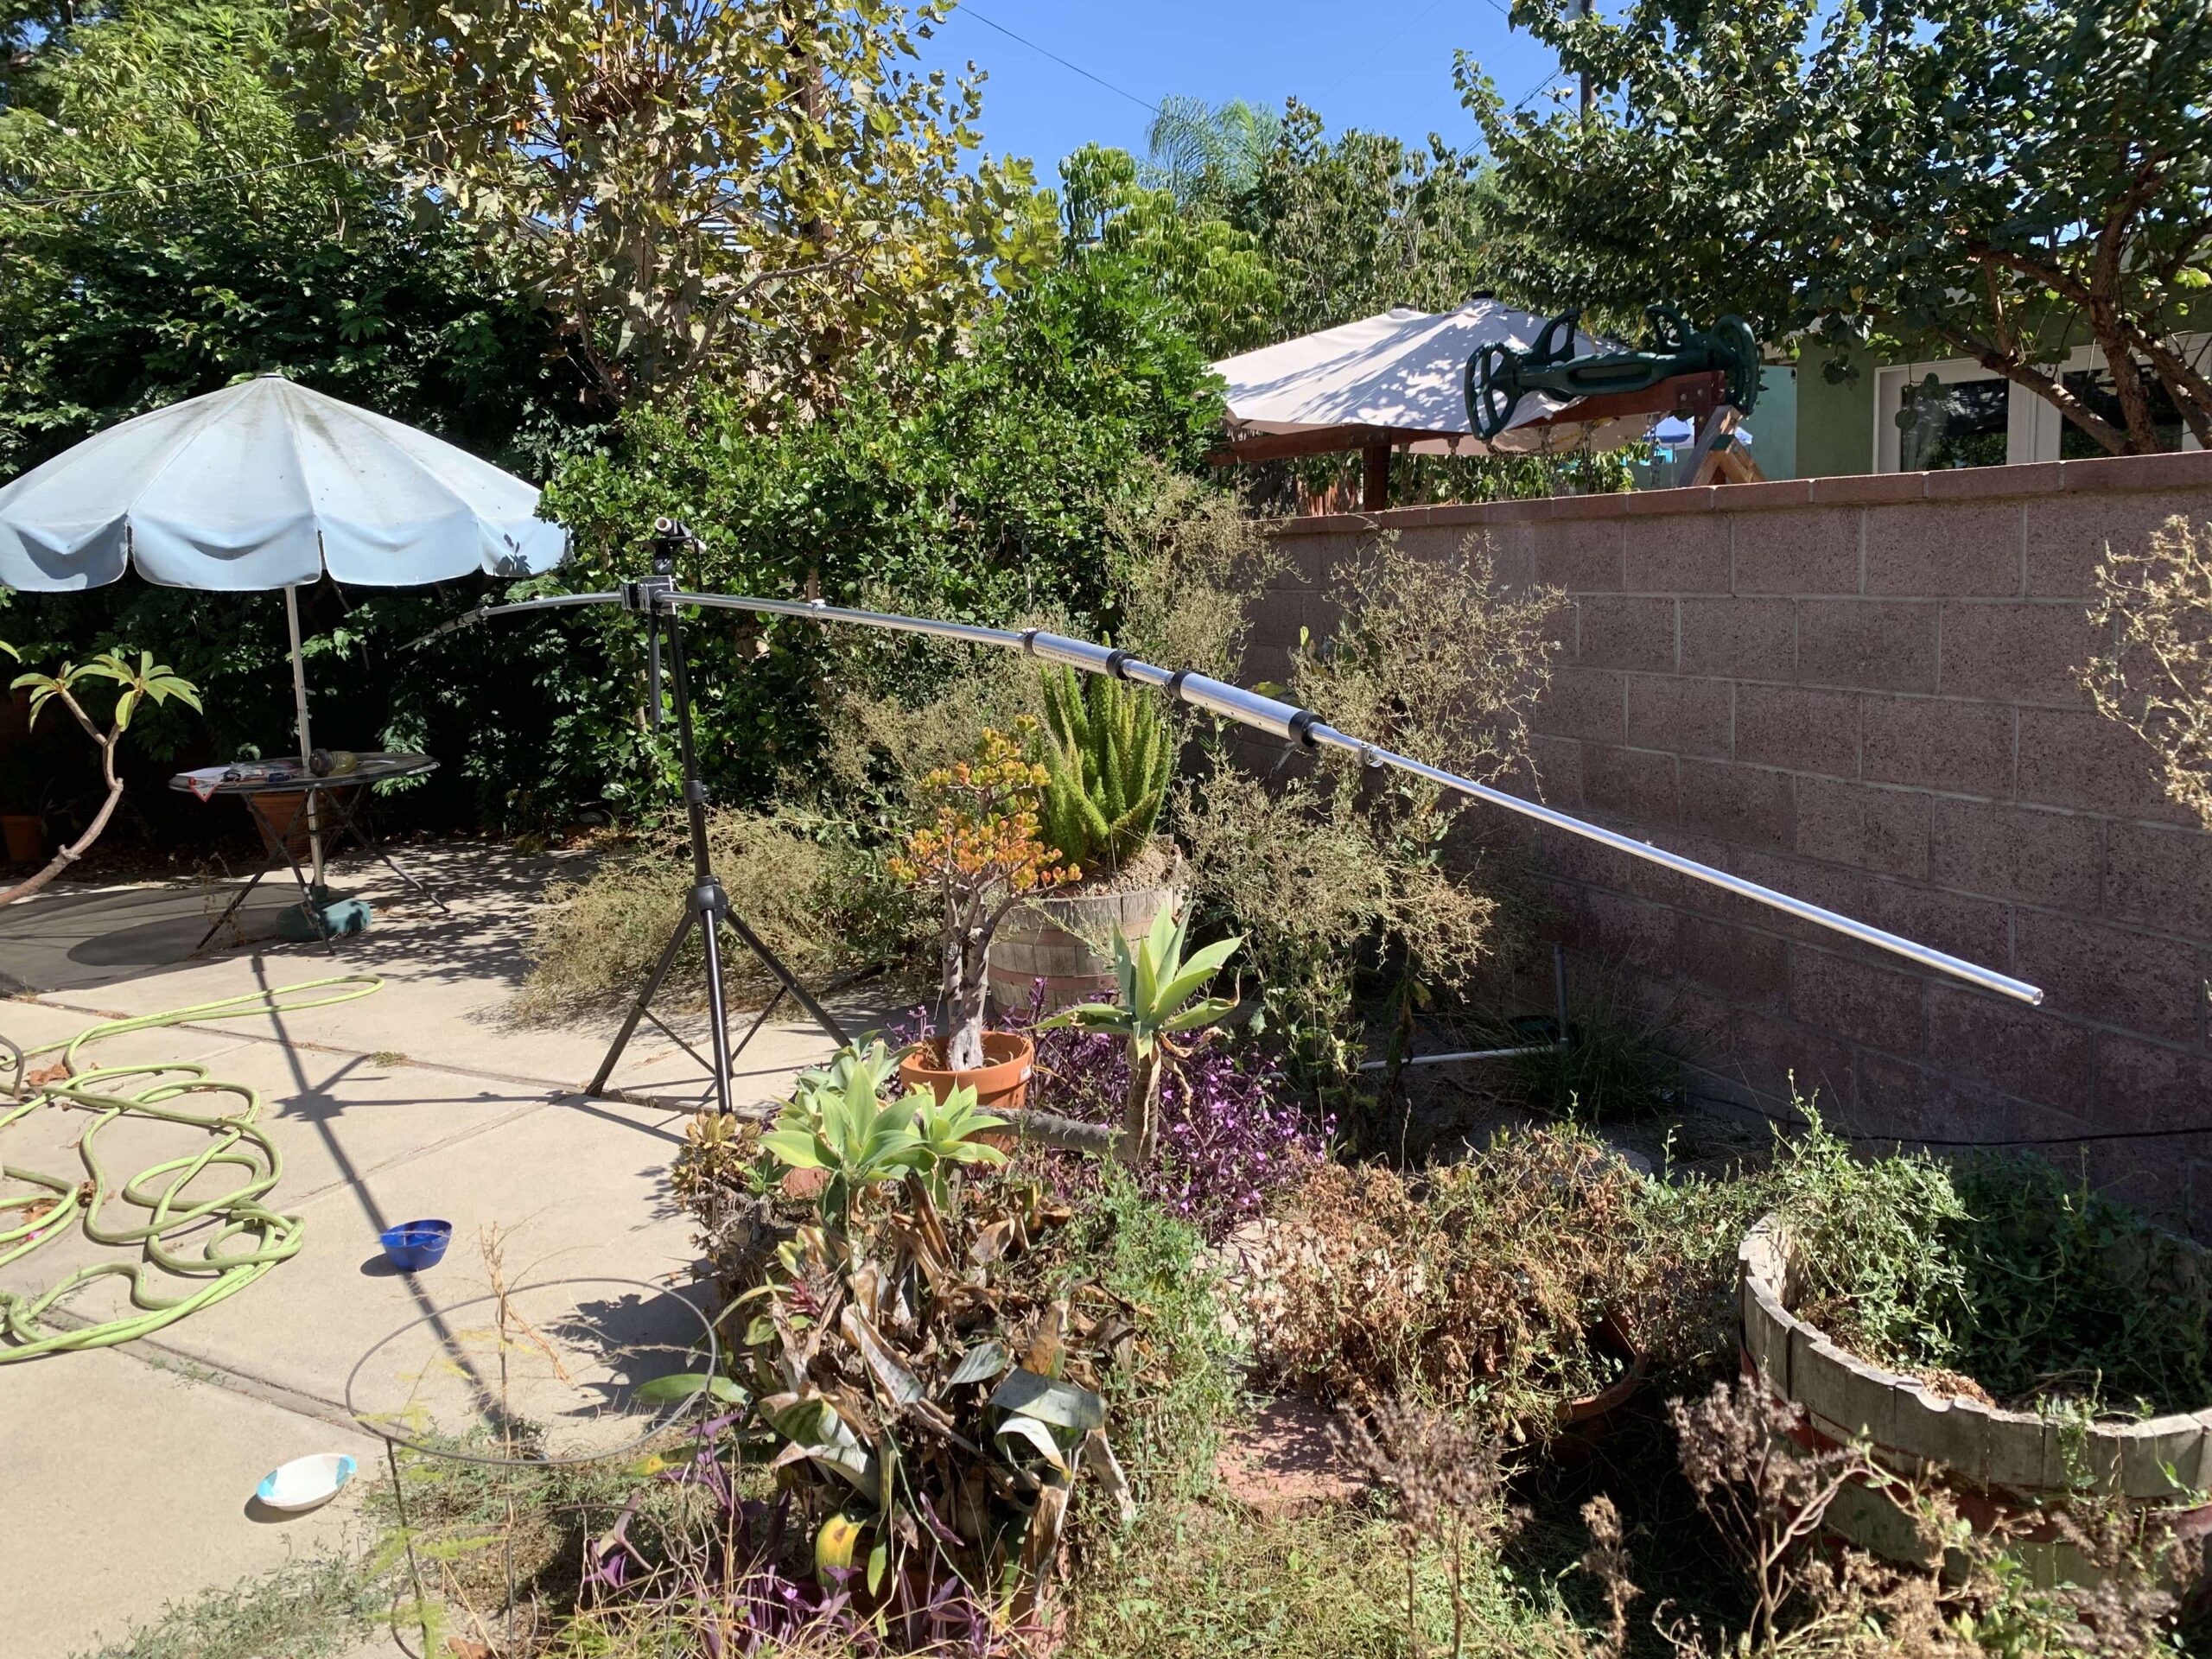
All the pieces were put together and using a speaker tripod stand, it was set up in the backyard for tuning. Once tuned, it will be put up 30 to 40 feet in the air.
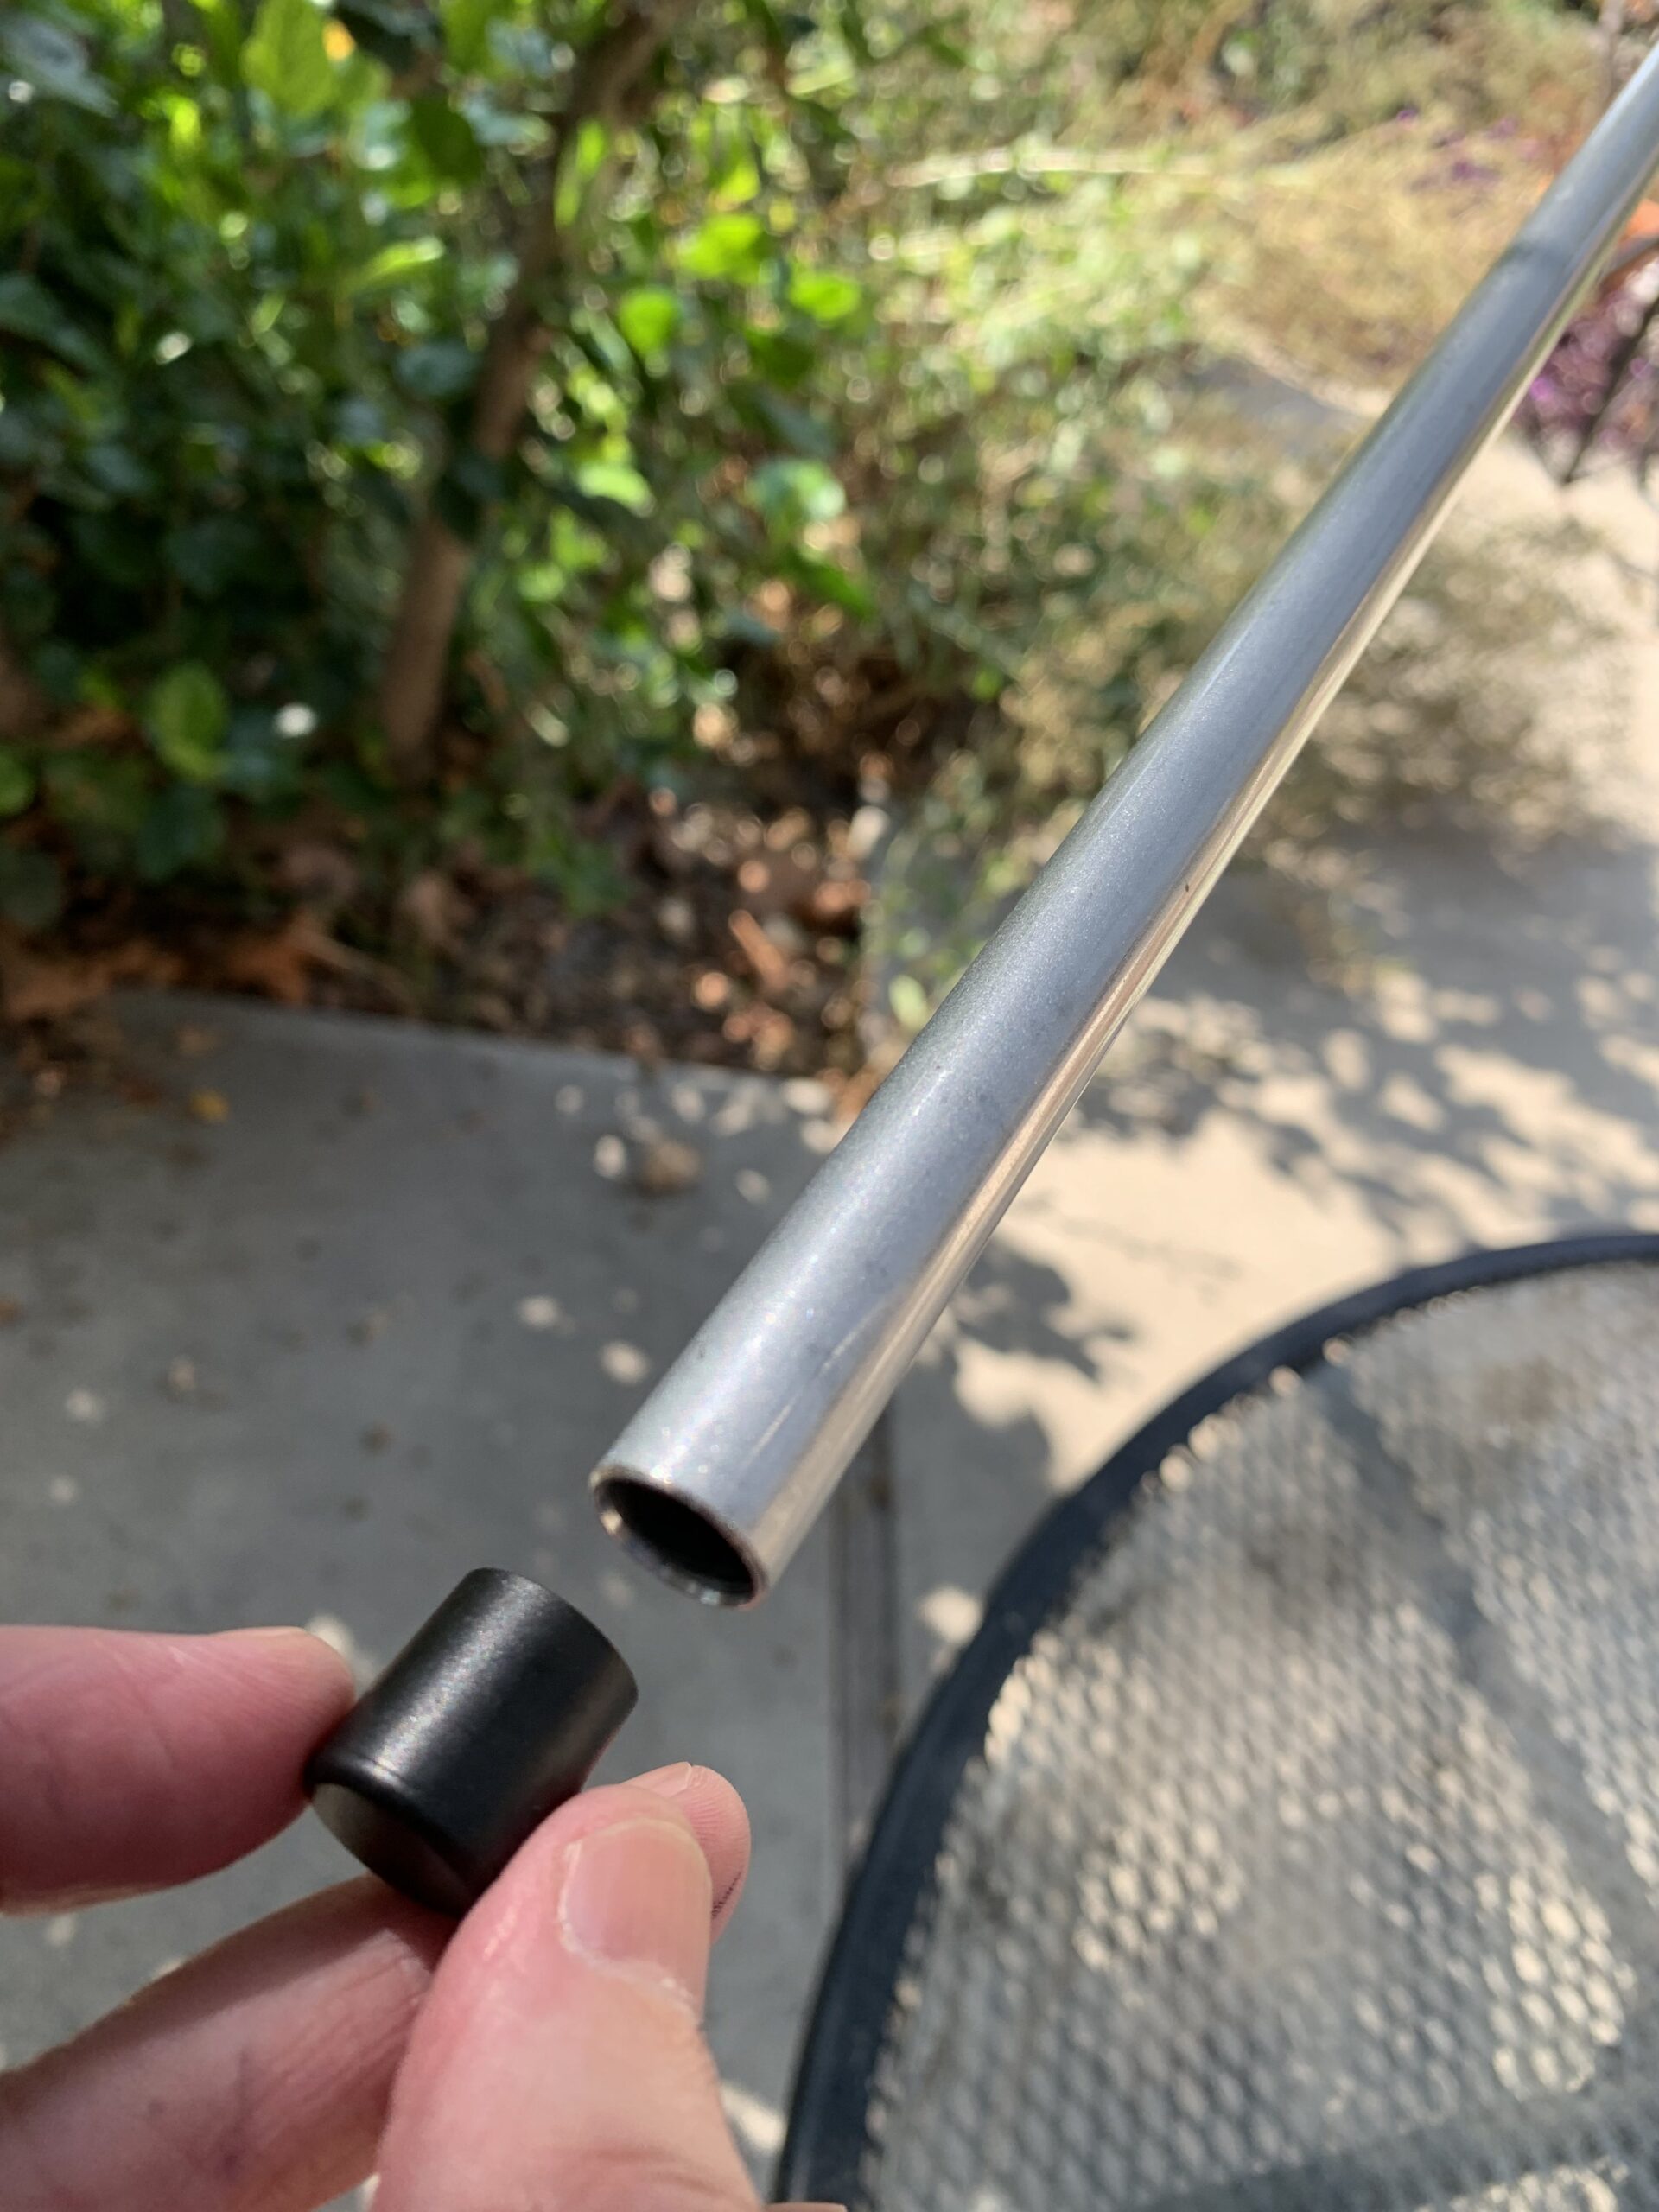
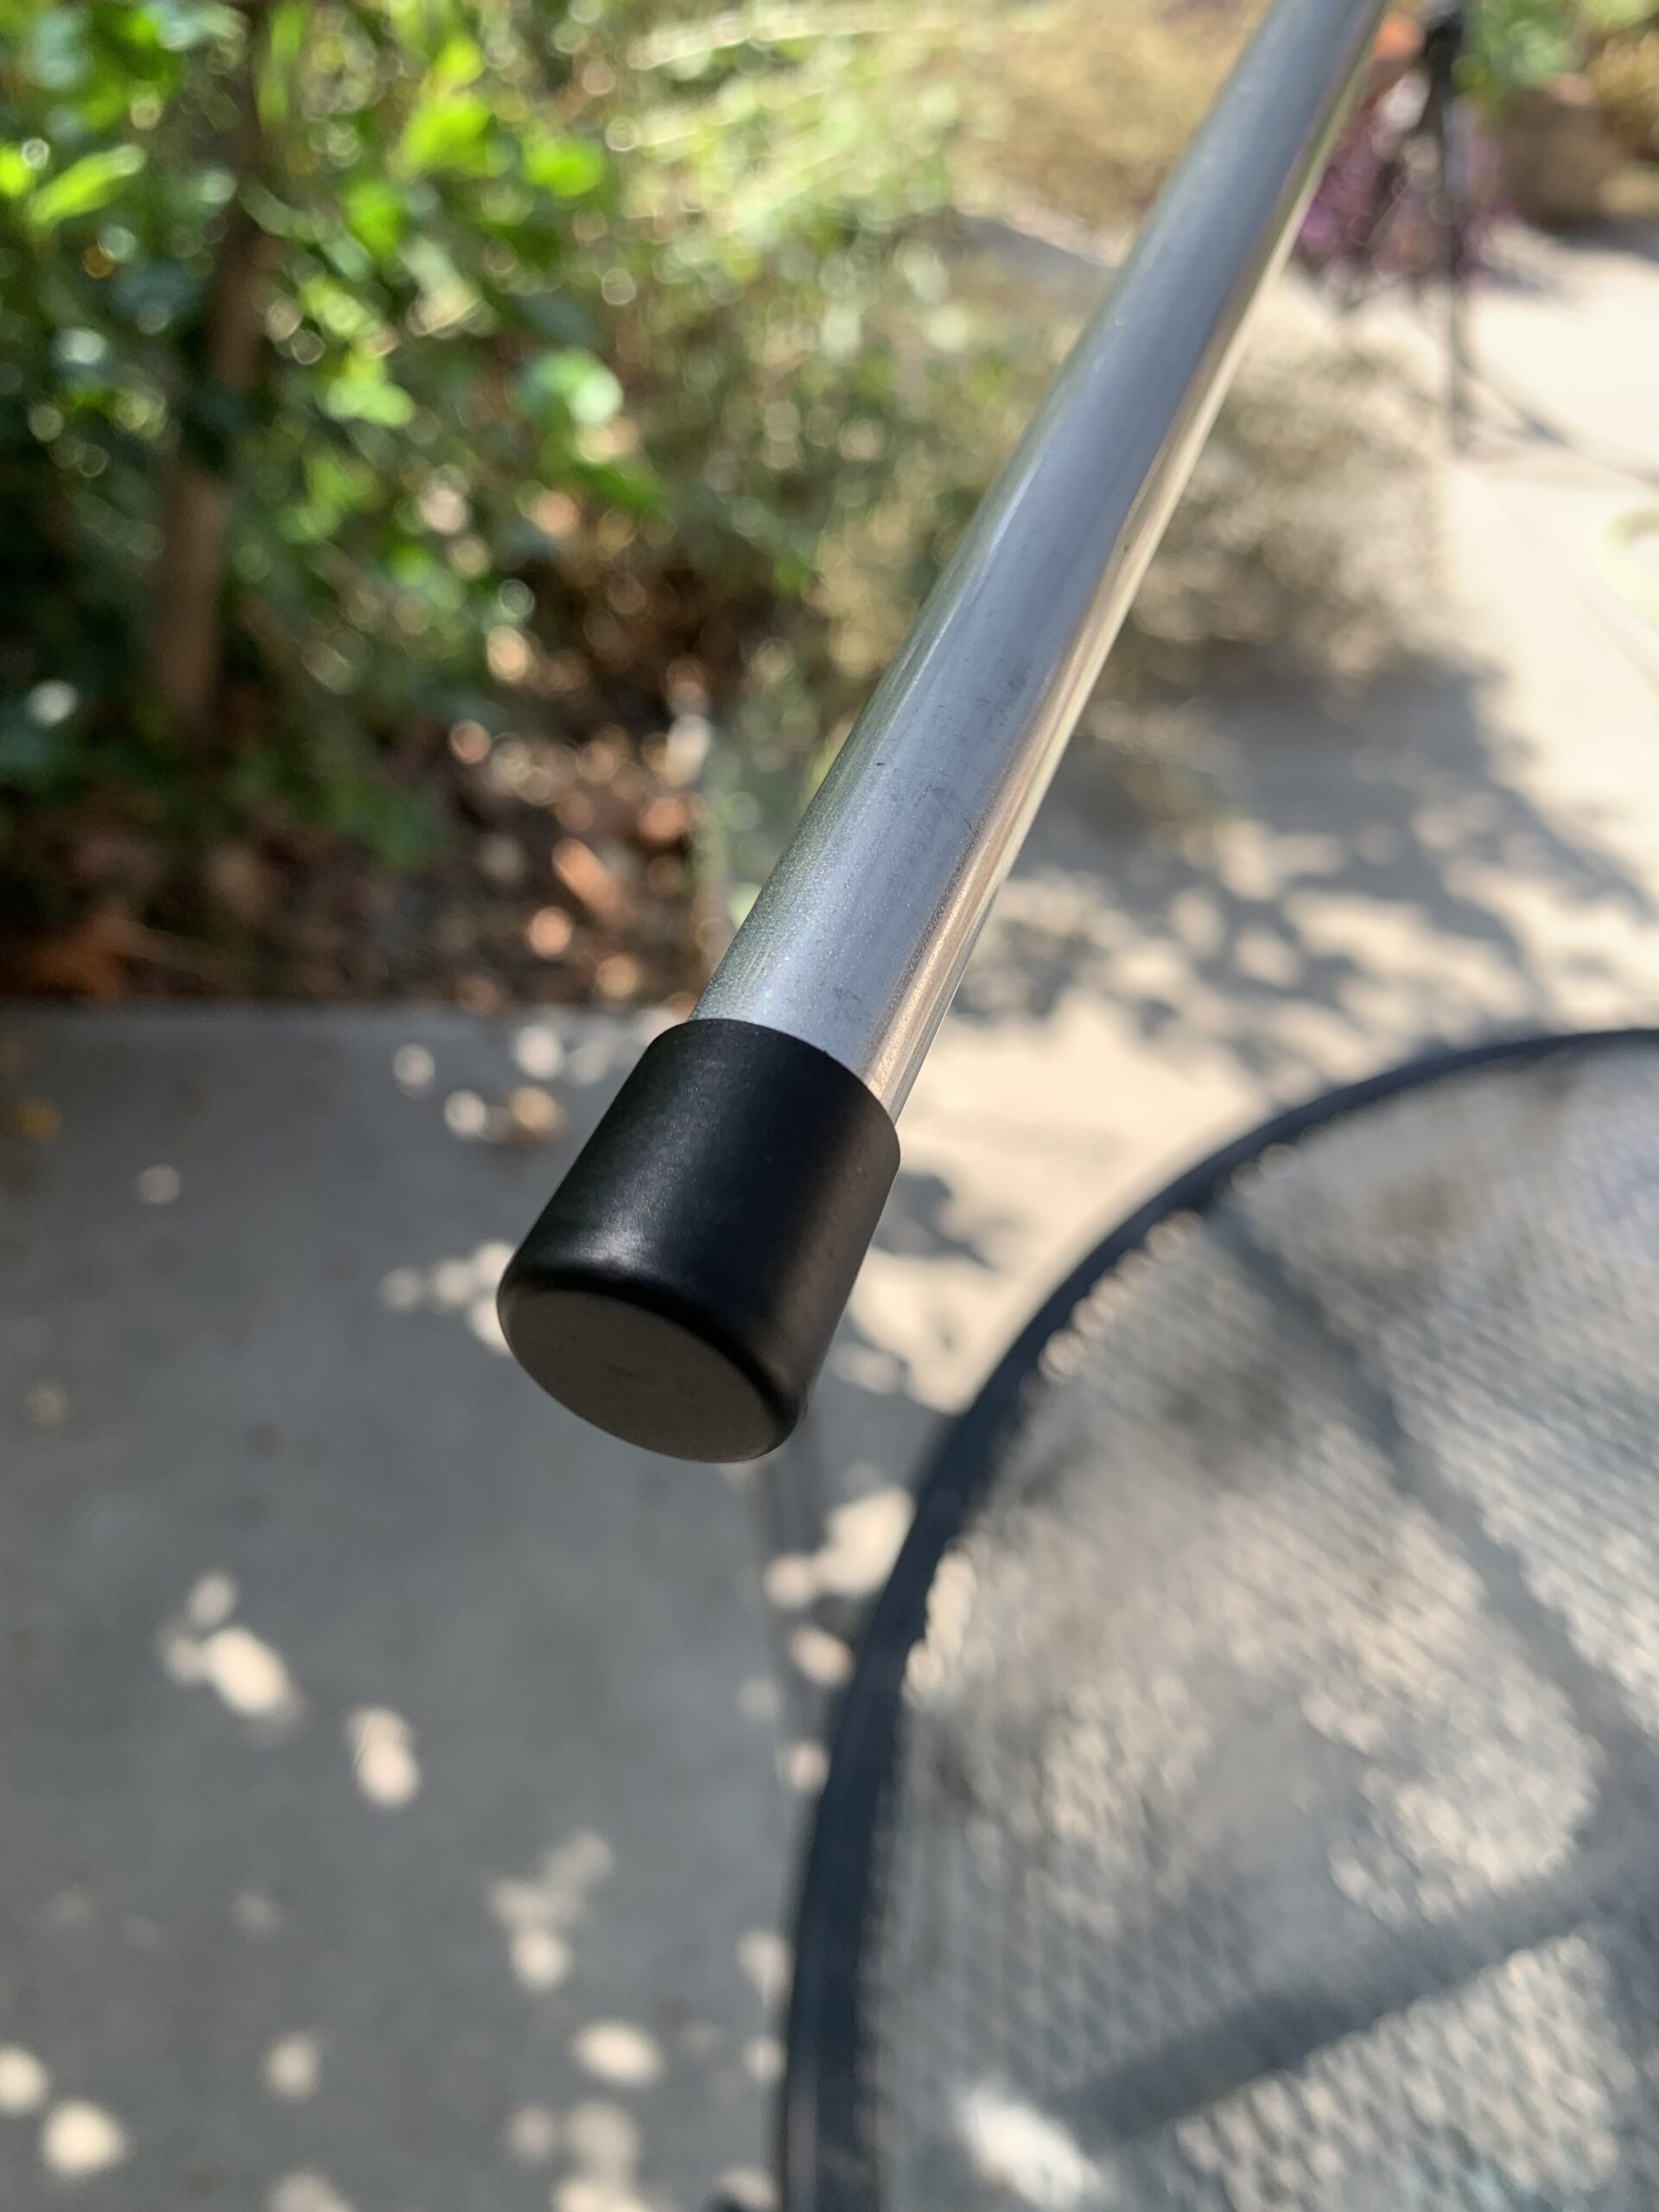
After the antenna was tuned, the end caps were put on. Left these off to make measuring easier until tuning was done.